


Leaping forward in the process... happy Leap Day everybody!
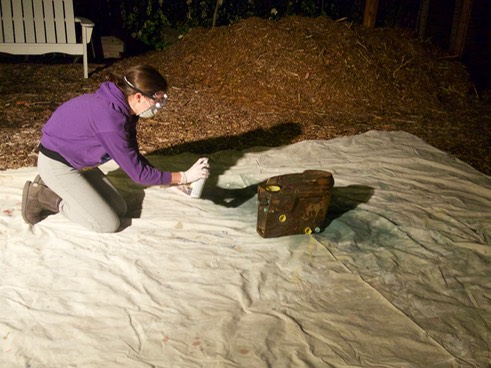
After cleaning, it was time to repaint. We bought Rust-oleum Hammered Gold spray paint/rattle cans and Rust-oleum Flat Grey Primer. The Hammered paint was the closest we could find to the original 1950’s paint.
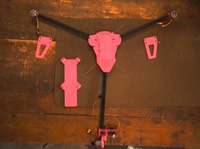
First, we covered the machined metal surfaces with FrogTape painters tape. We plugged up the holes we couldn’t cover with cork plugs from the craft store.
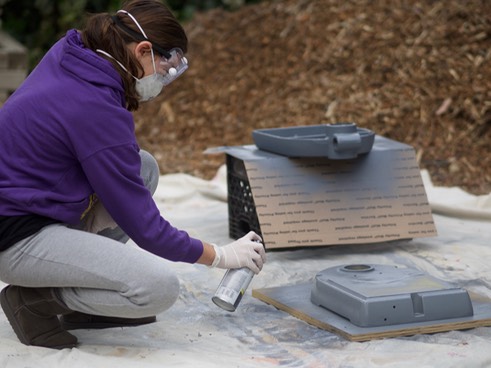
Then, we put on the primer coat for the Hammered to stick to.
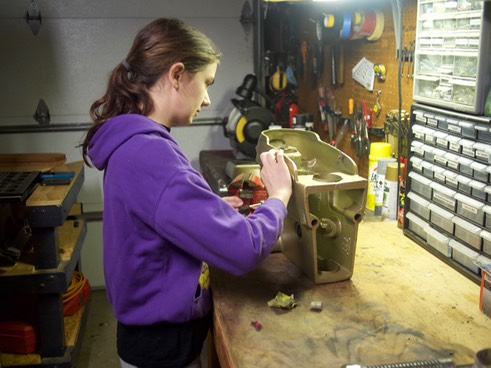
Putting primer on the head casting.
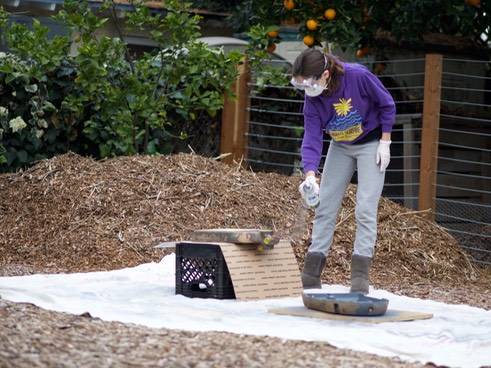
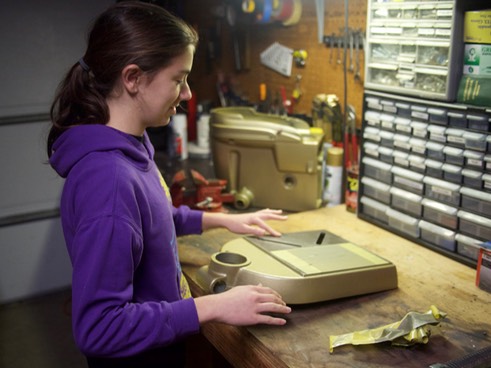
Putting primer on the bed and the base. We put the bed on an old milk crate so that the raised portion could hang off without leaning on the wet paint.
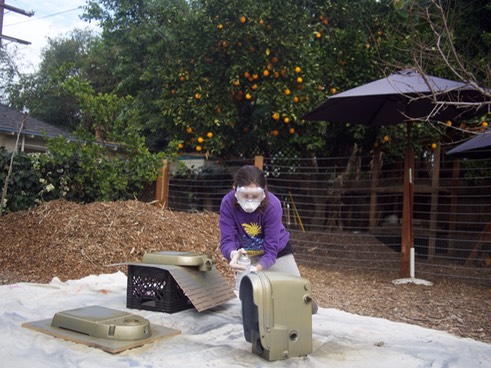
Then a second coat on everything to make sure we had covered all of the spots.
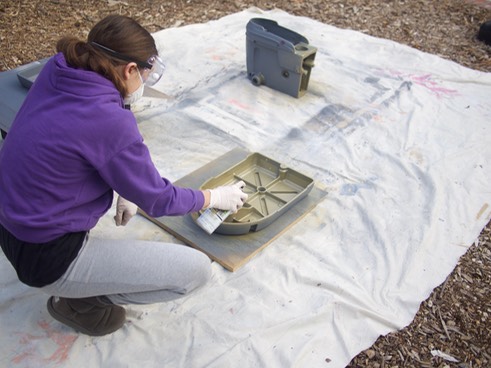
Starting to apply the Hammered coat. It is already looking great!
Finishing off the head casting with a coat of Hammered.
Then, a second coat of Hammered was applied, and it was finally the moment of truth (did the painter’s tape and cork plugs work?)
*drumroll*
And it worked!
Here’s the painted casting.
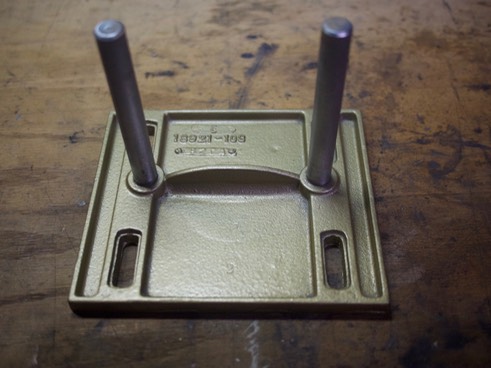
The painted motor mount.
Removing tape from the bed.
Removing tape from the head casting.

The inside of the head casting.
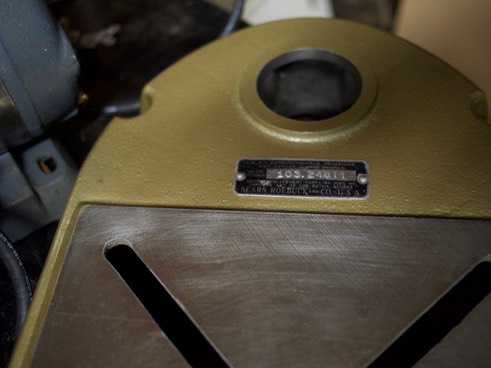
The top of the base. You can see the exposed metal clearly not painted, and the plate that we had taken off for painting.
Soon I will be posting photos of the motor teardown, cleaning, and reassembly!
