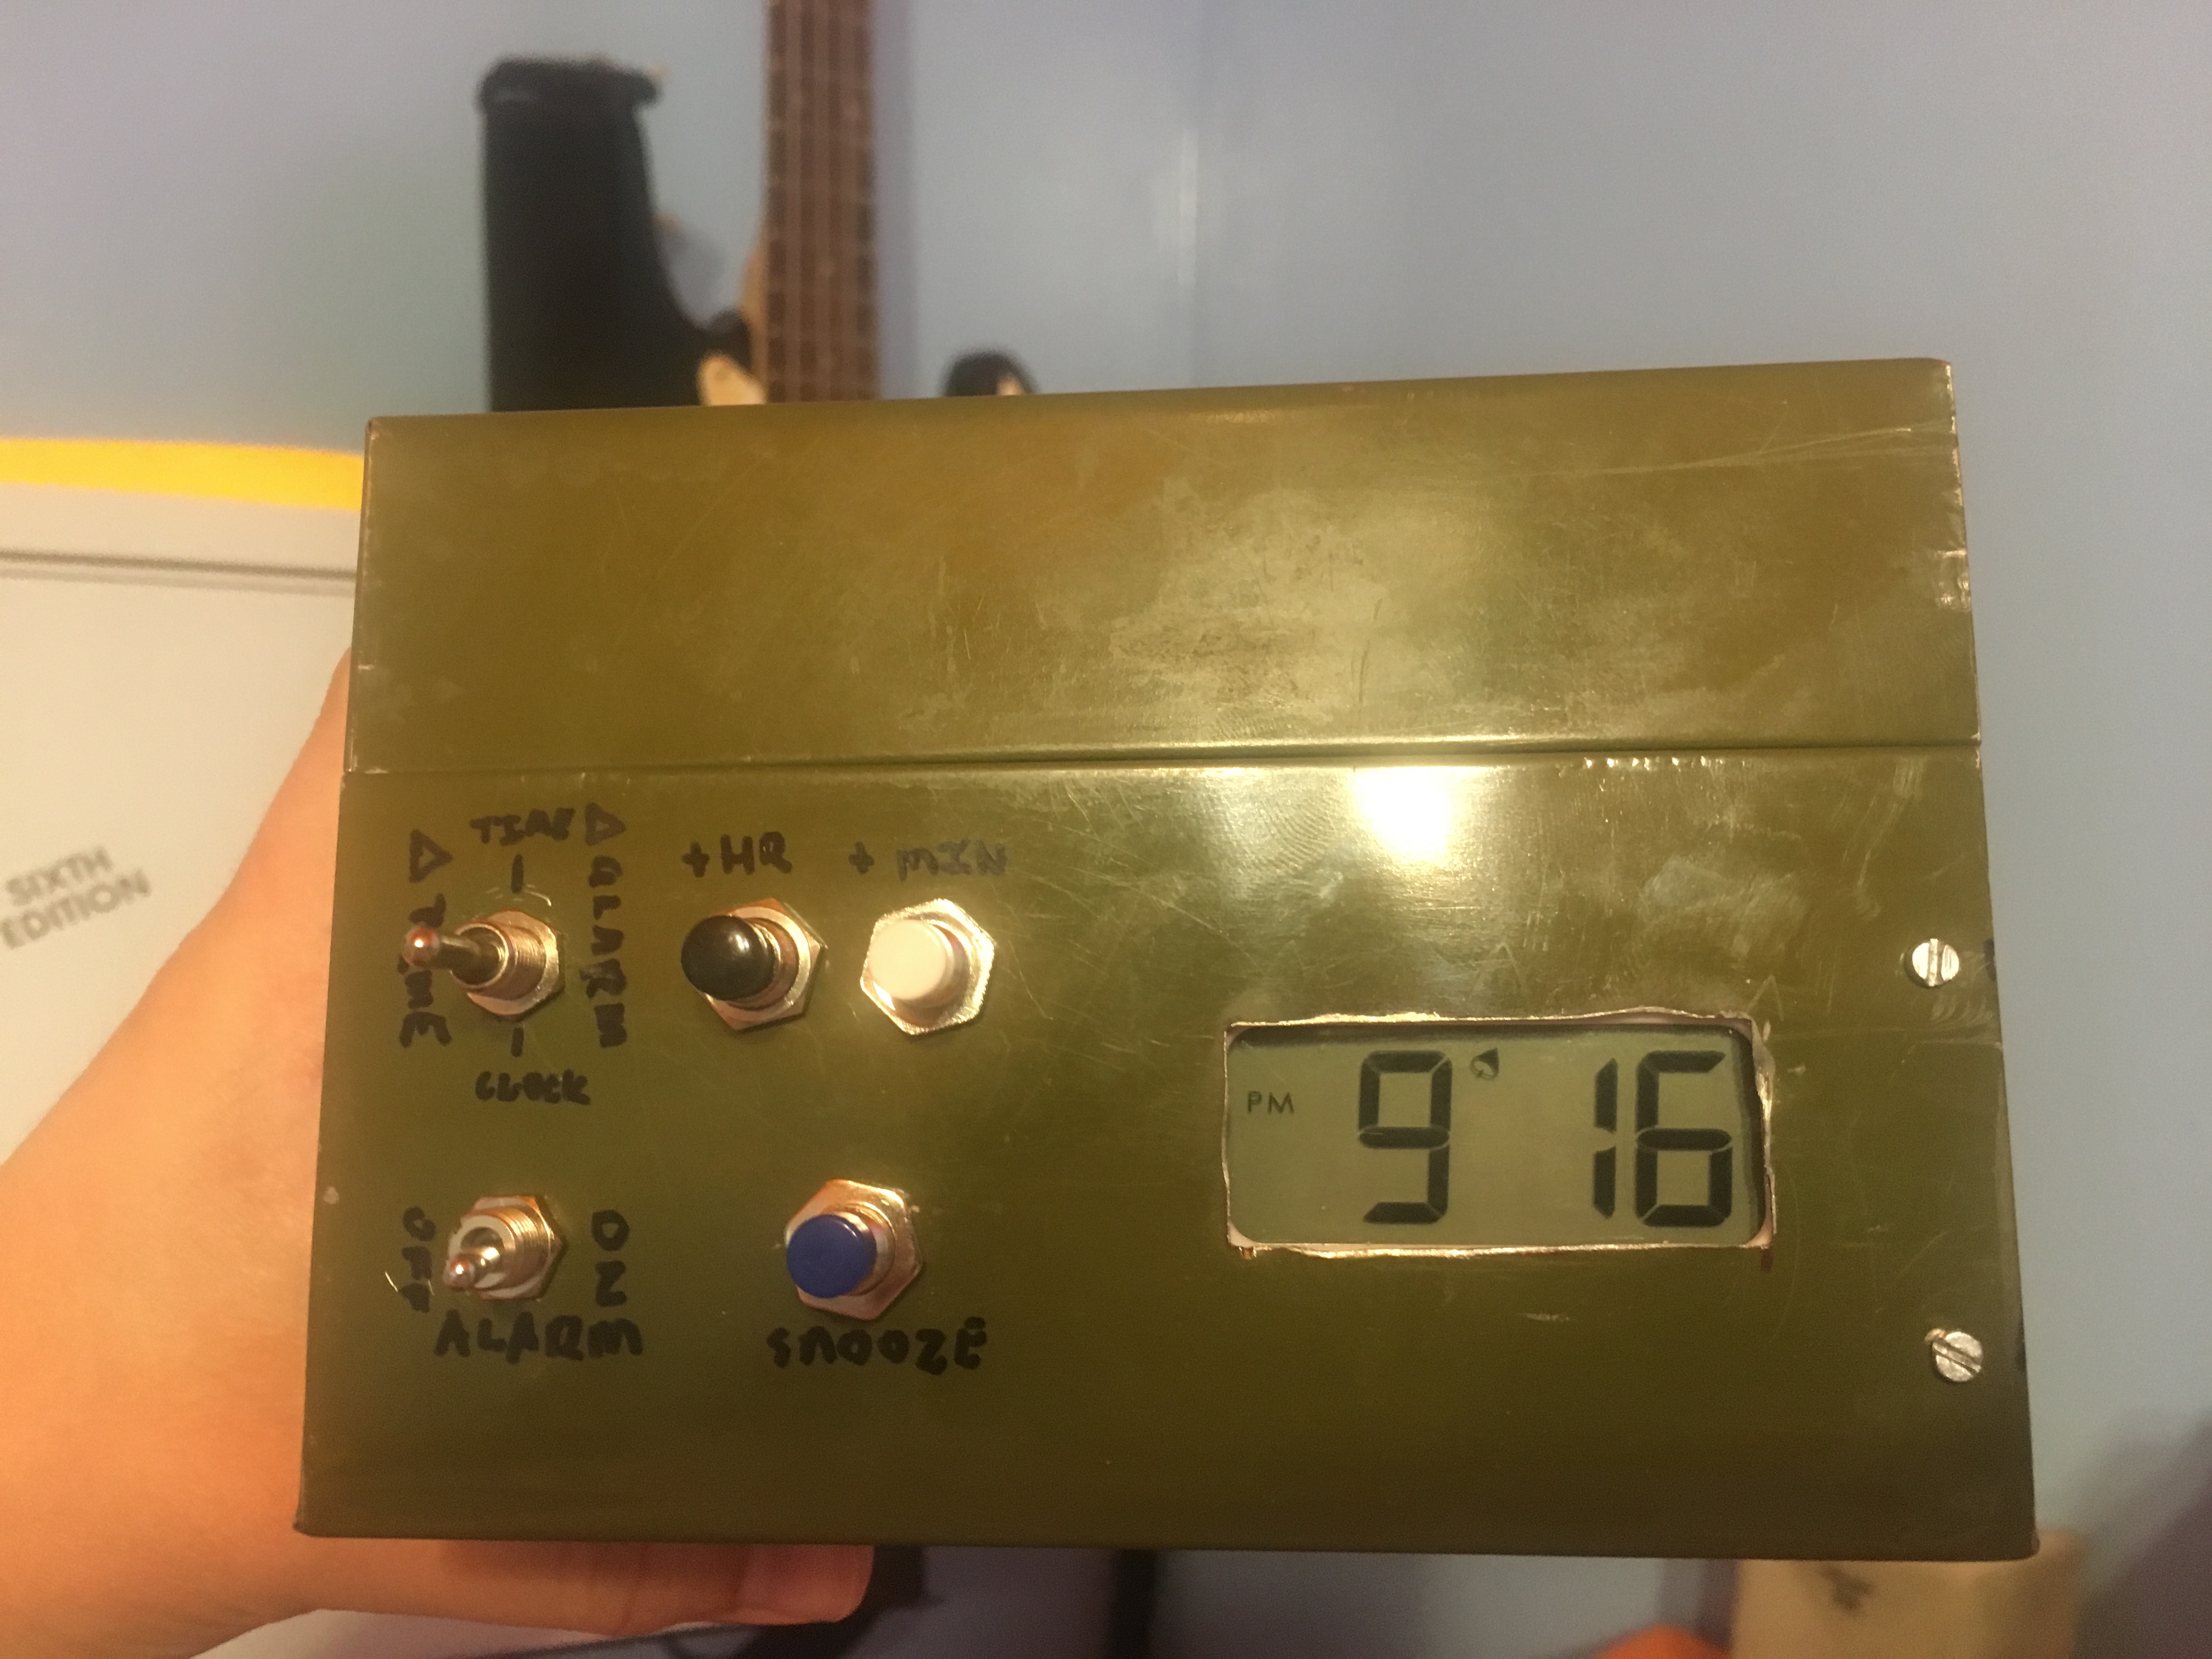
Alarm Clock Teardown/Rebuild
After salvaging a cool box destined for the trash, I was inspired to re-purpose it into an alarm clock! I had some spare buttons and switches and an ugly plastic alarm clock, so I decided to incorporate them, as well.
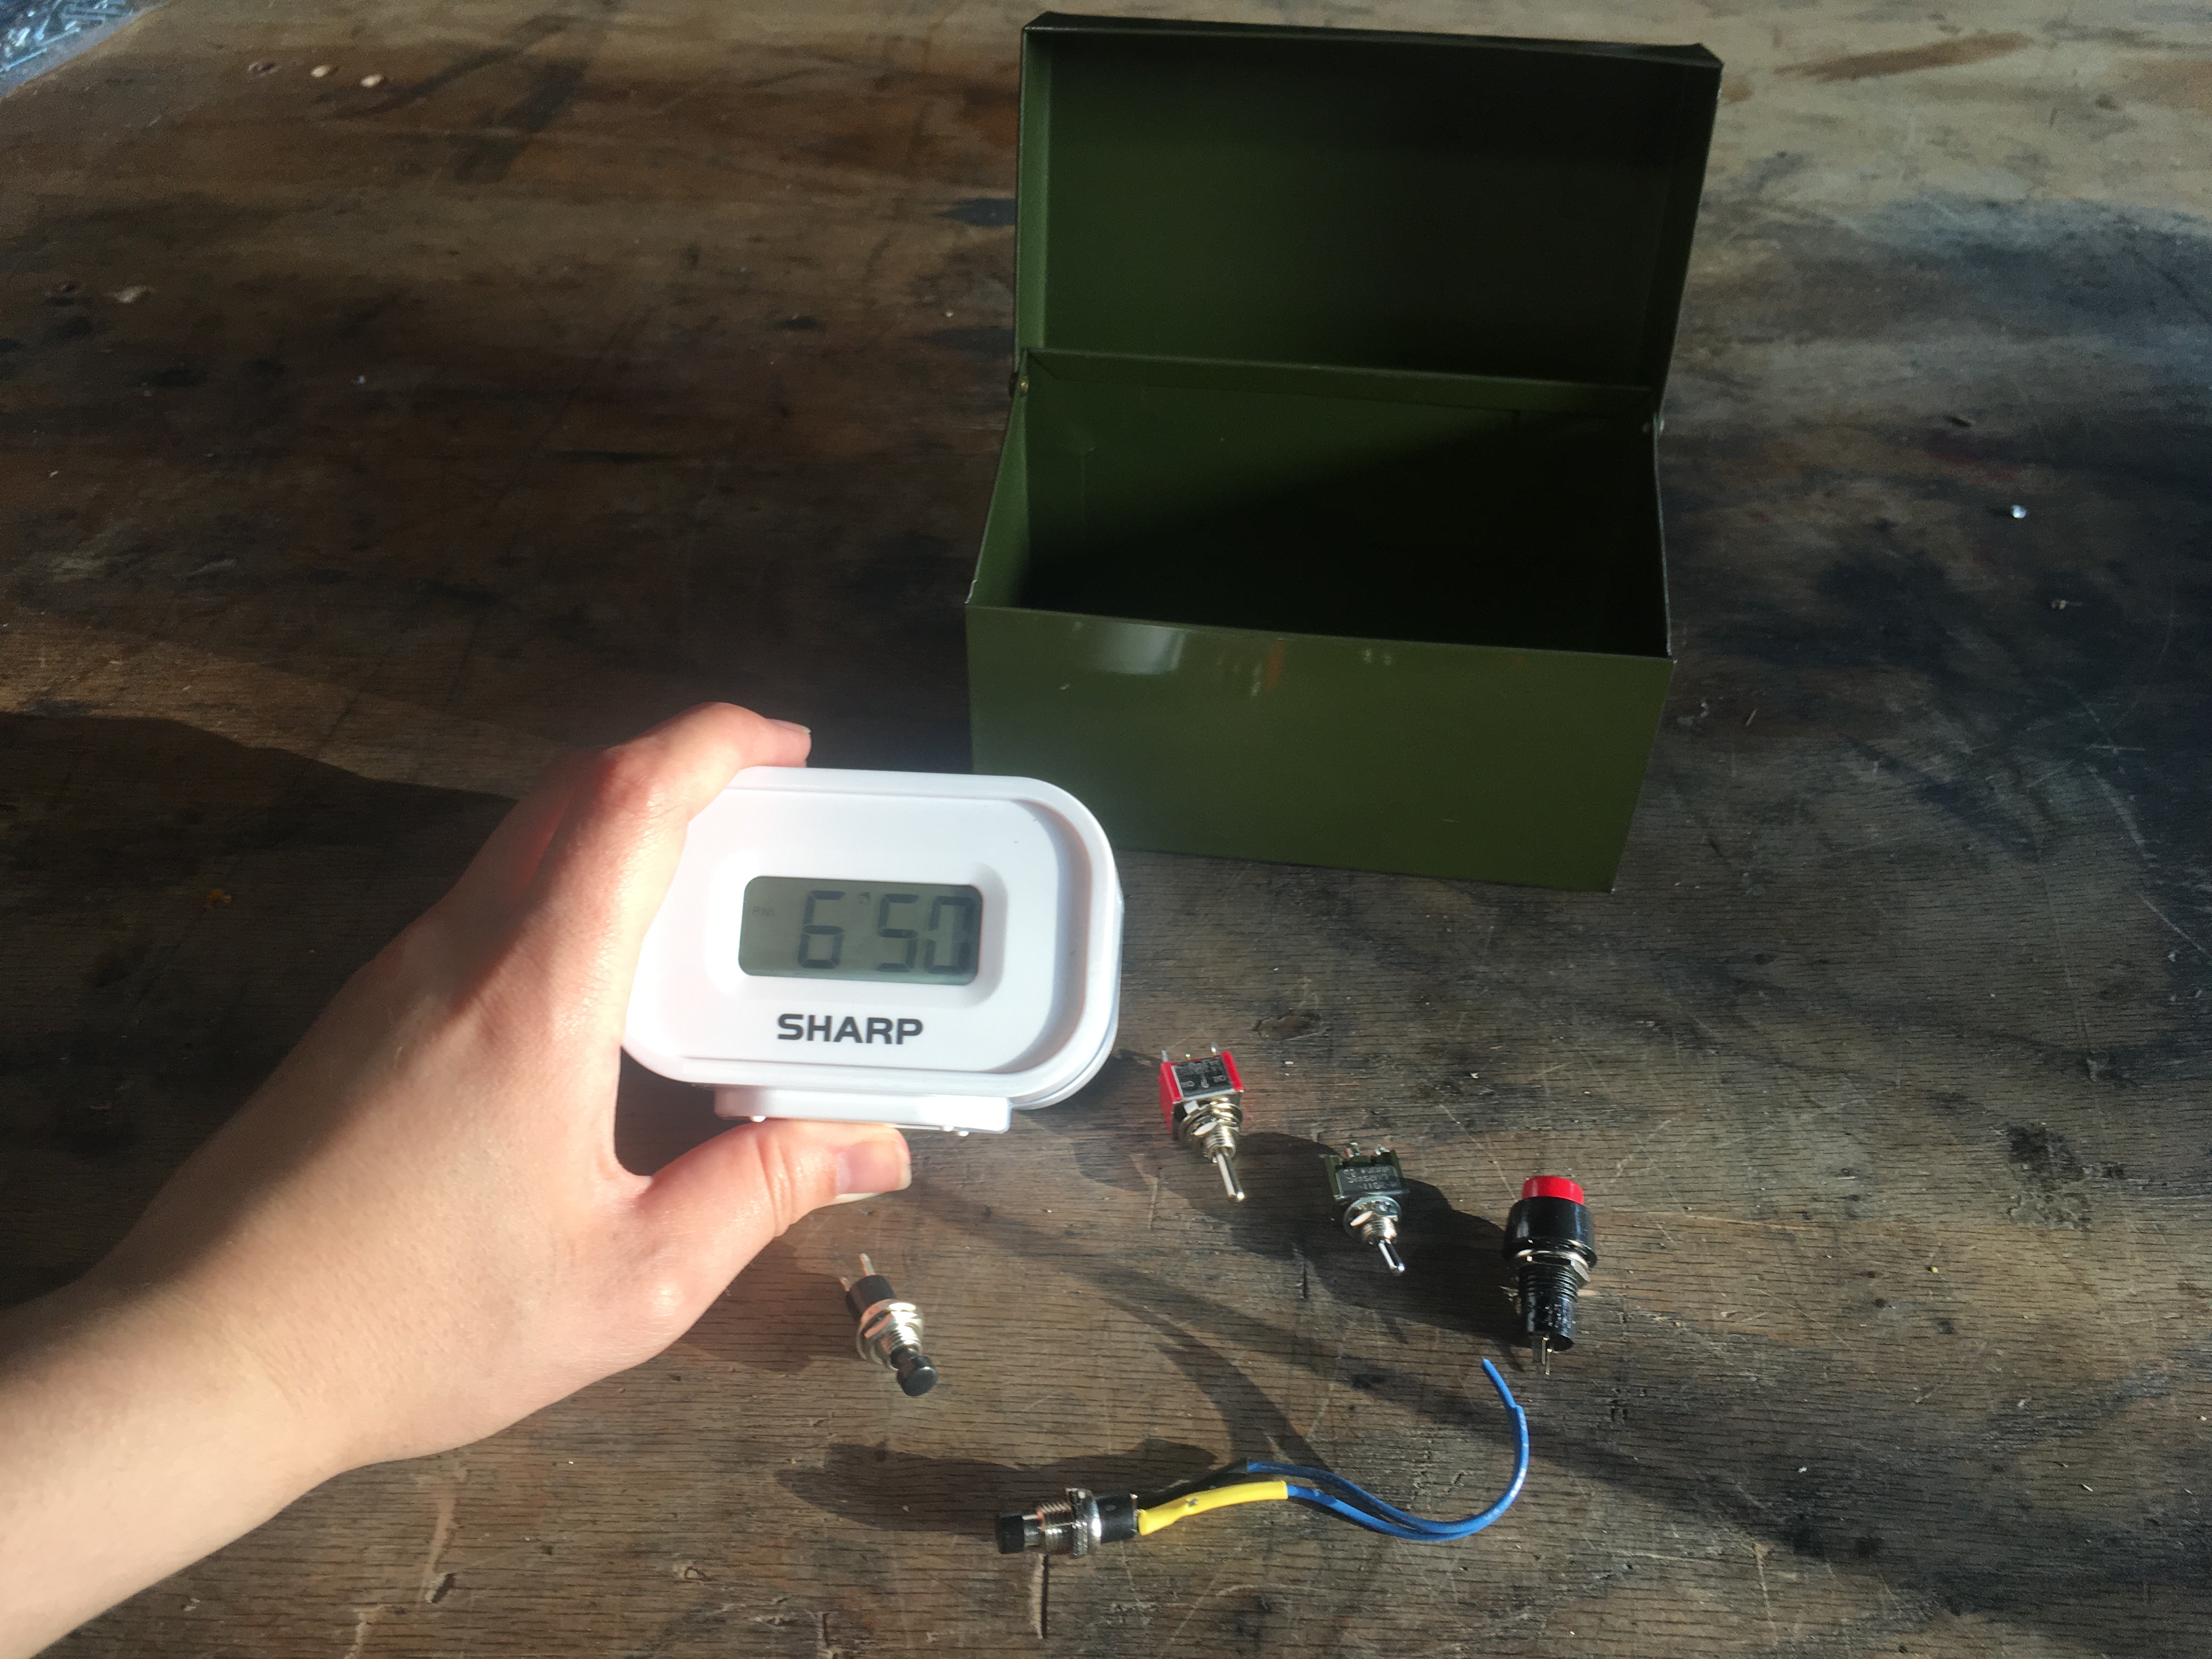
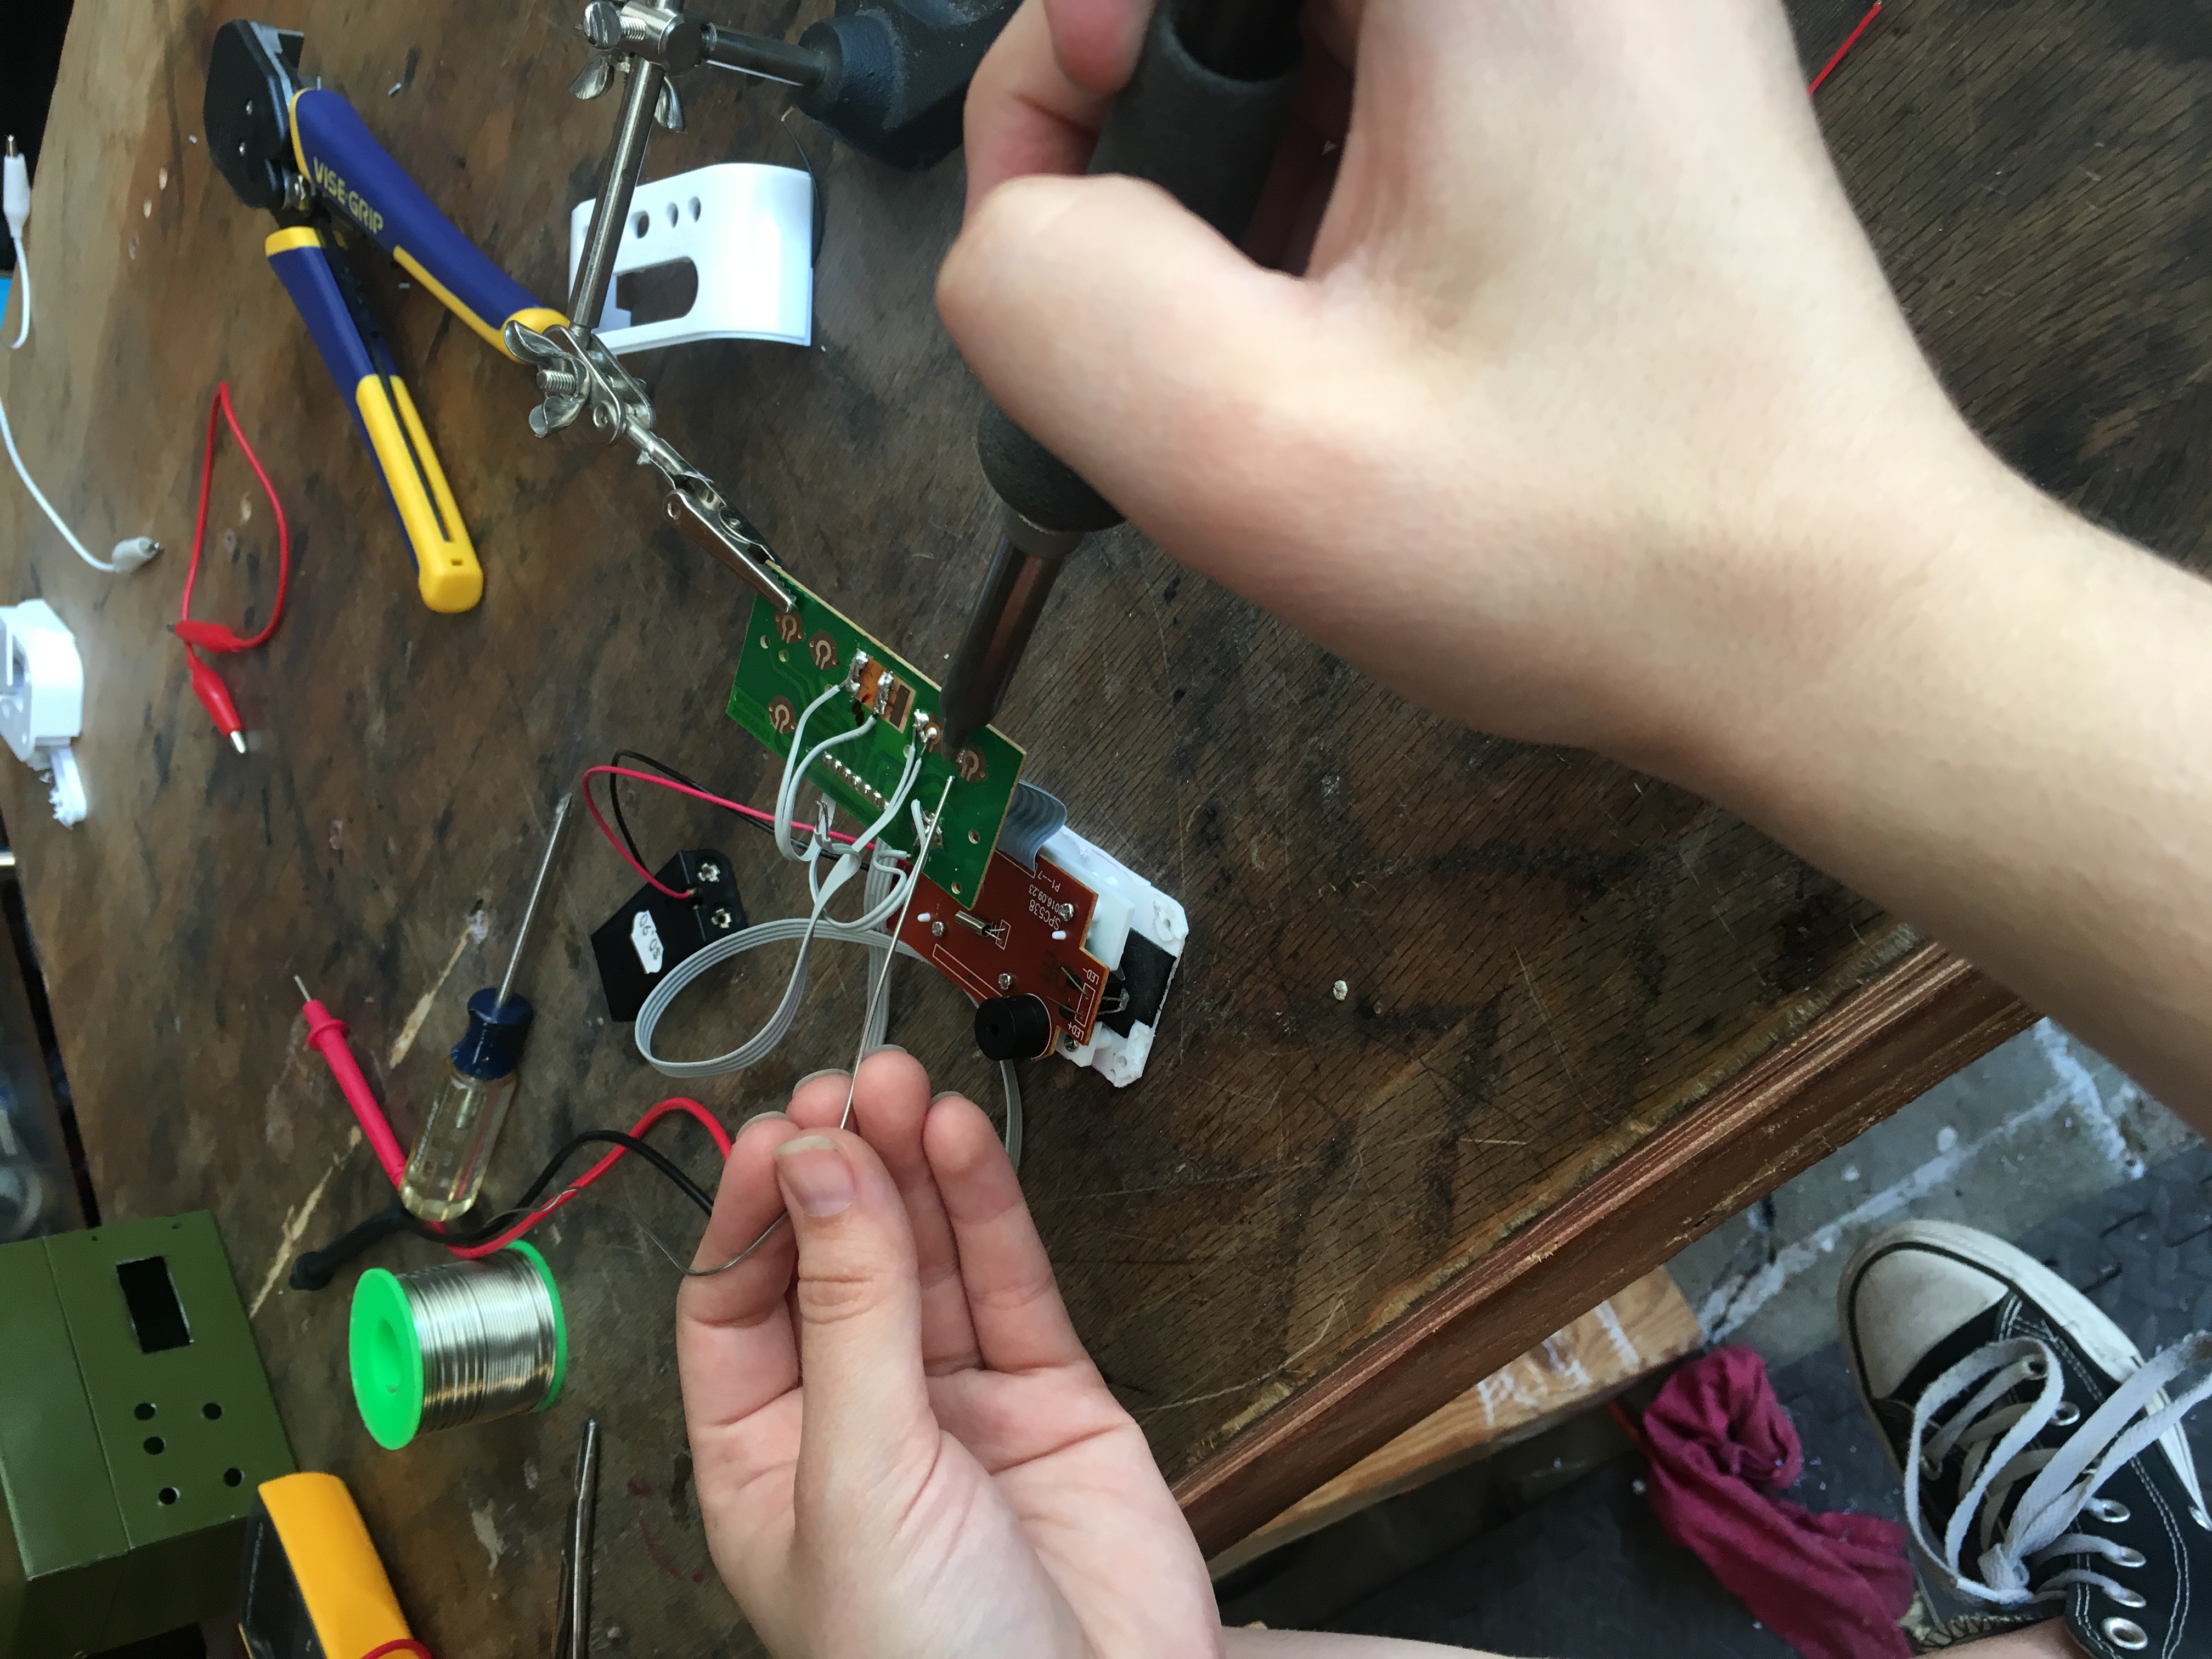
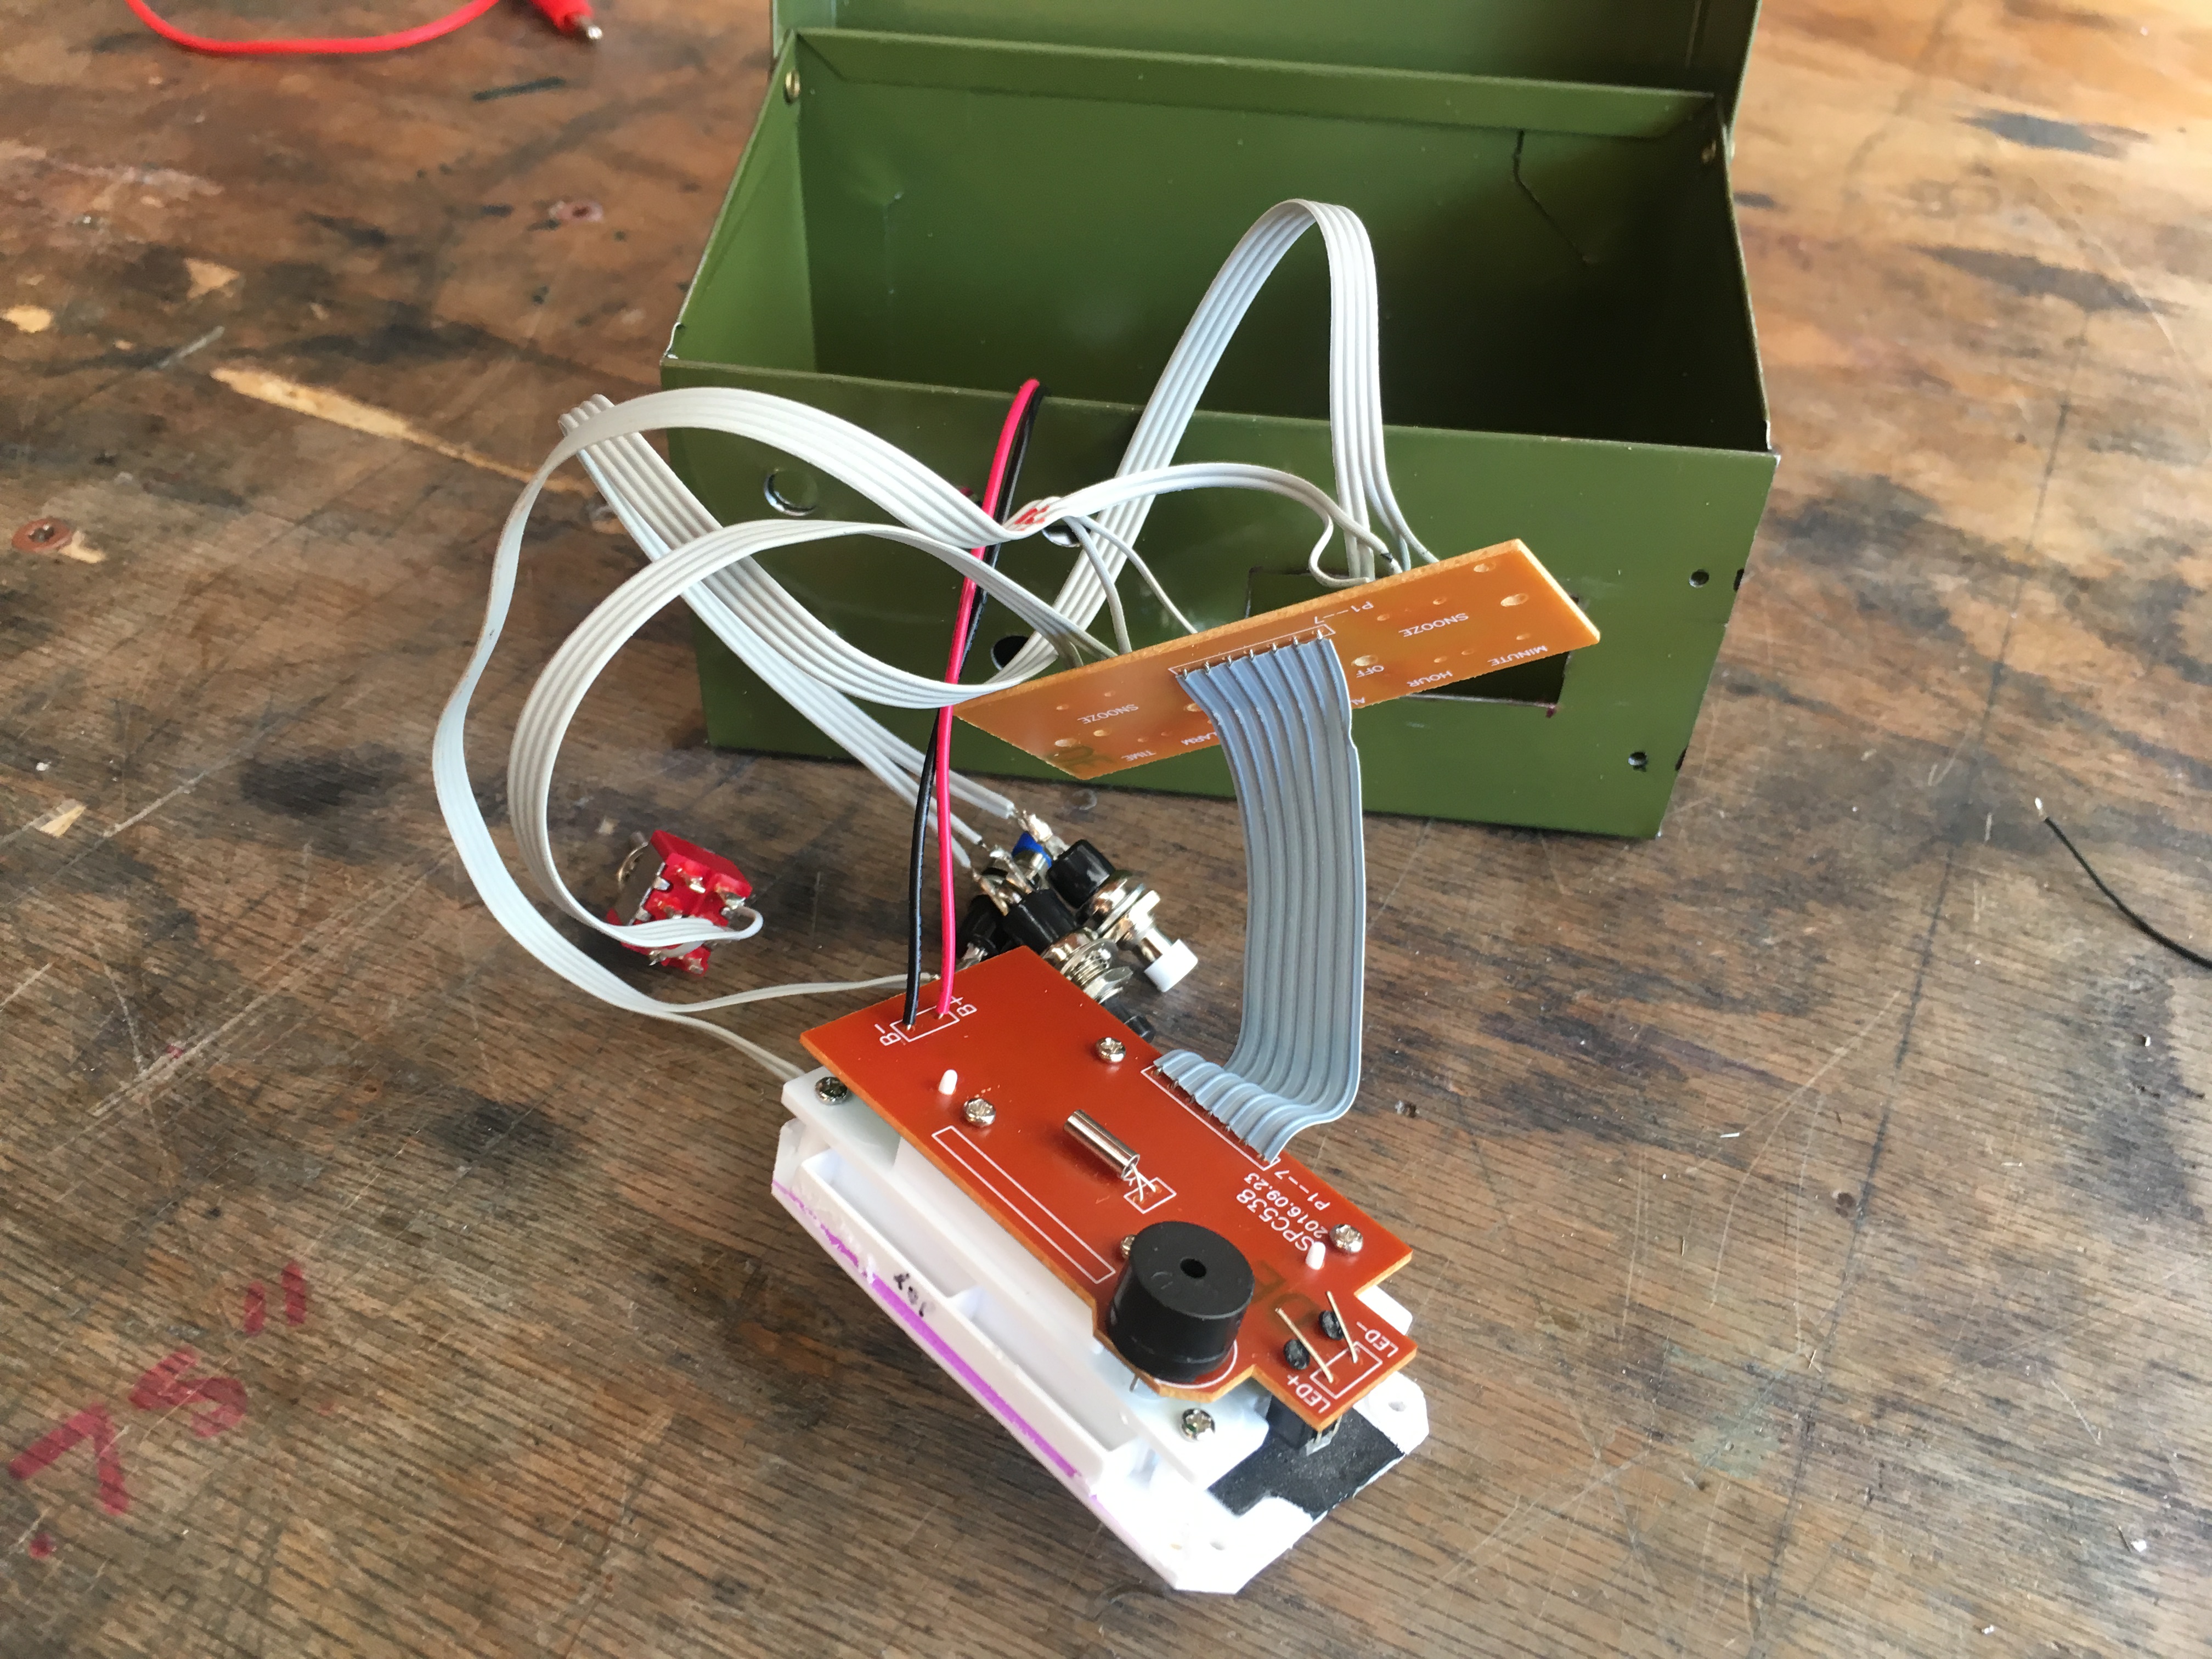
First, I had to take apart my current alarm clock and assess the situation. I was looking for factors such as: how many/which batteries are connected, how the buttons are configured (the switch-uation, if you will), what mechanisms need to stay together in order for the clock to still work, etc.
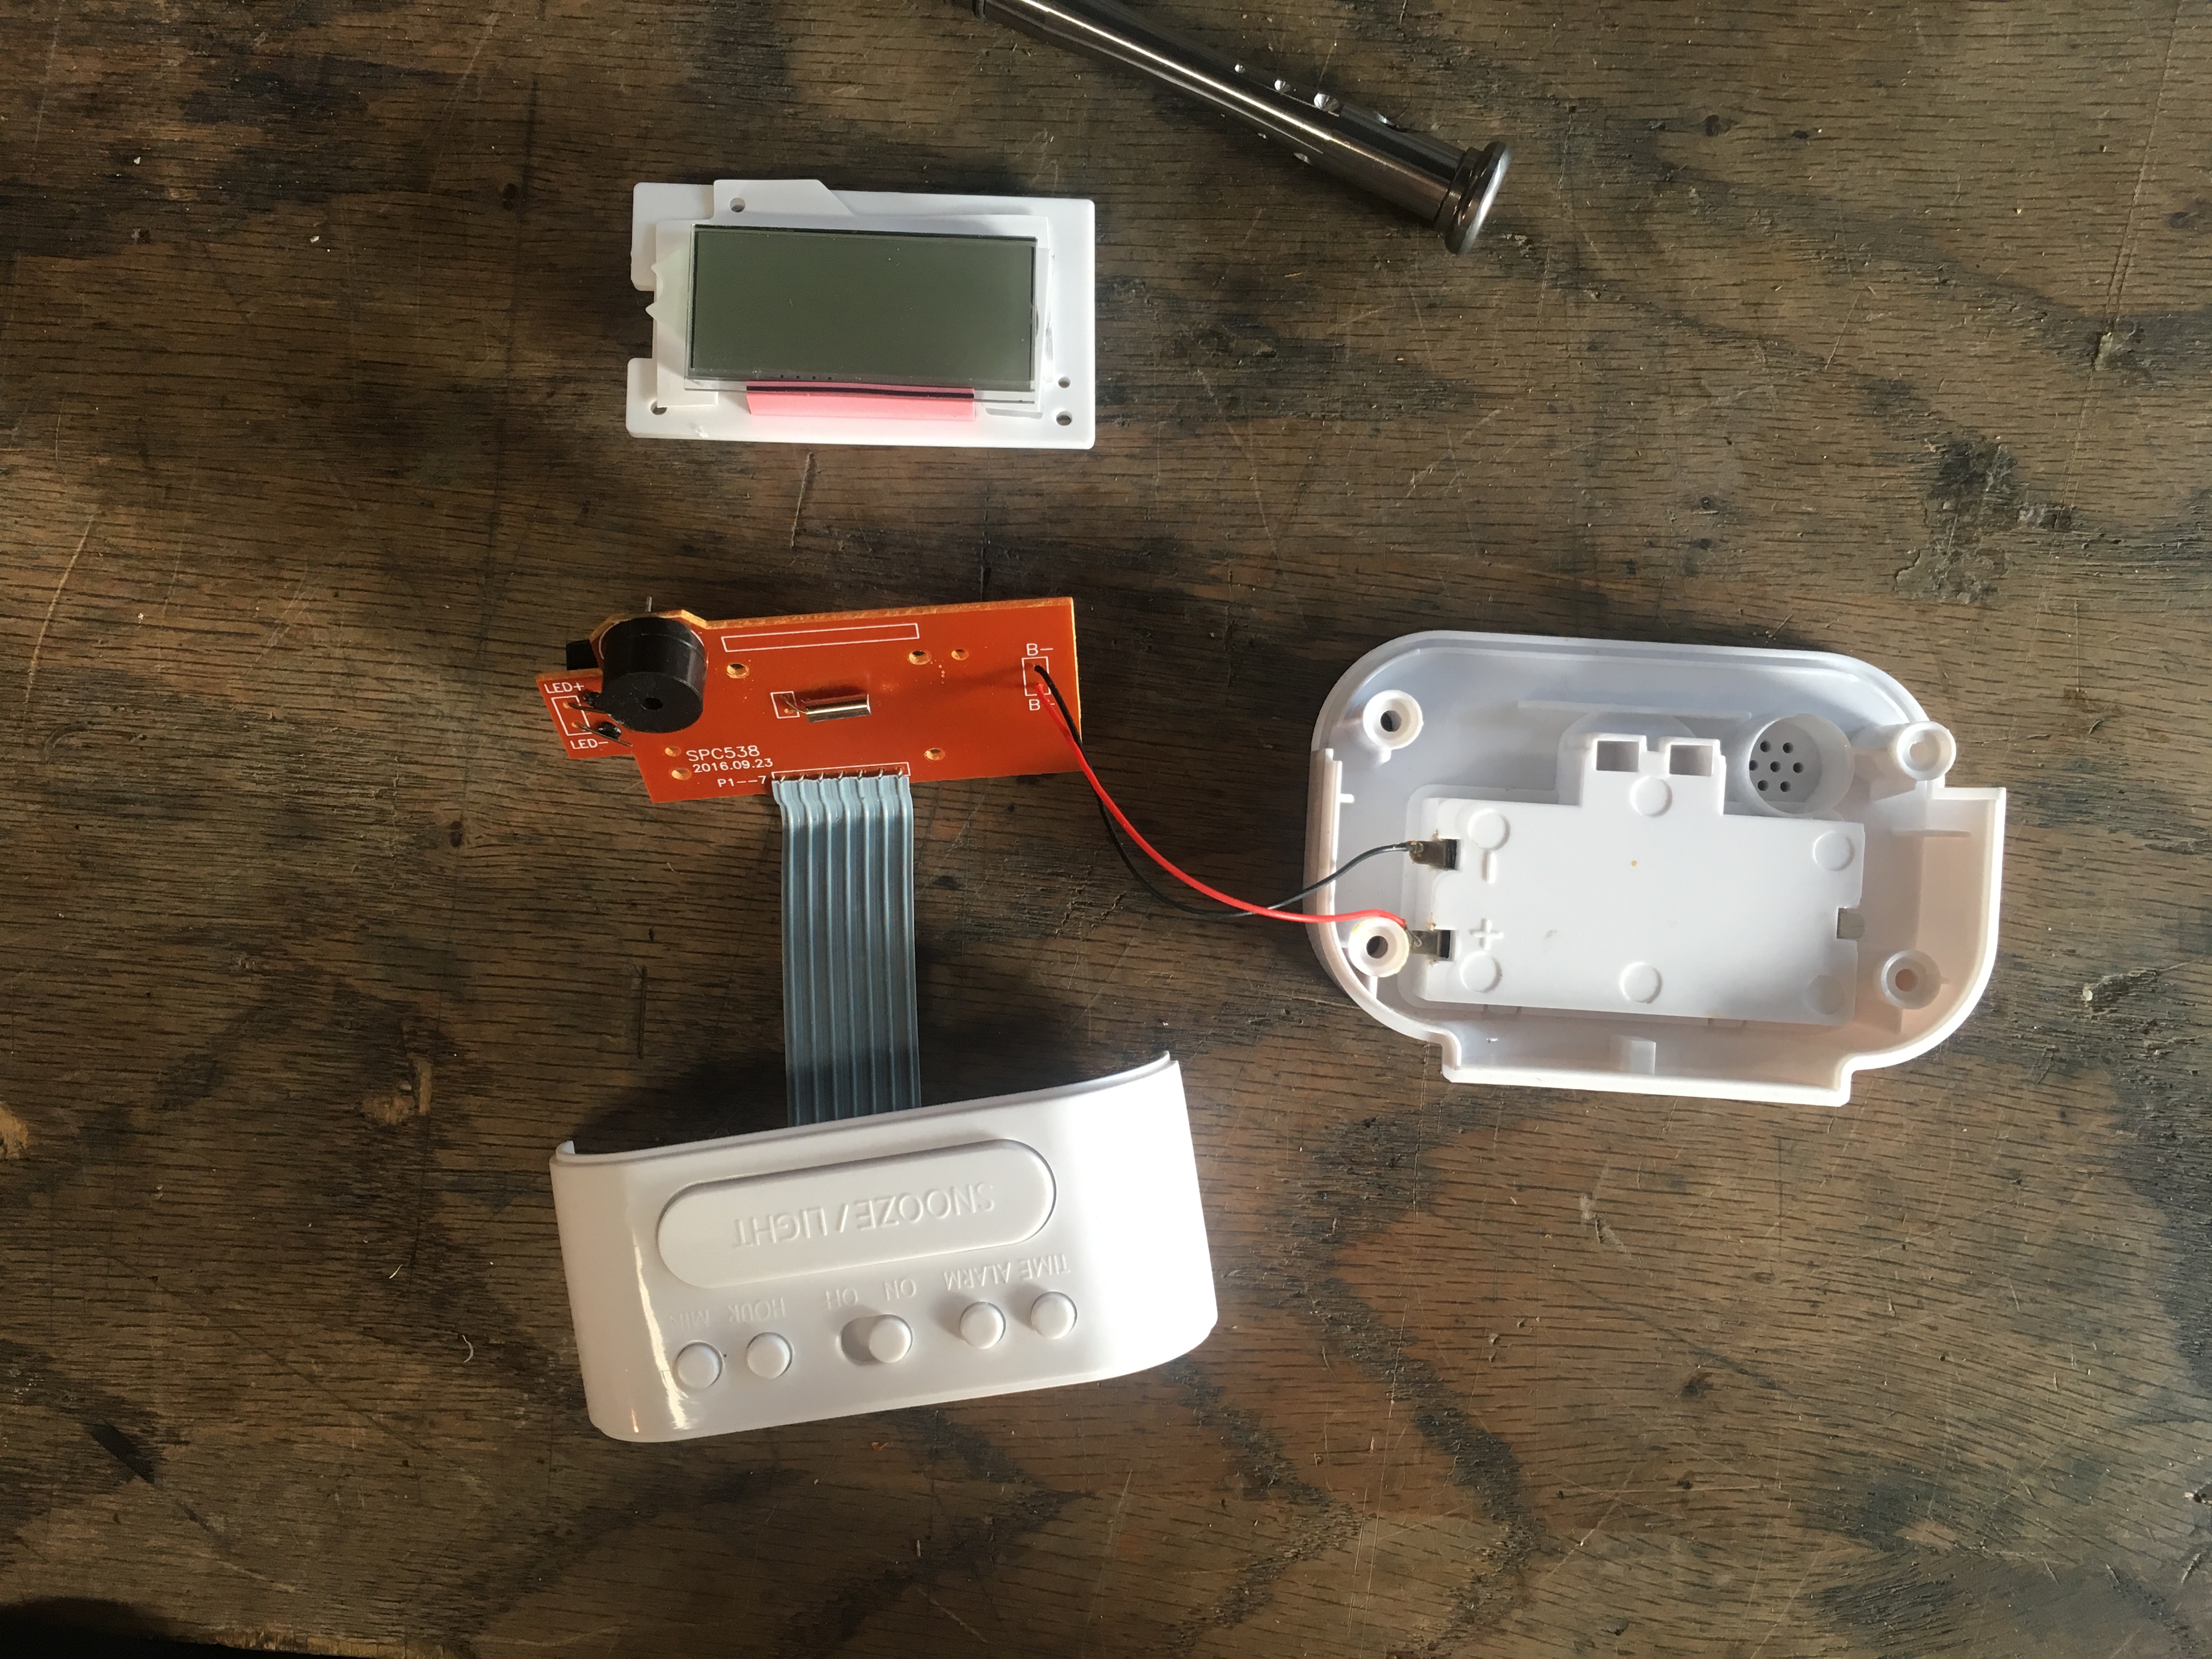
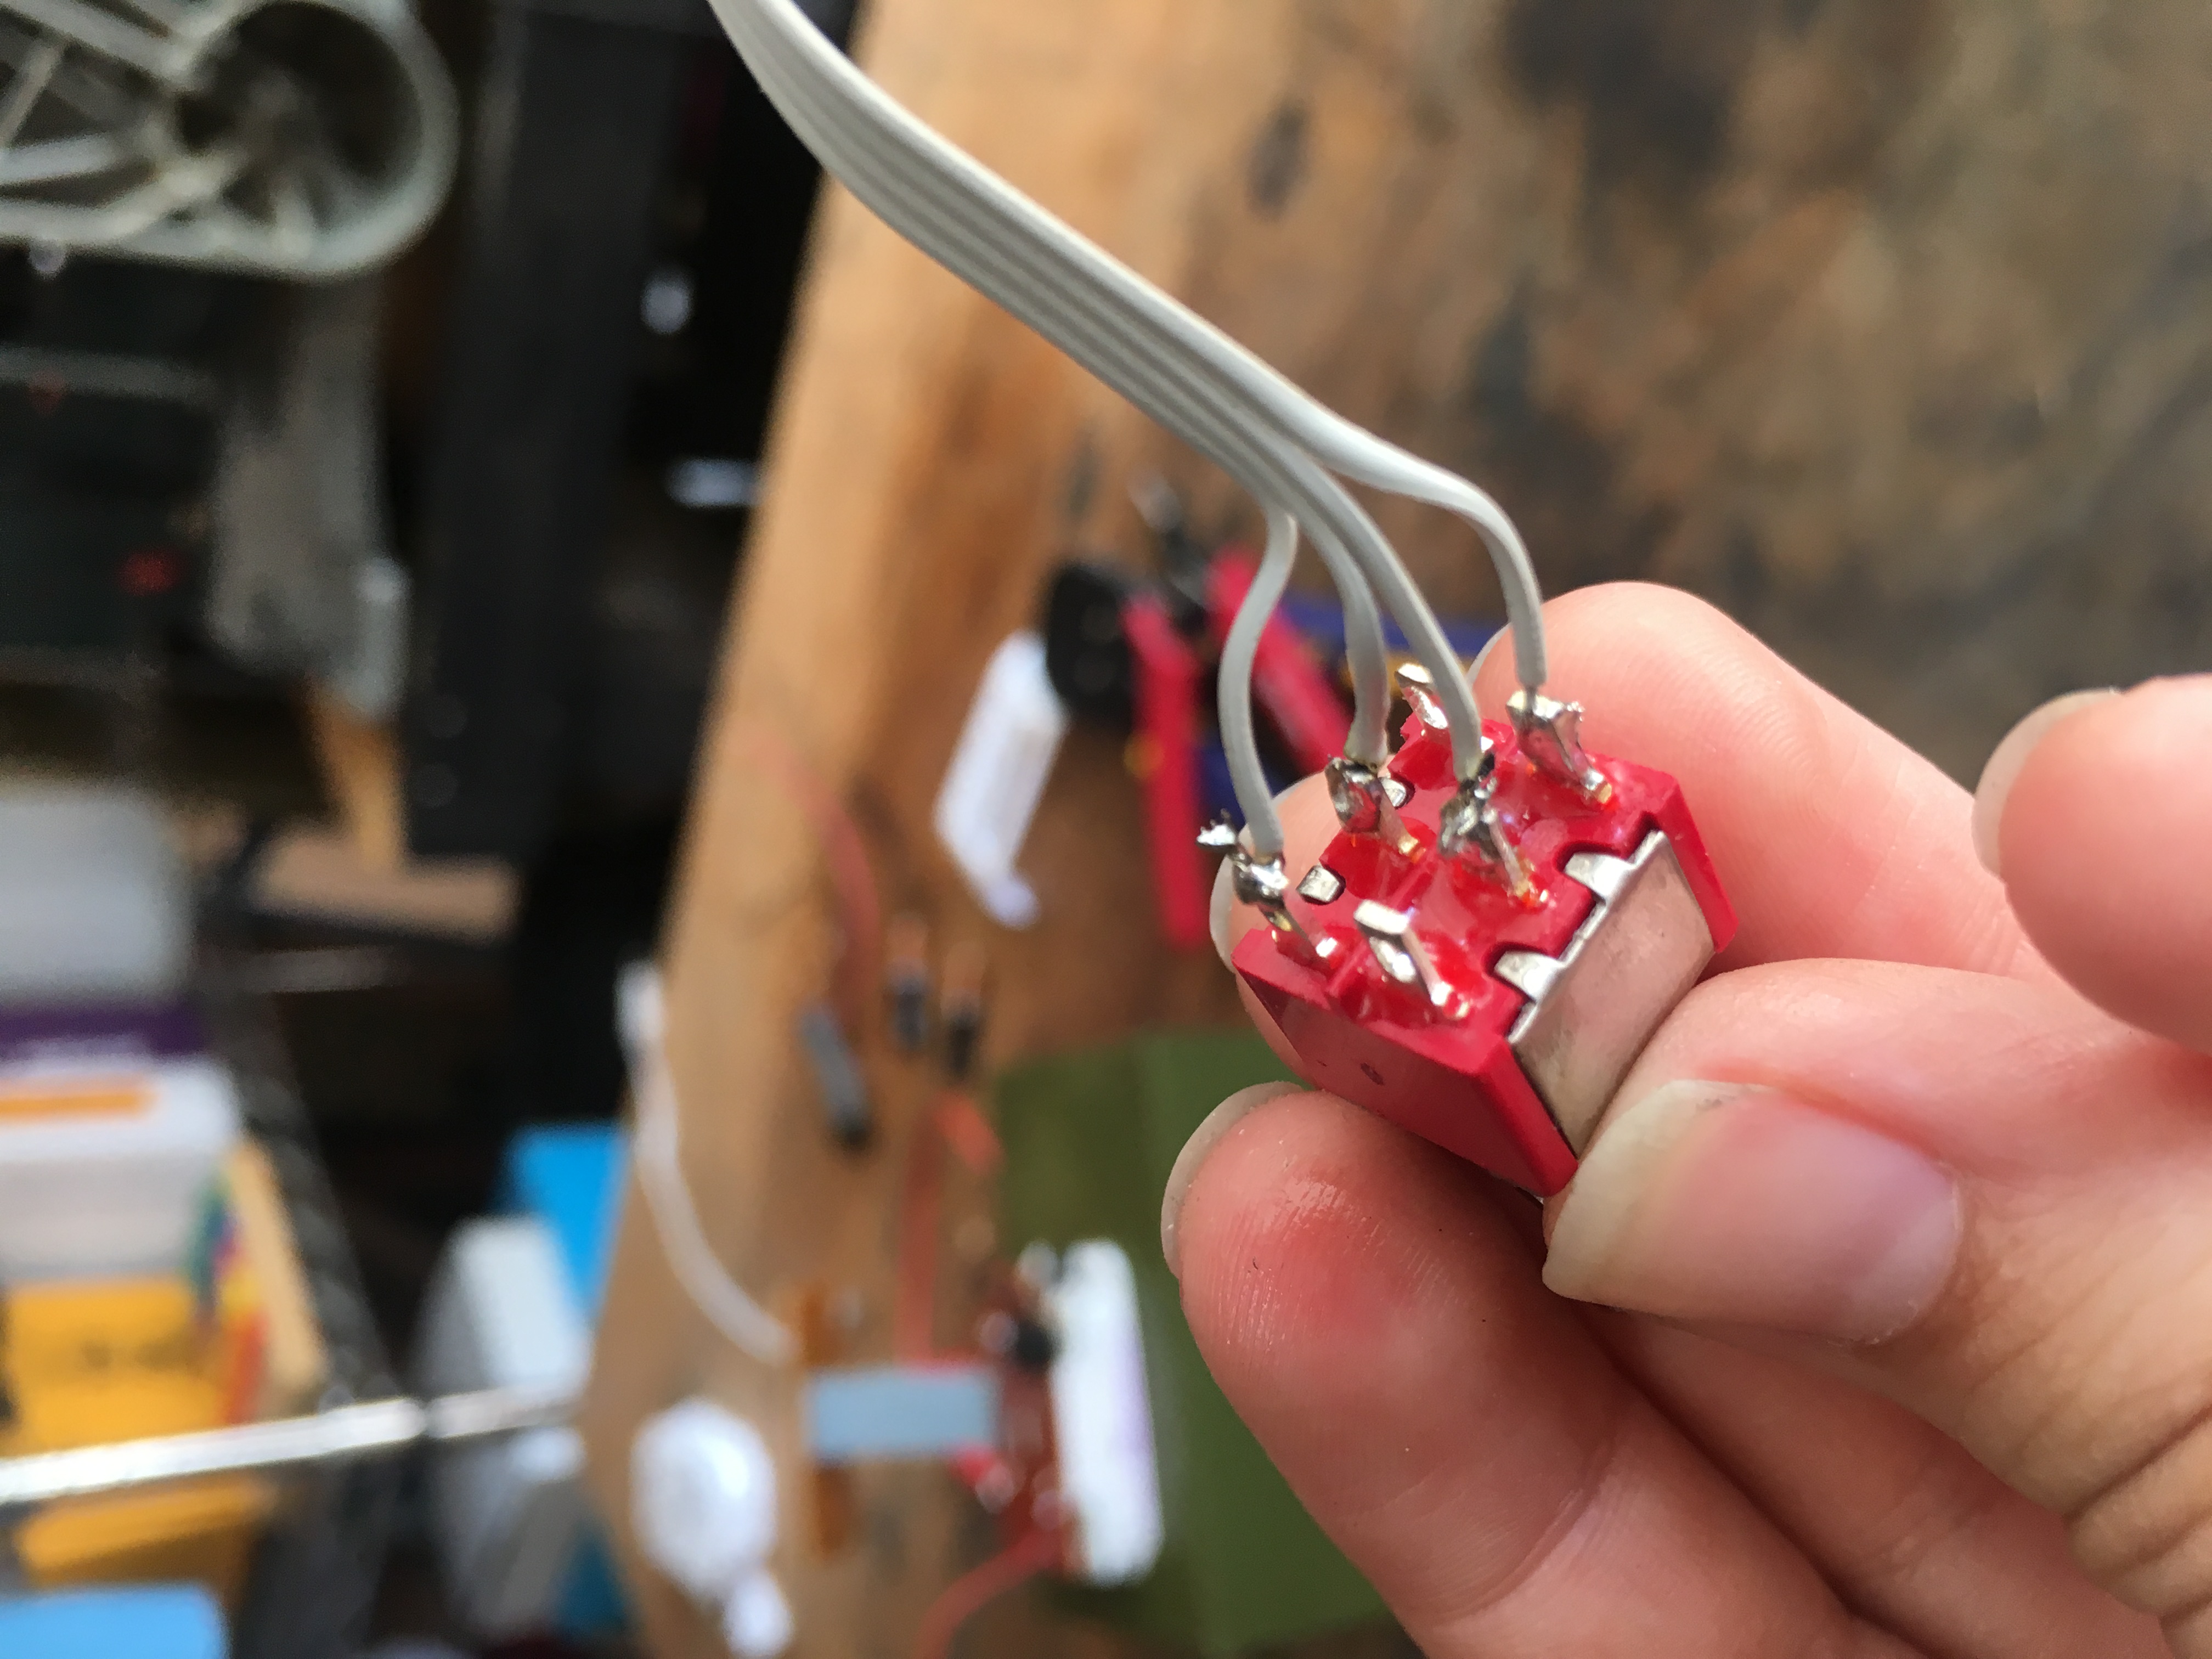
I could easily solder wires to the board to connect my buttons and switches instead of the depressable metal cups that were held in place by tape (a common manufacturing technique for cheap buttons). I used ribbon cables to keep the wiring orderly.
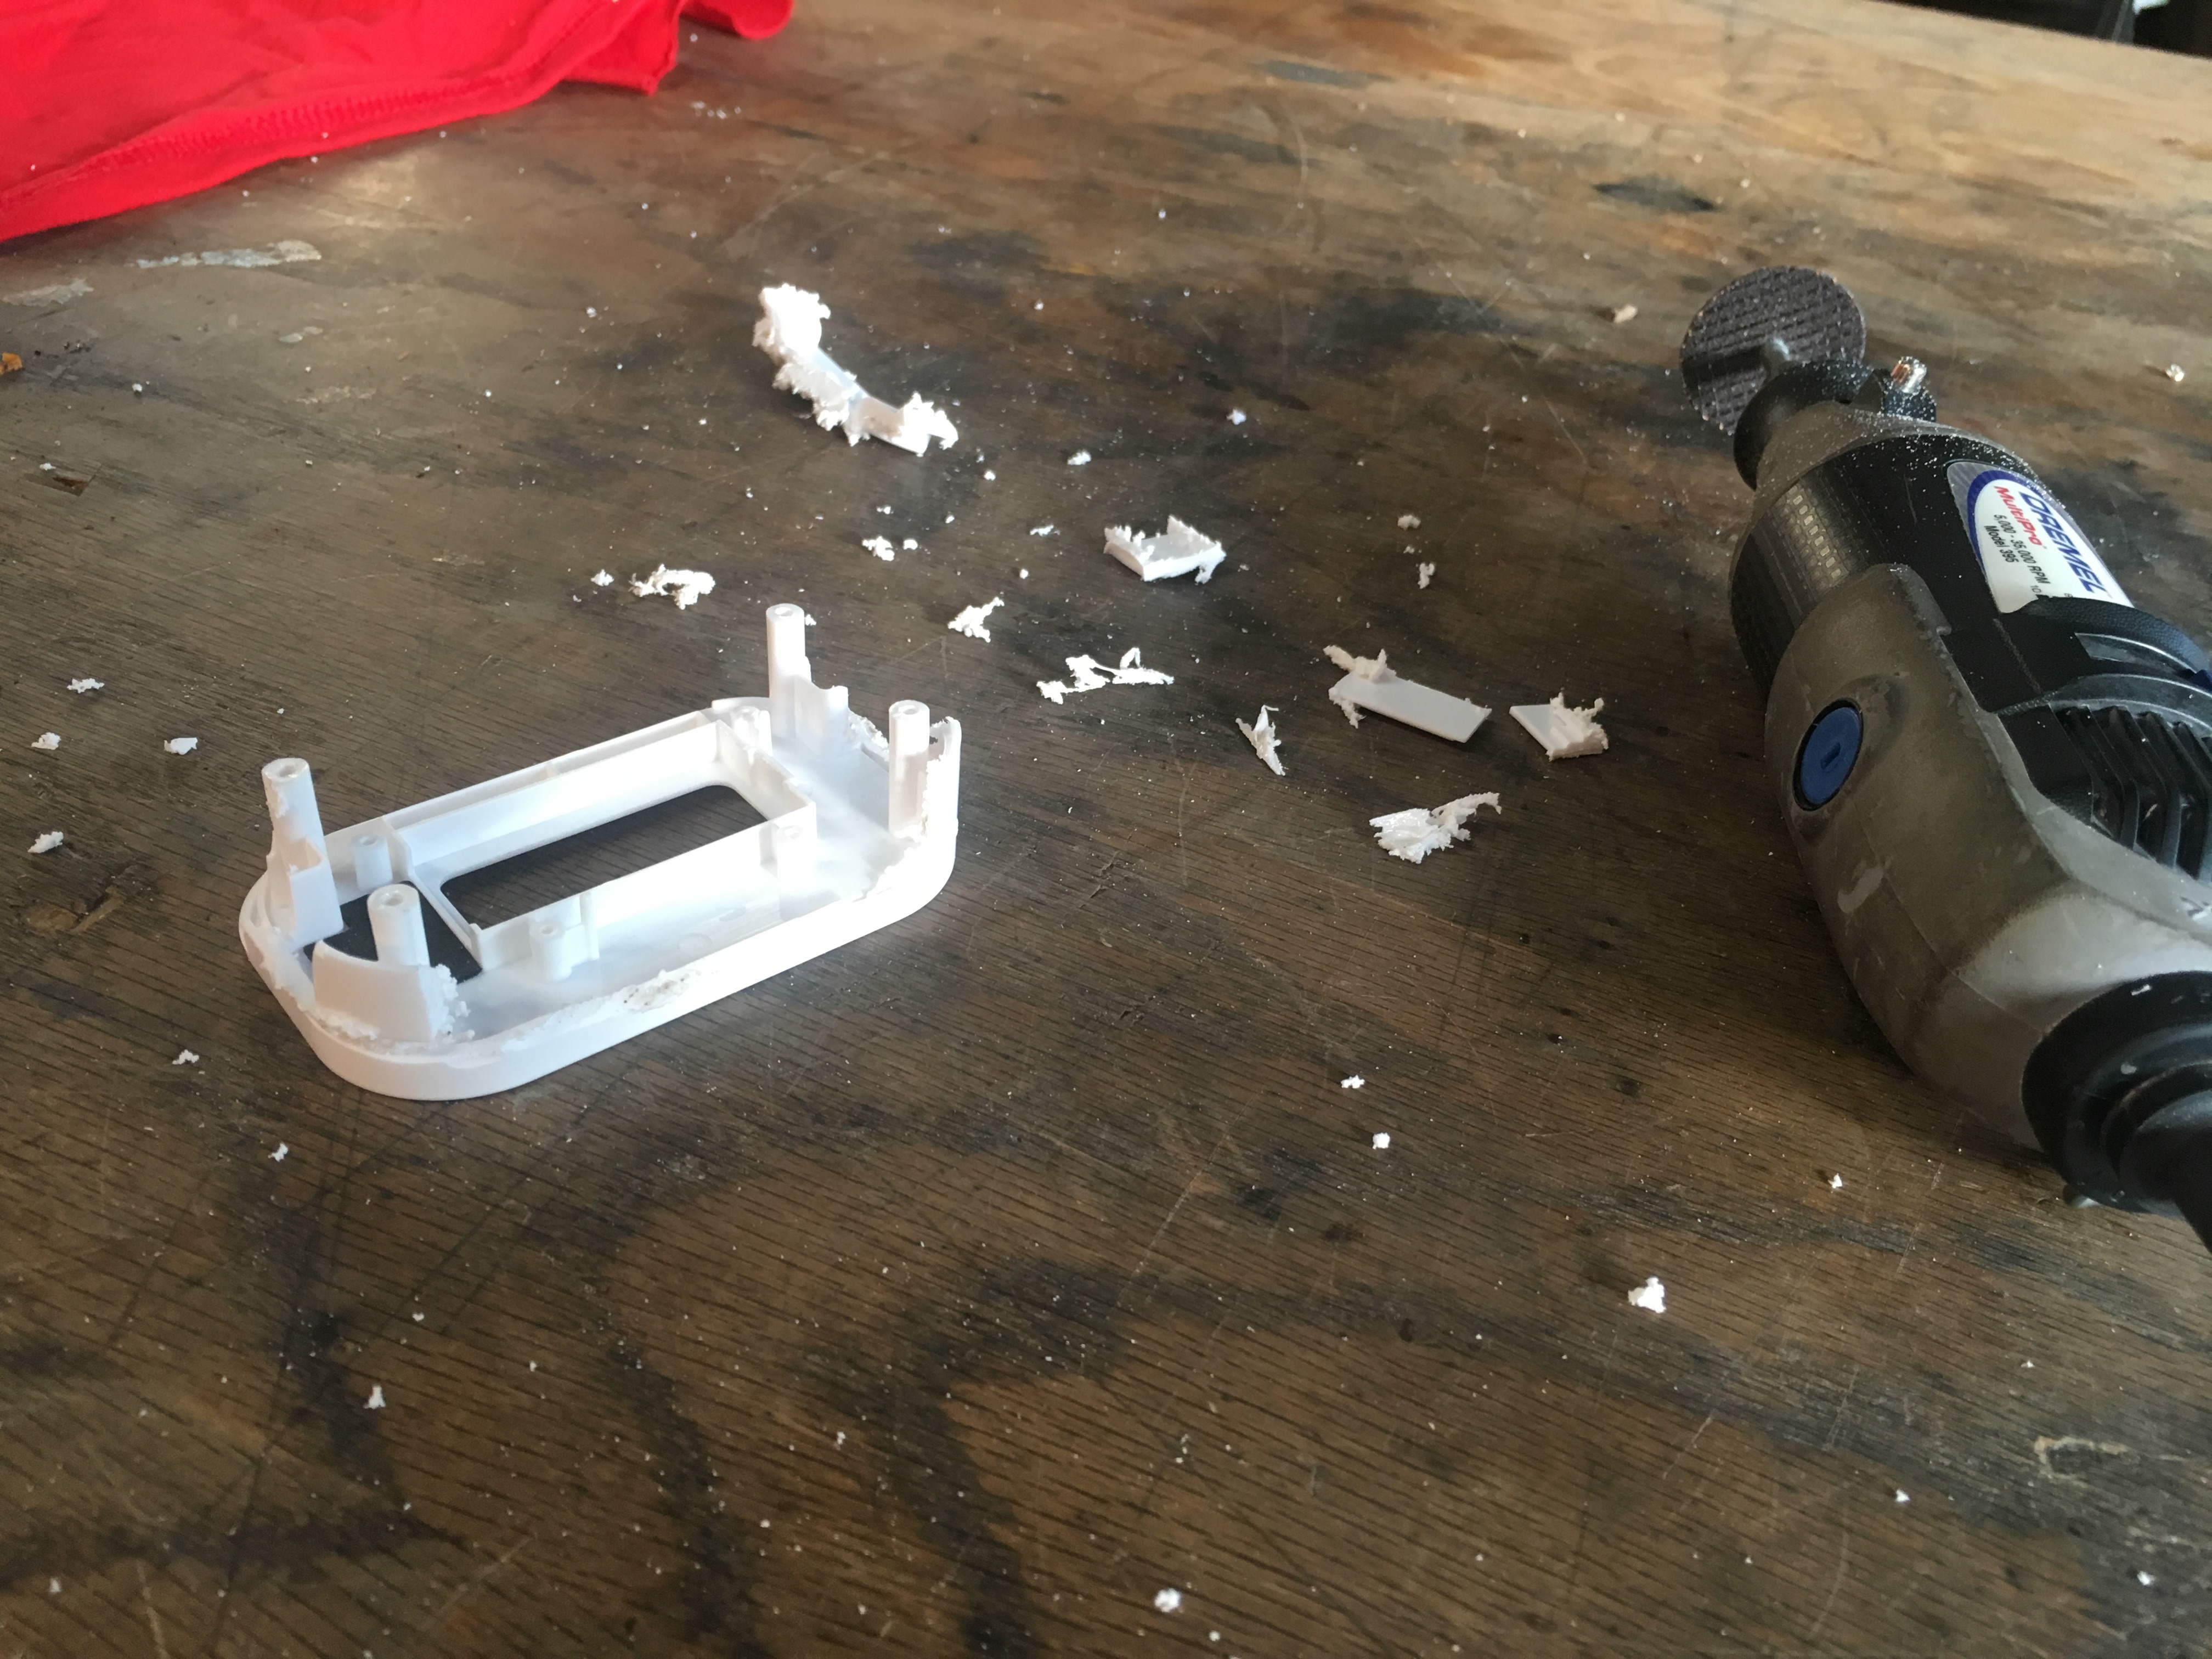
The chassis of the alarm clock served to hold the parts of the LCD matrix together, so I had to keep that section together, but I didn’t want most of the chassis. So, I took a Dremel and hacked off the parts that were irrelevant, and then sanded down the face of the chassis to get rid of the bevel.
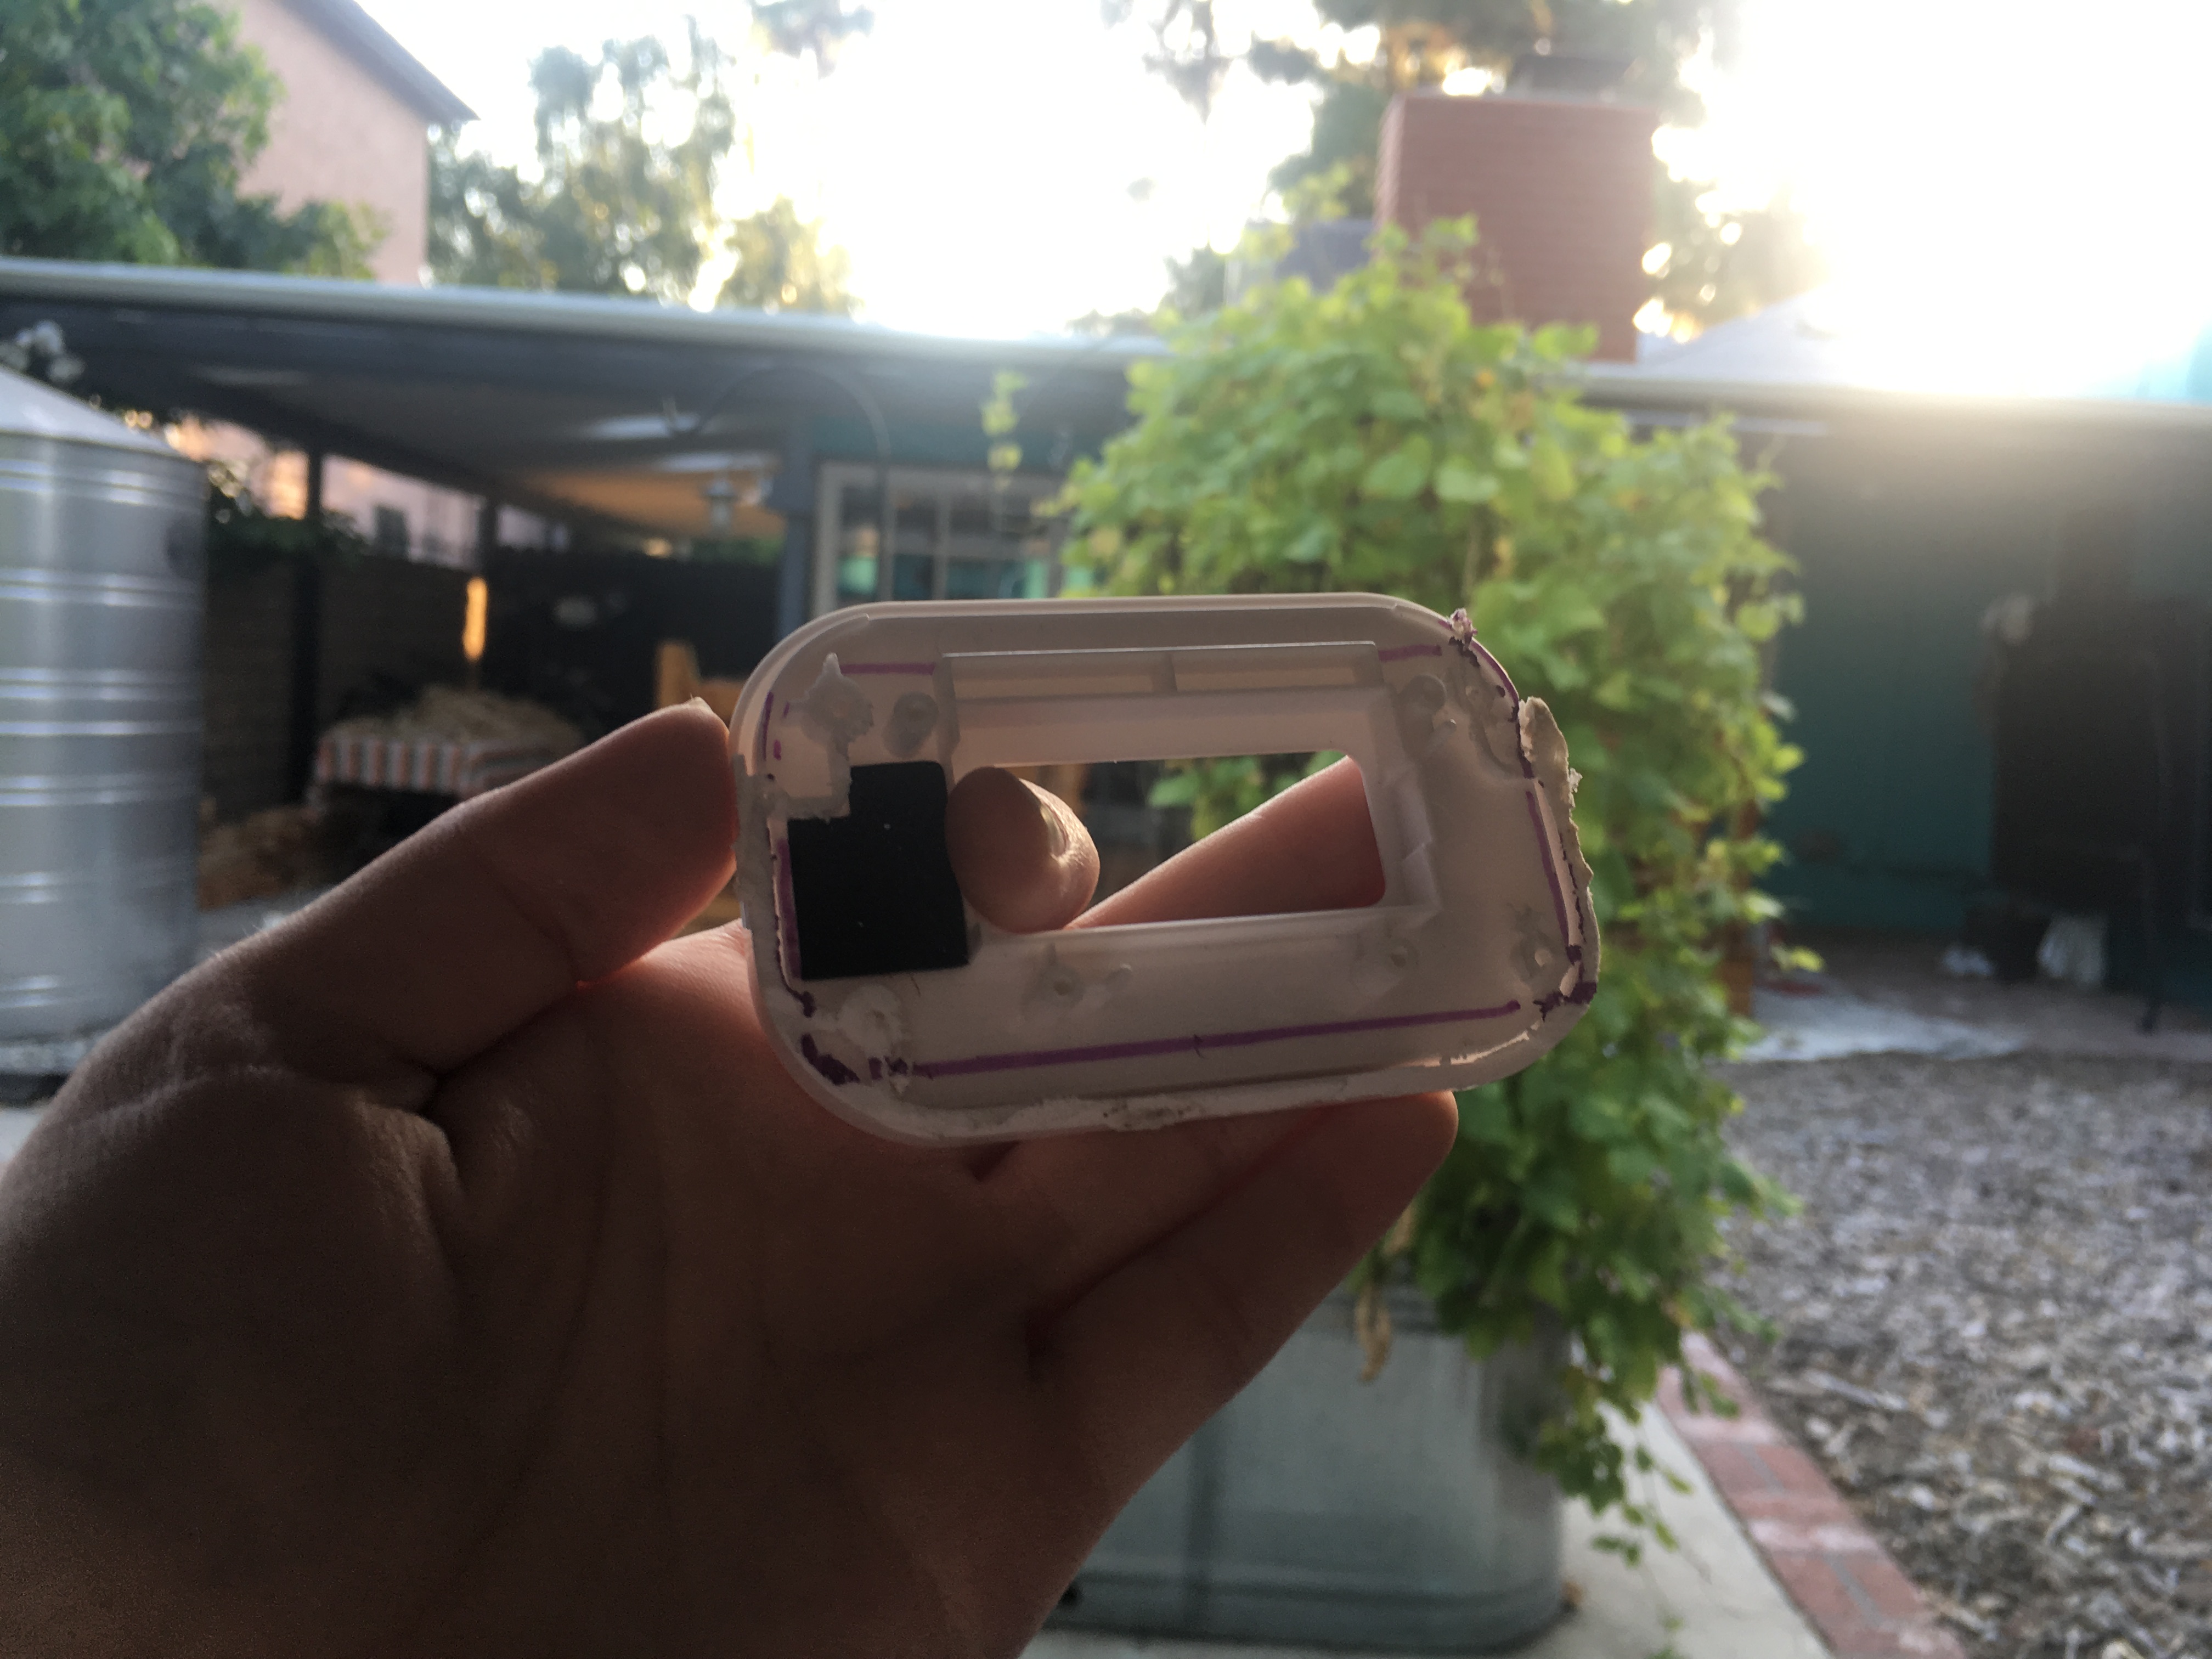
For the box, I determined my part layout and then used a Dremel for the LCD window and my drill press for the switch holes.

Once everything was complete electrically (and working), I assembled!

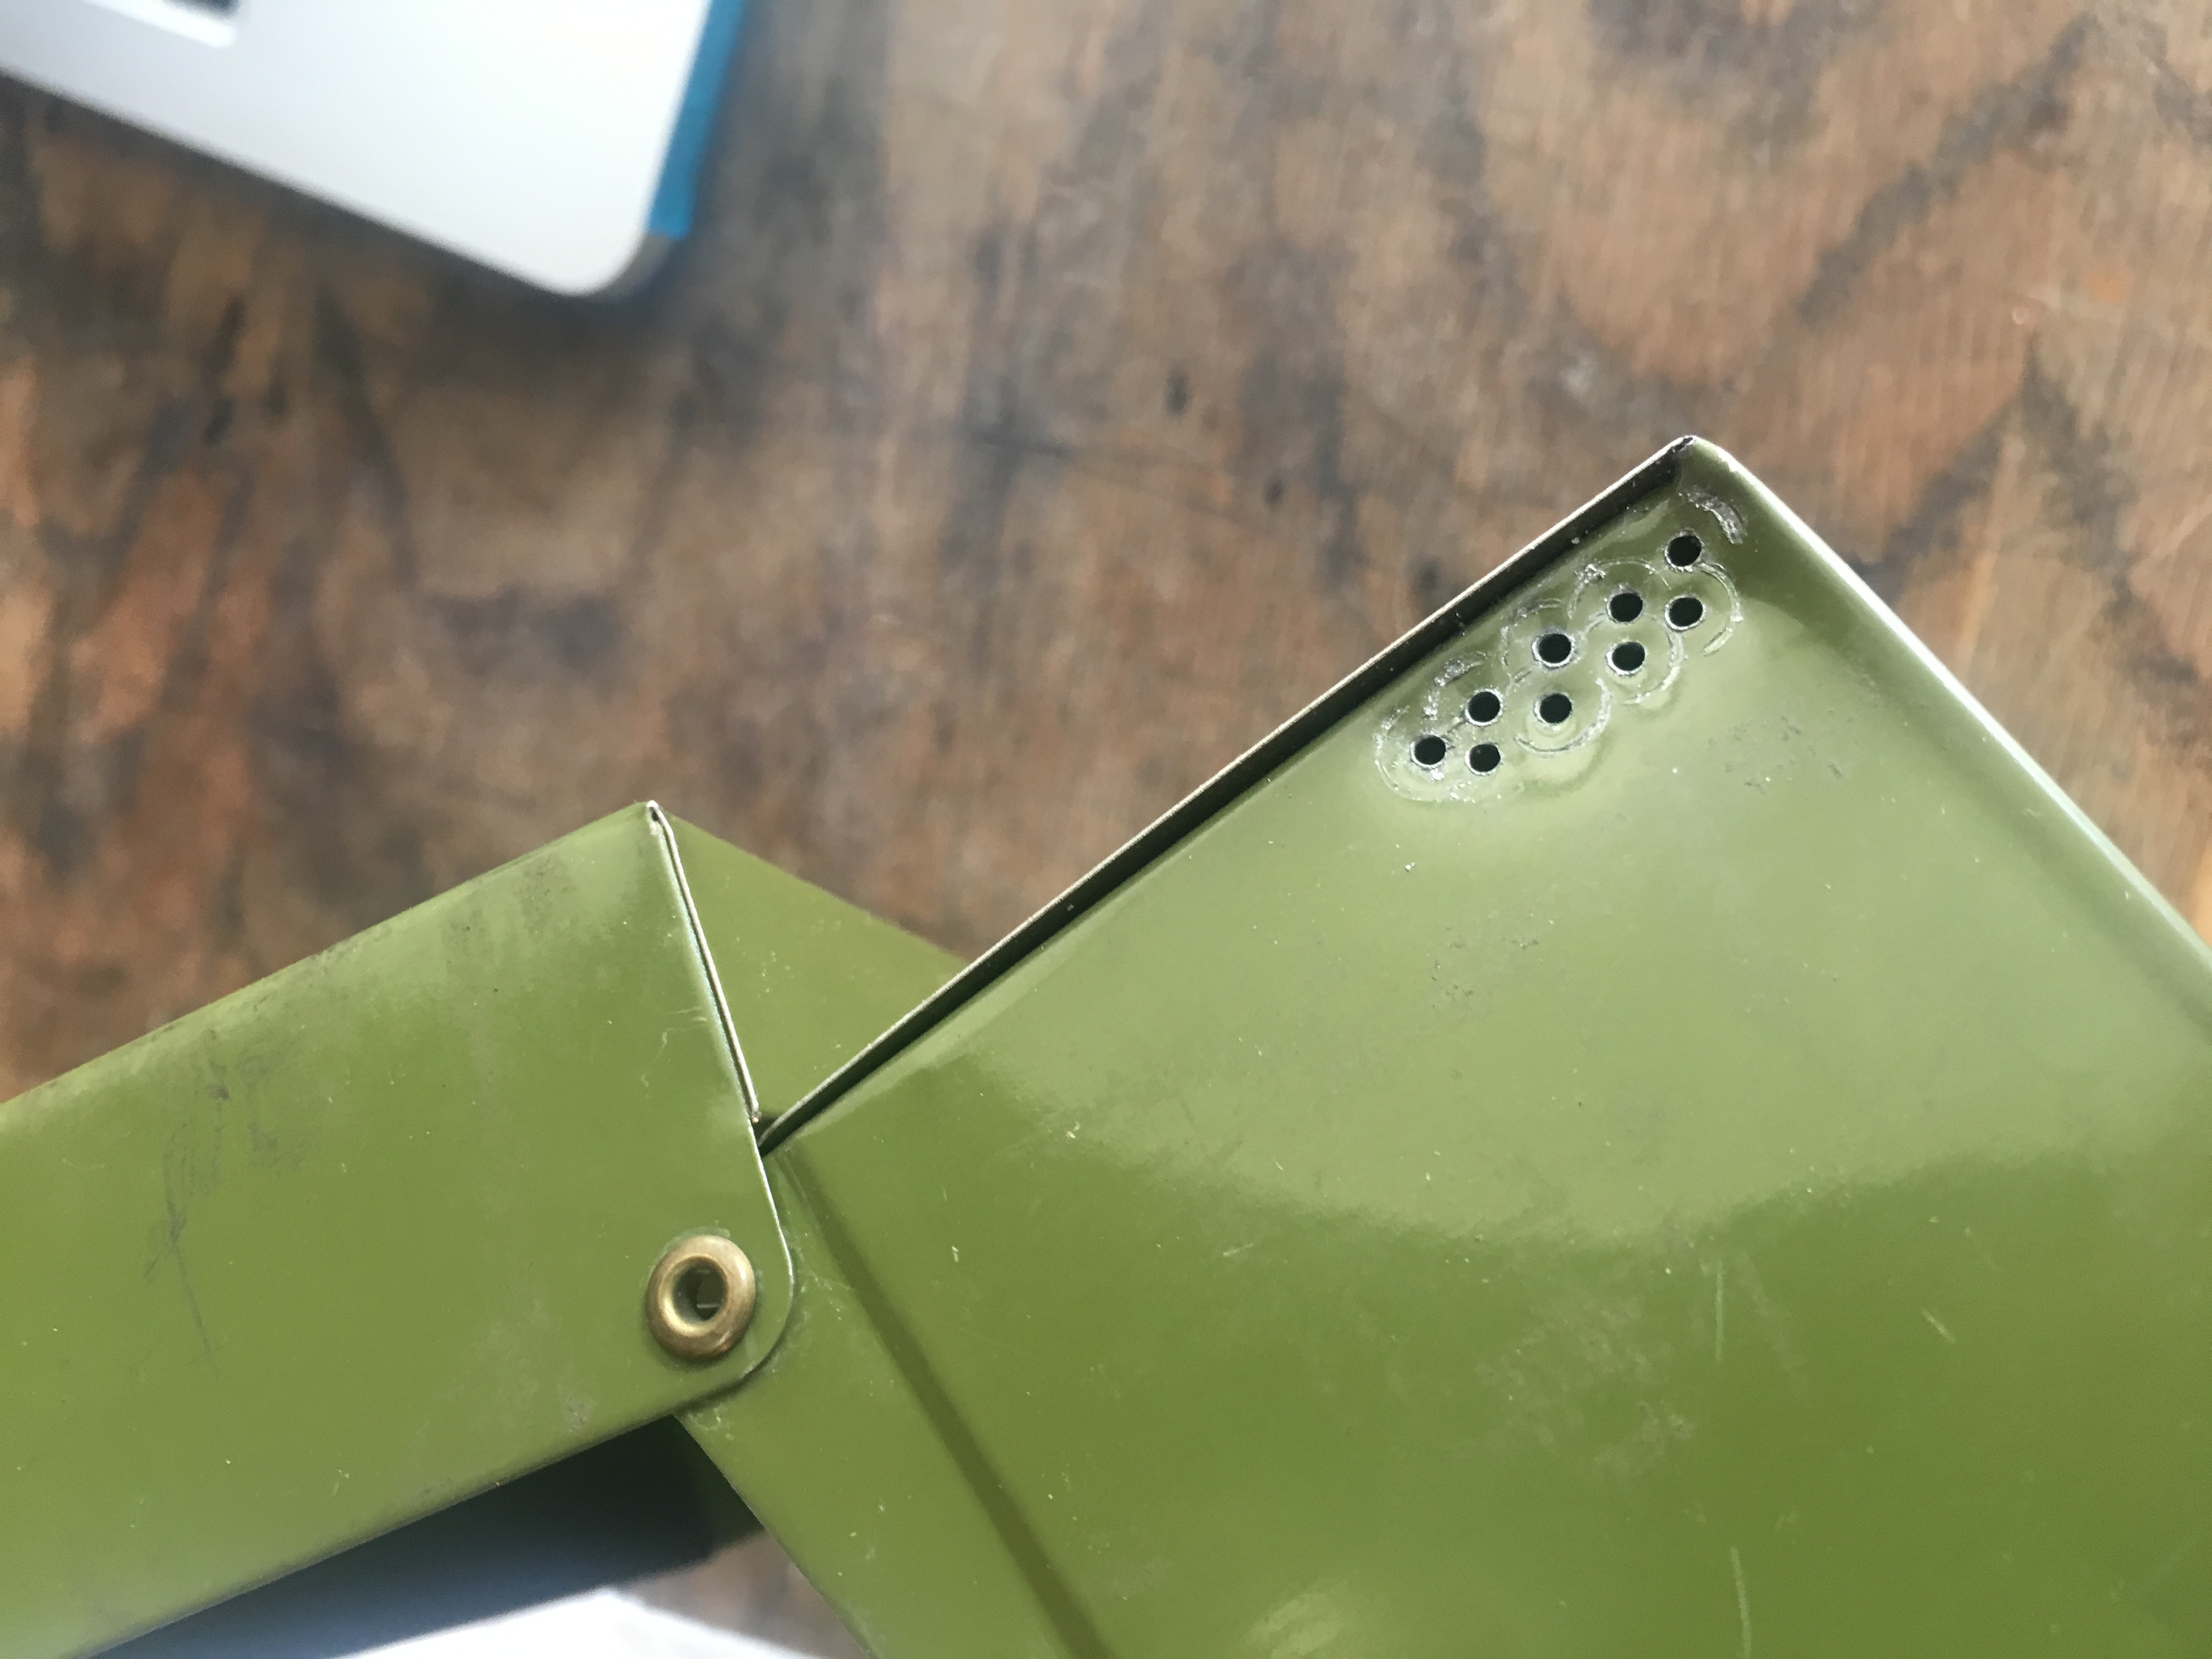
To ensure the alarm was audible, I drilled some holes in the metal chassis post-assembly. The alarm clock transfer was complete!