Bass Amp 2
See Part 1 HereThe circuit board of the amp had caught fire, destroying some of the traces on the circuit board and covering affected areas in soot.
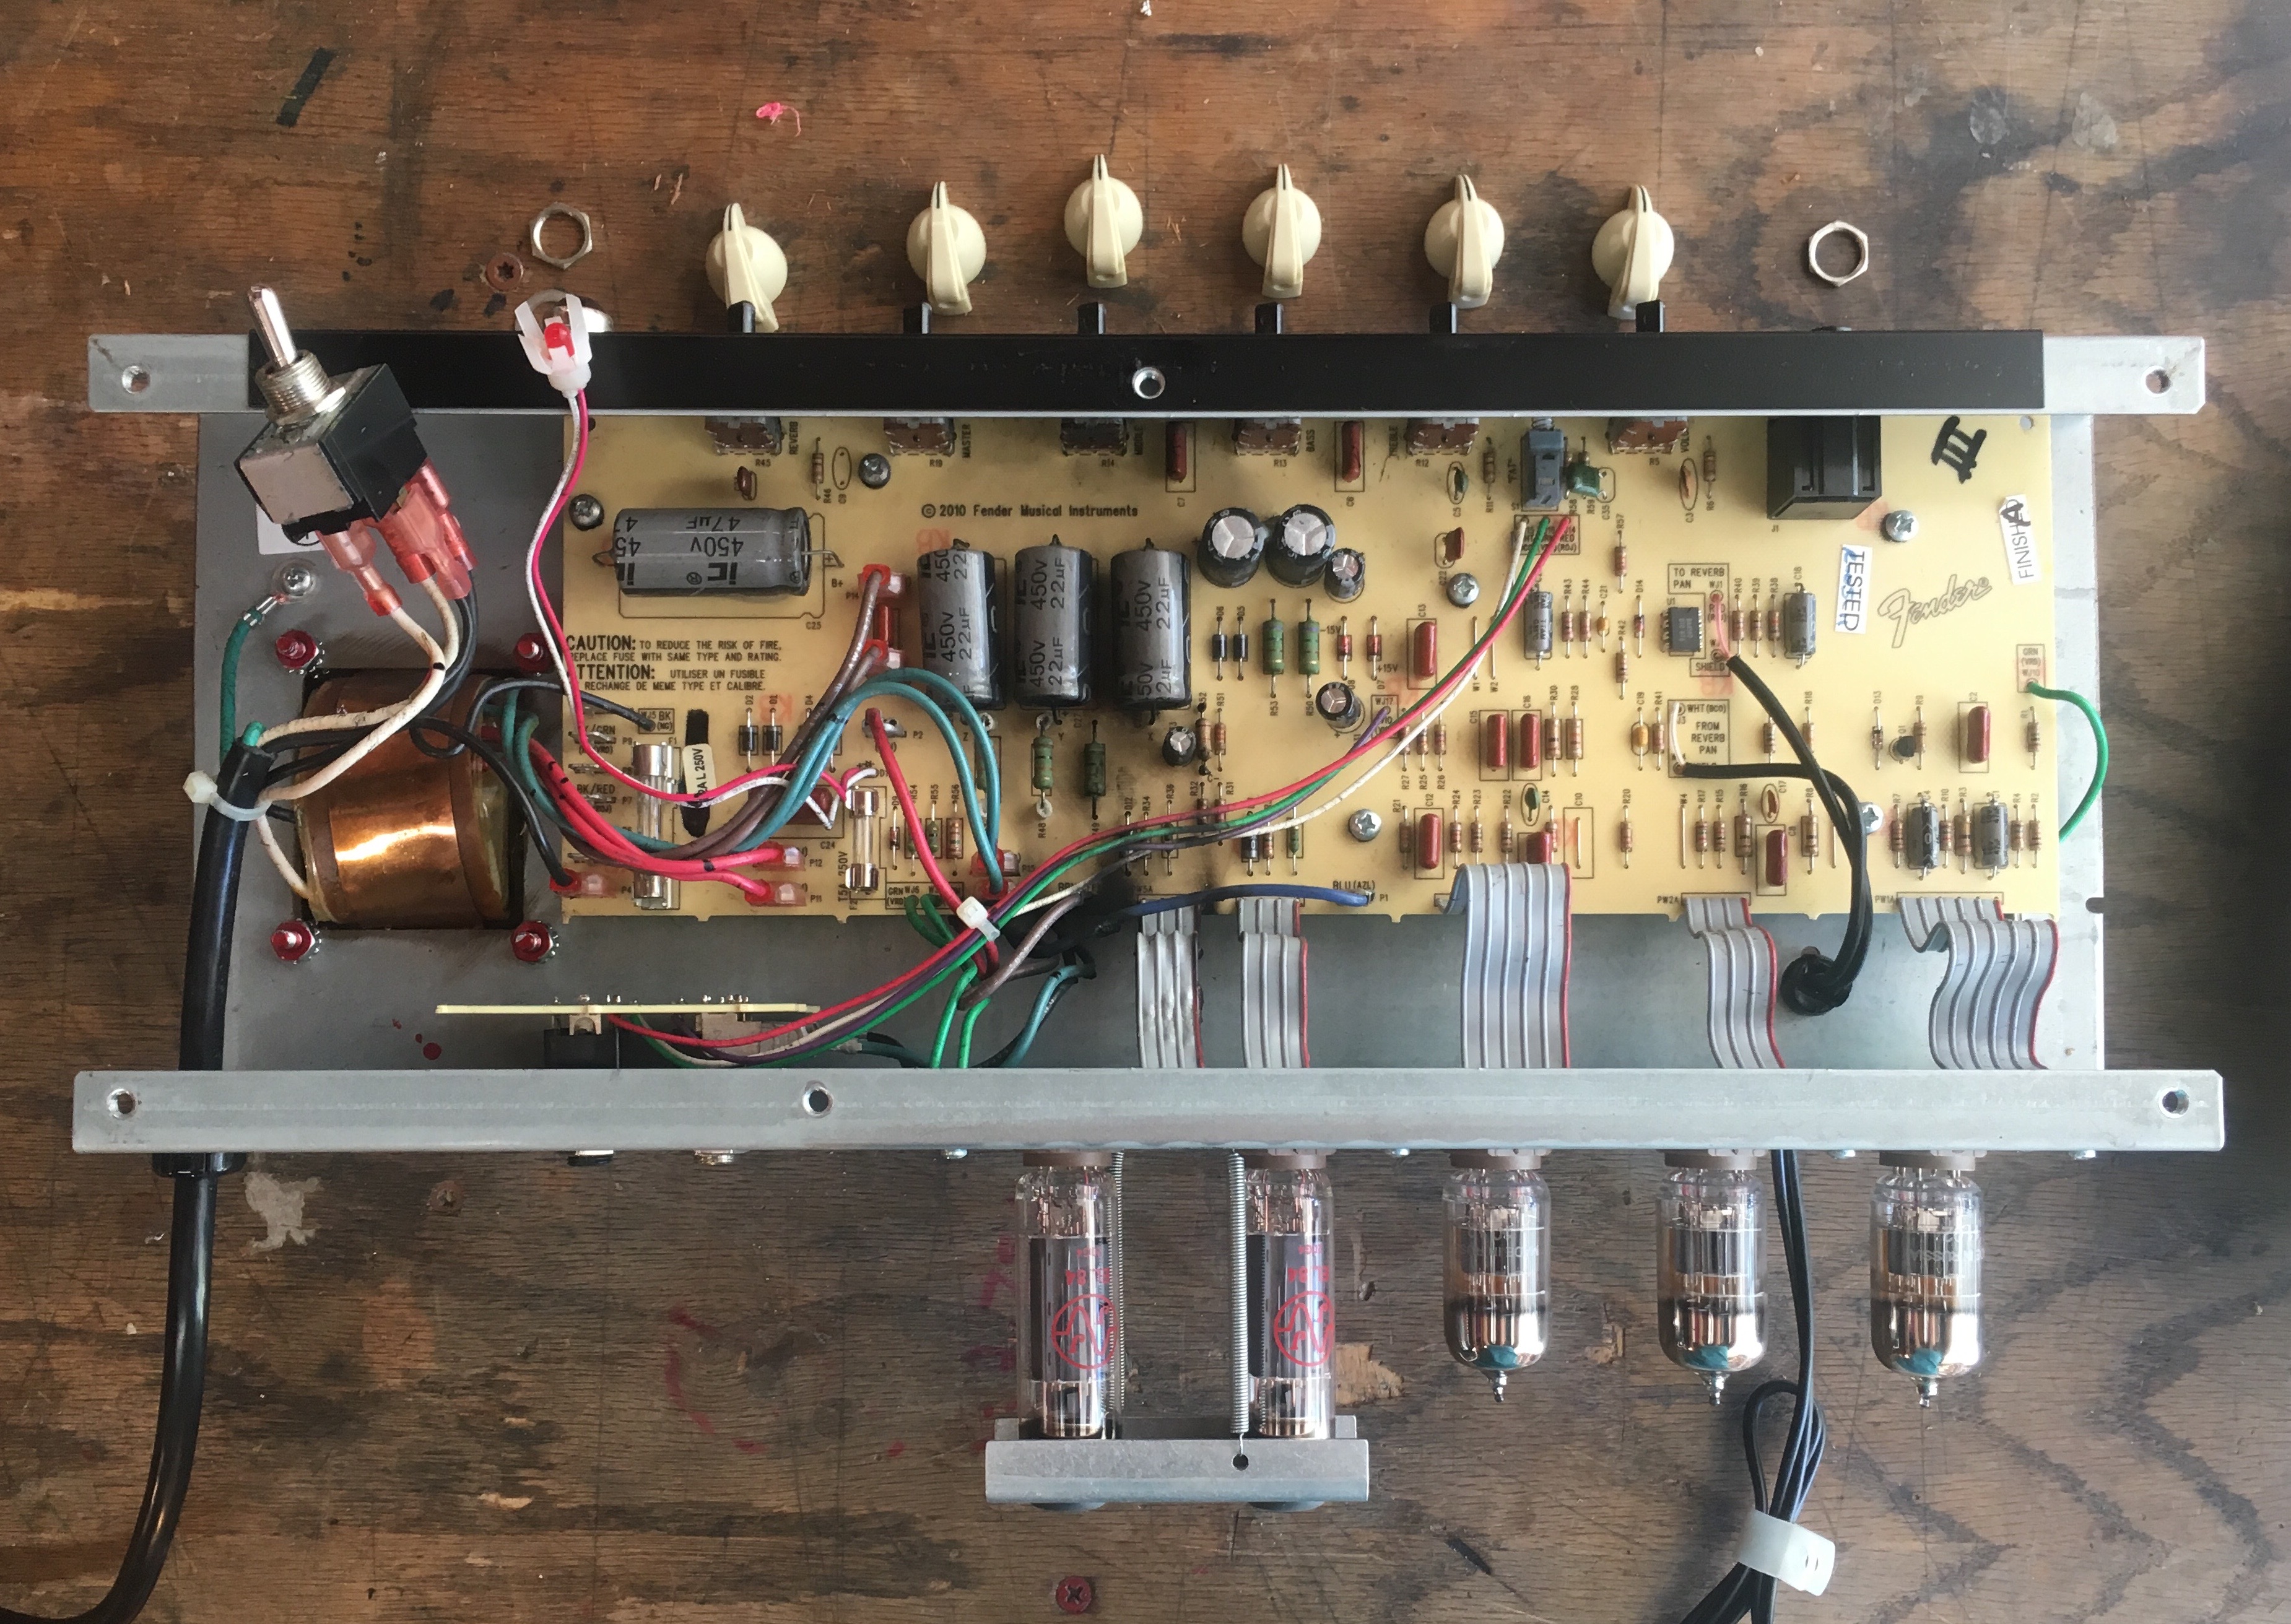
To work on the board, I would have to remove it from its metal chassis.
First, I grounded all the capacitors, then began the process of removing all of the wires, which were plugged into the board with crimp terminals.
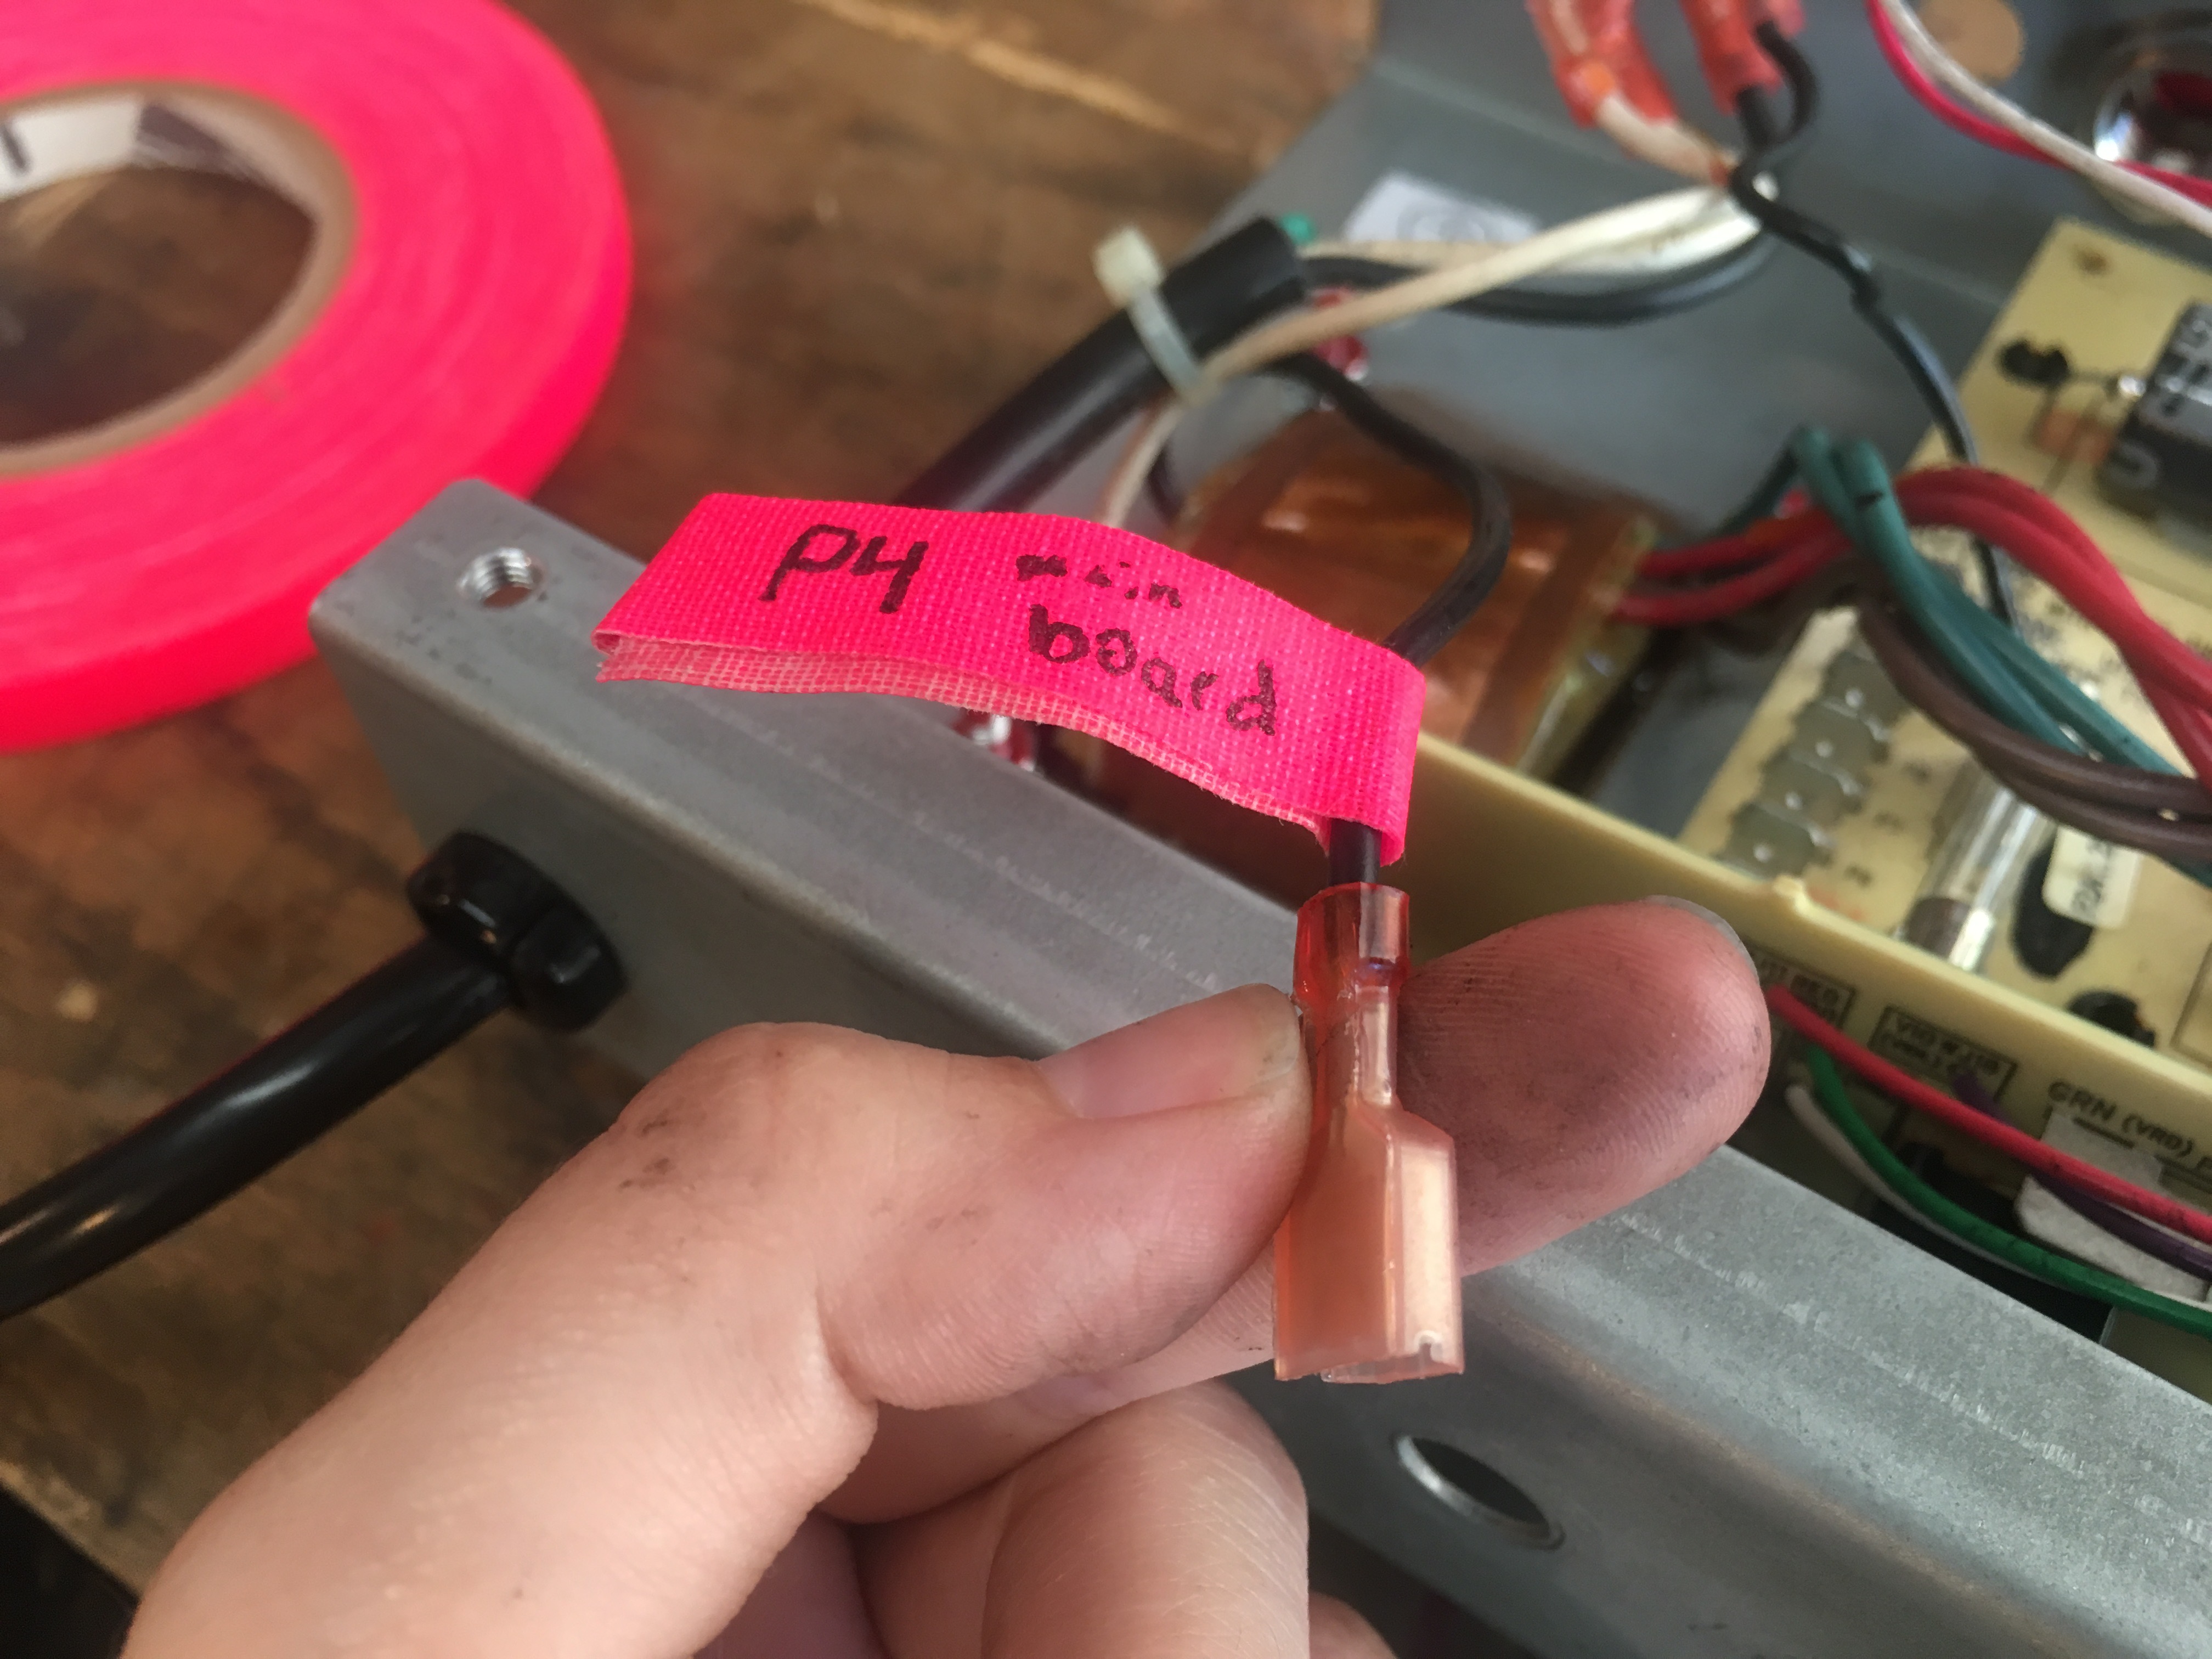
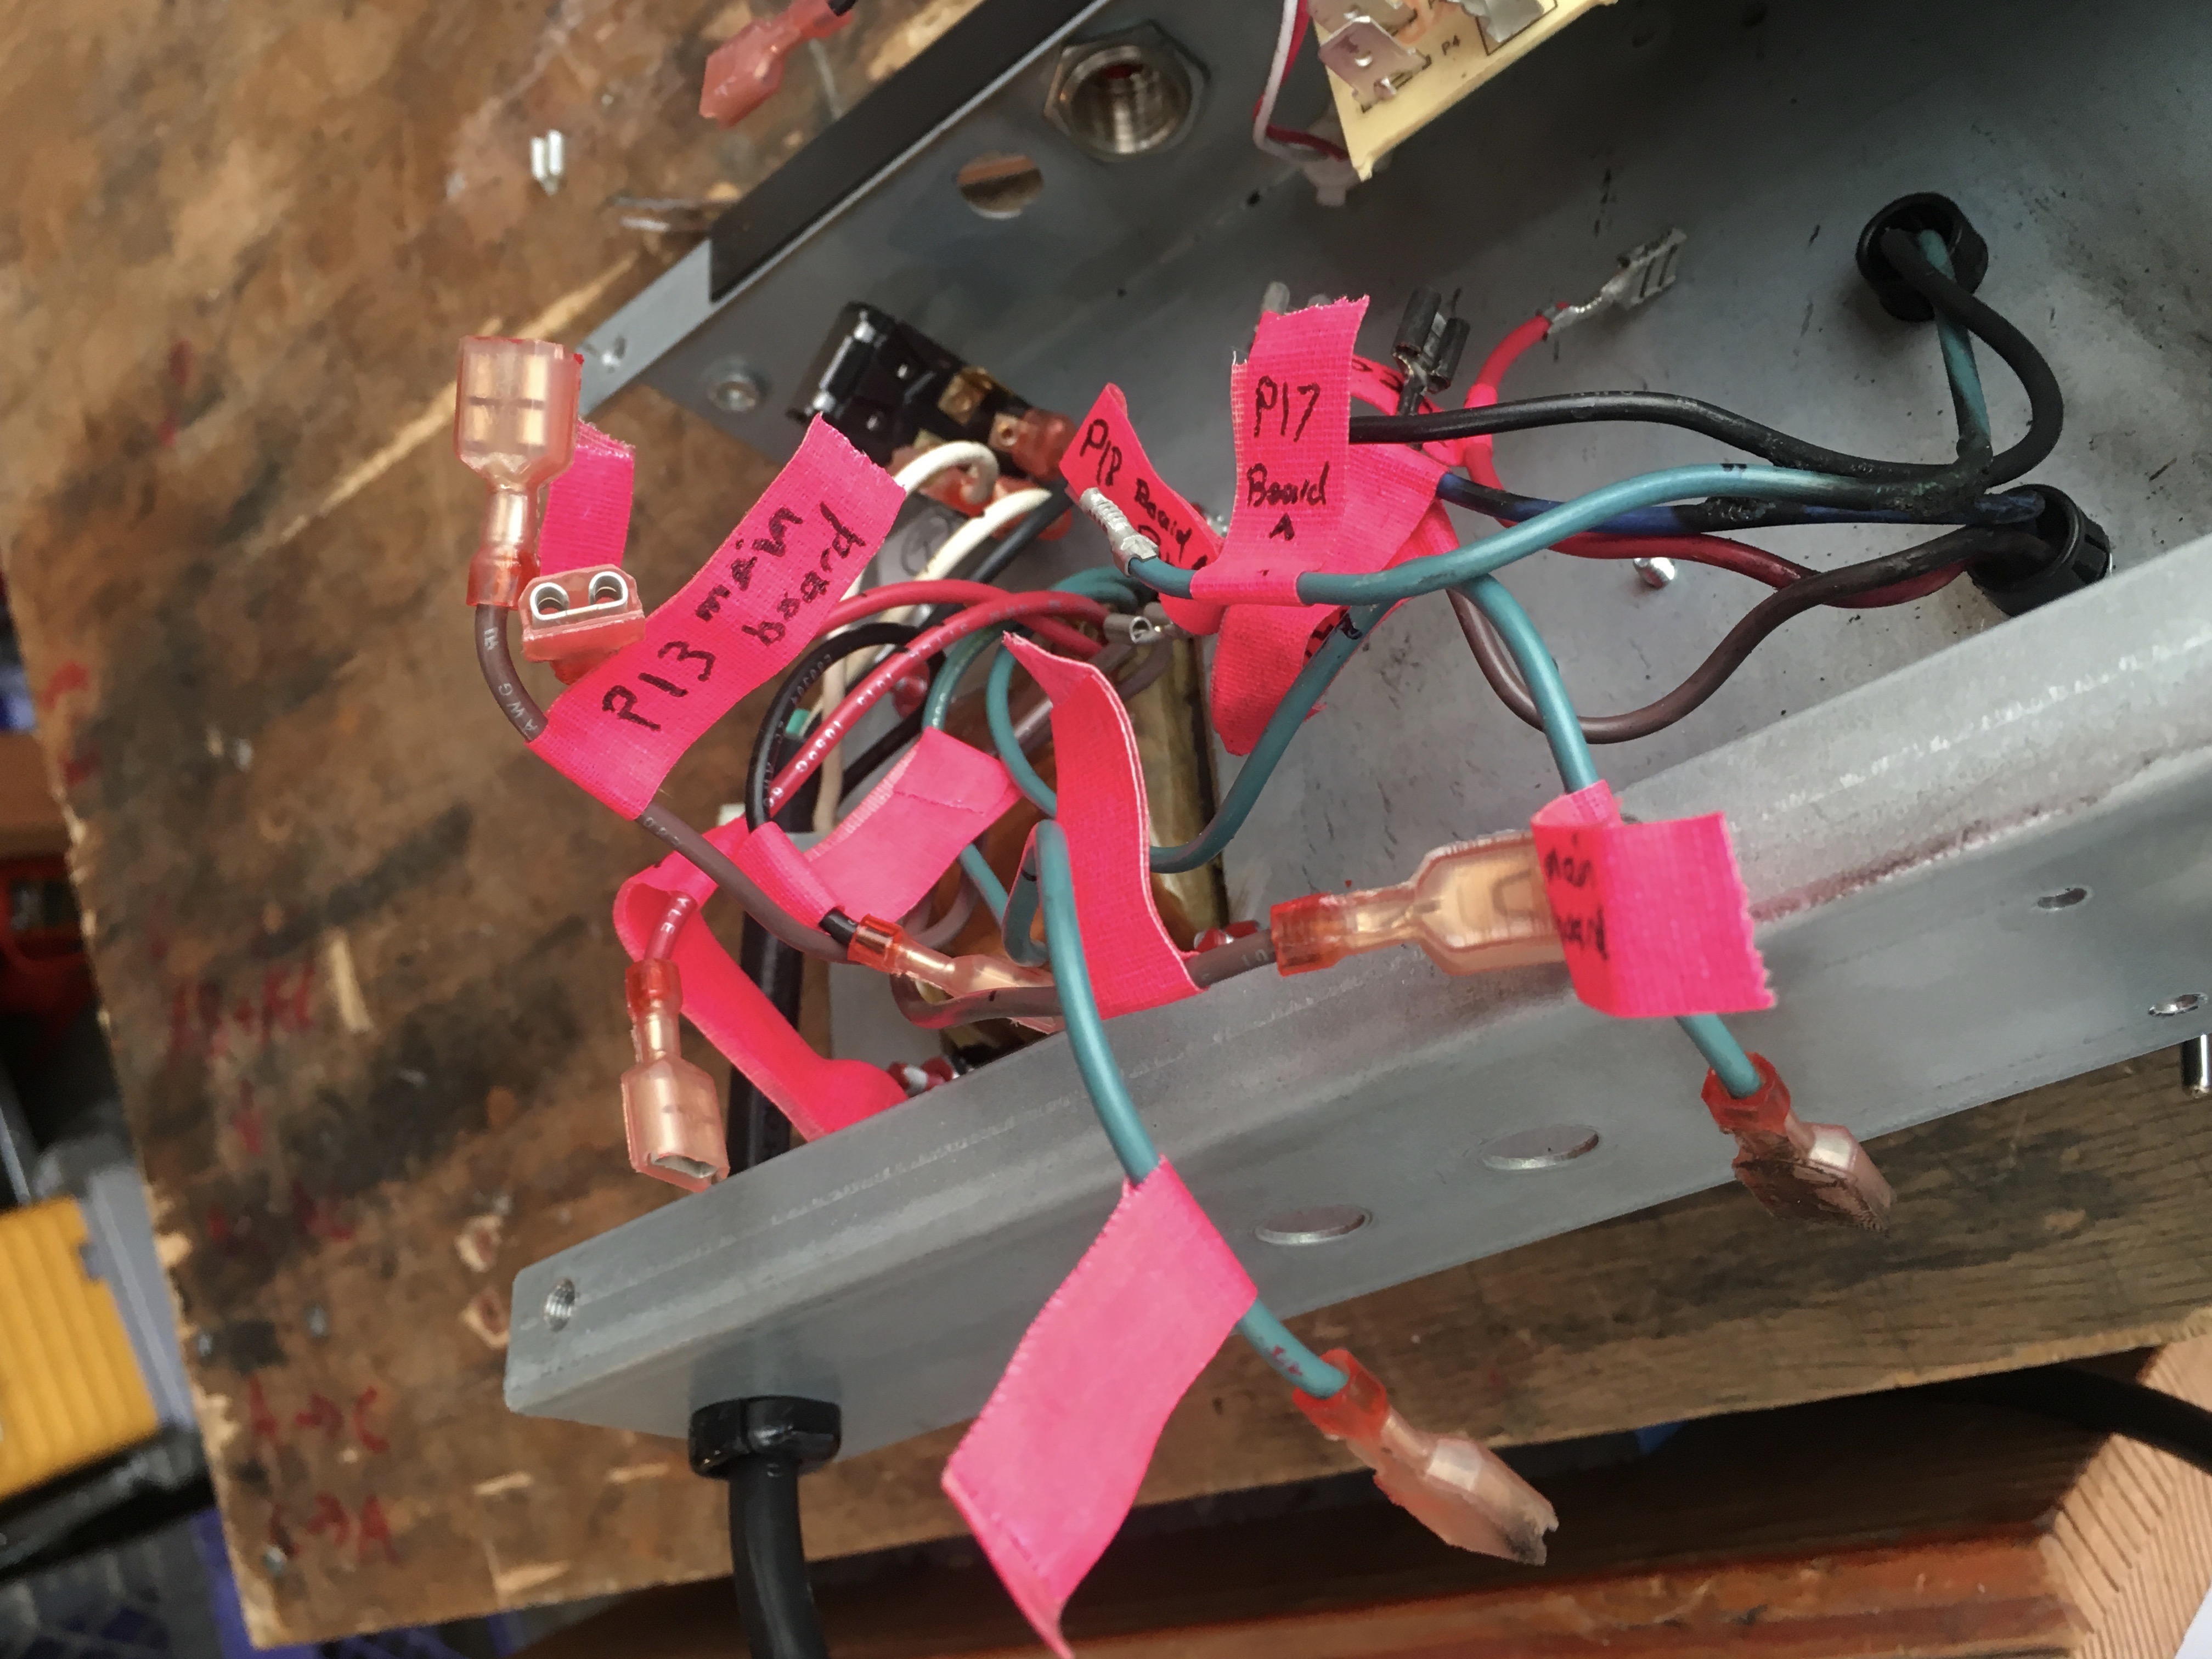
I would slowly wiggle each off with a set of pliers, careful not to be bending parts back and forth, which could cause them to snap. If one was stubborn, I would push needle nose pliers in the folded section to loosen the terminal’s grip. Once each was free, I labeled the wire according to the PCB number.
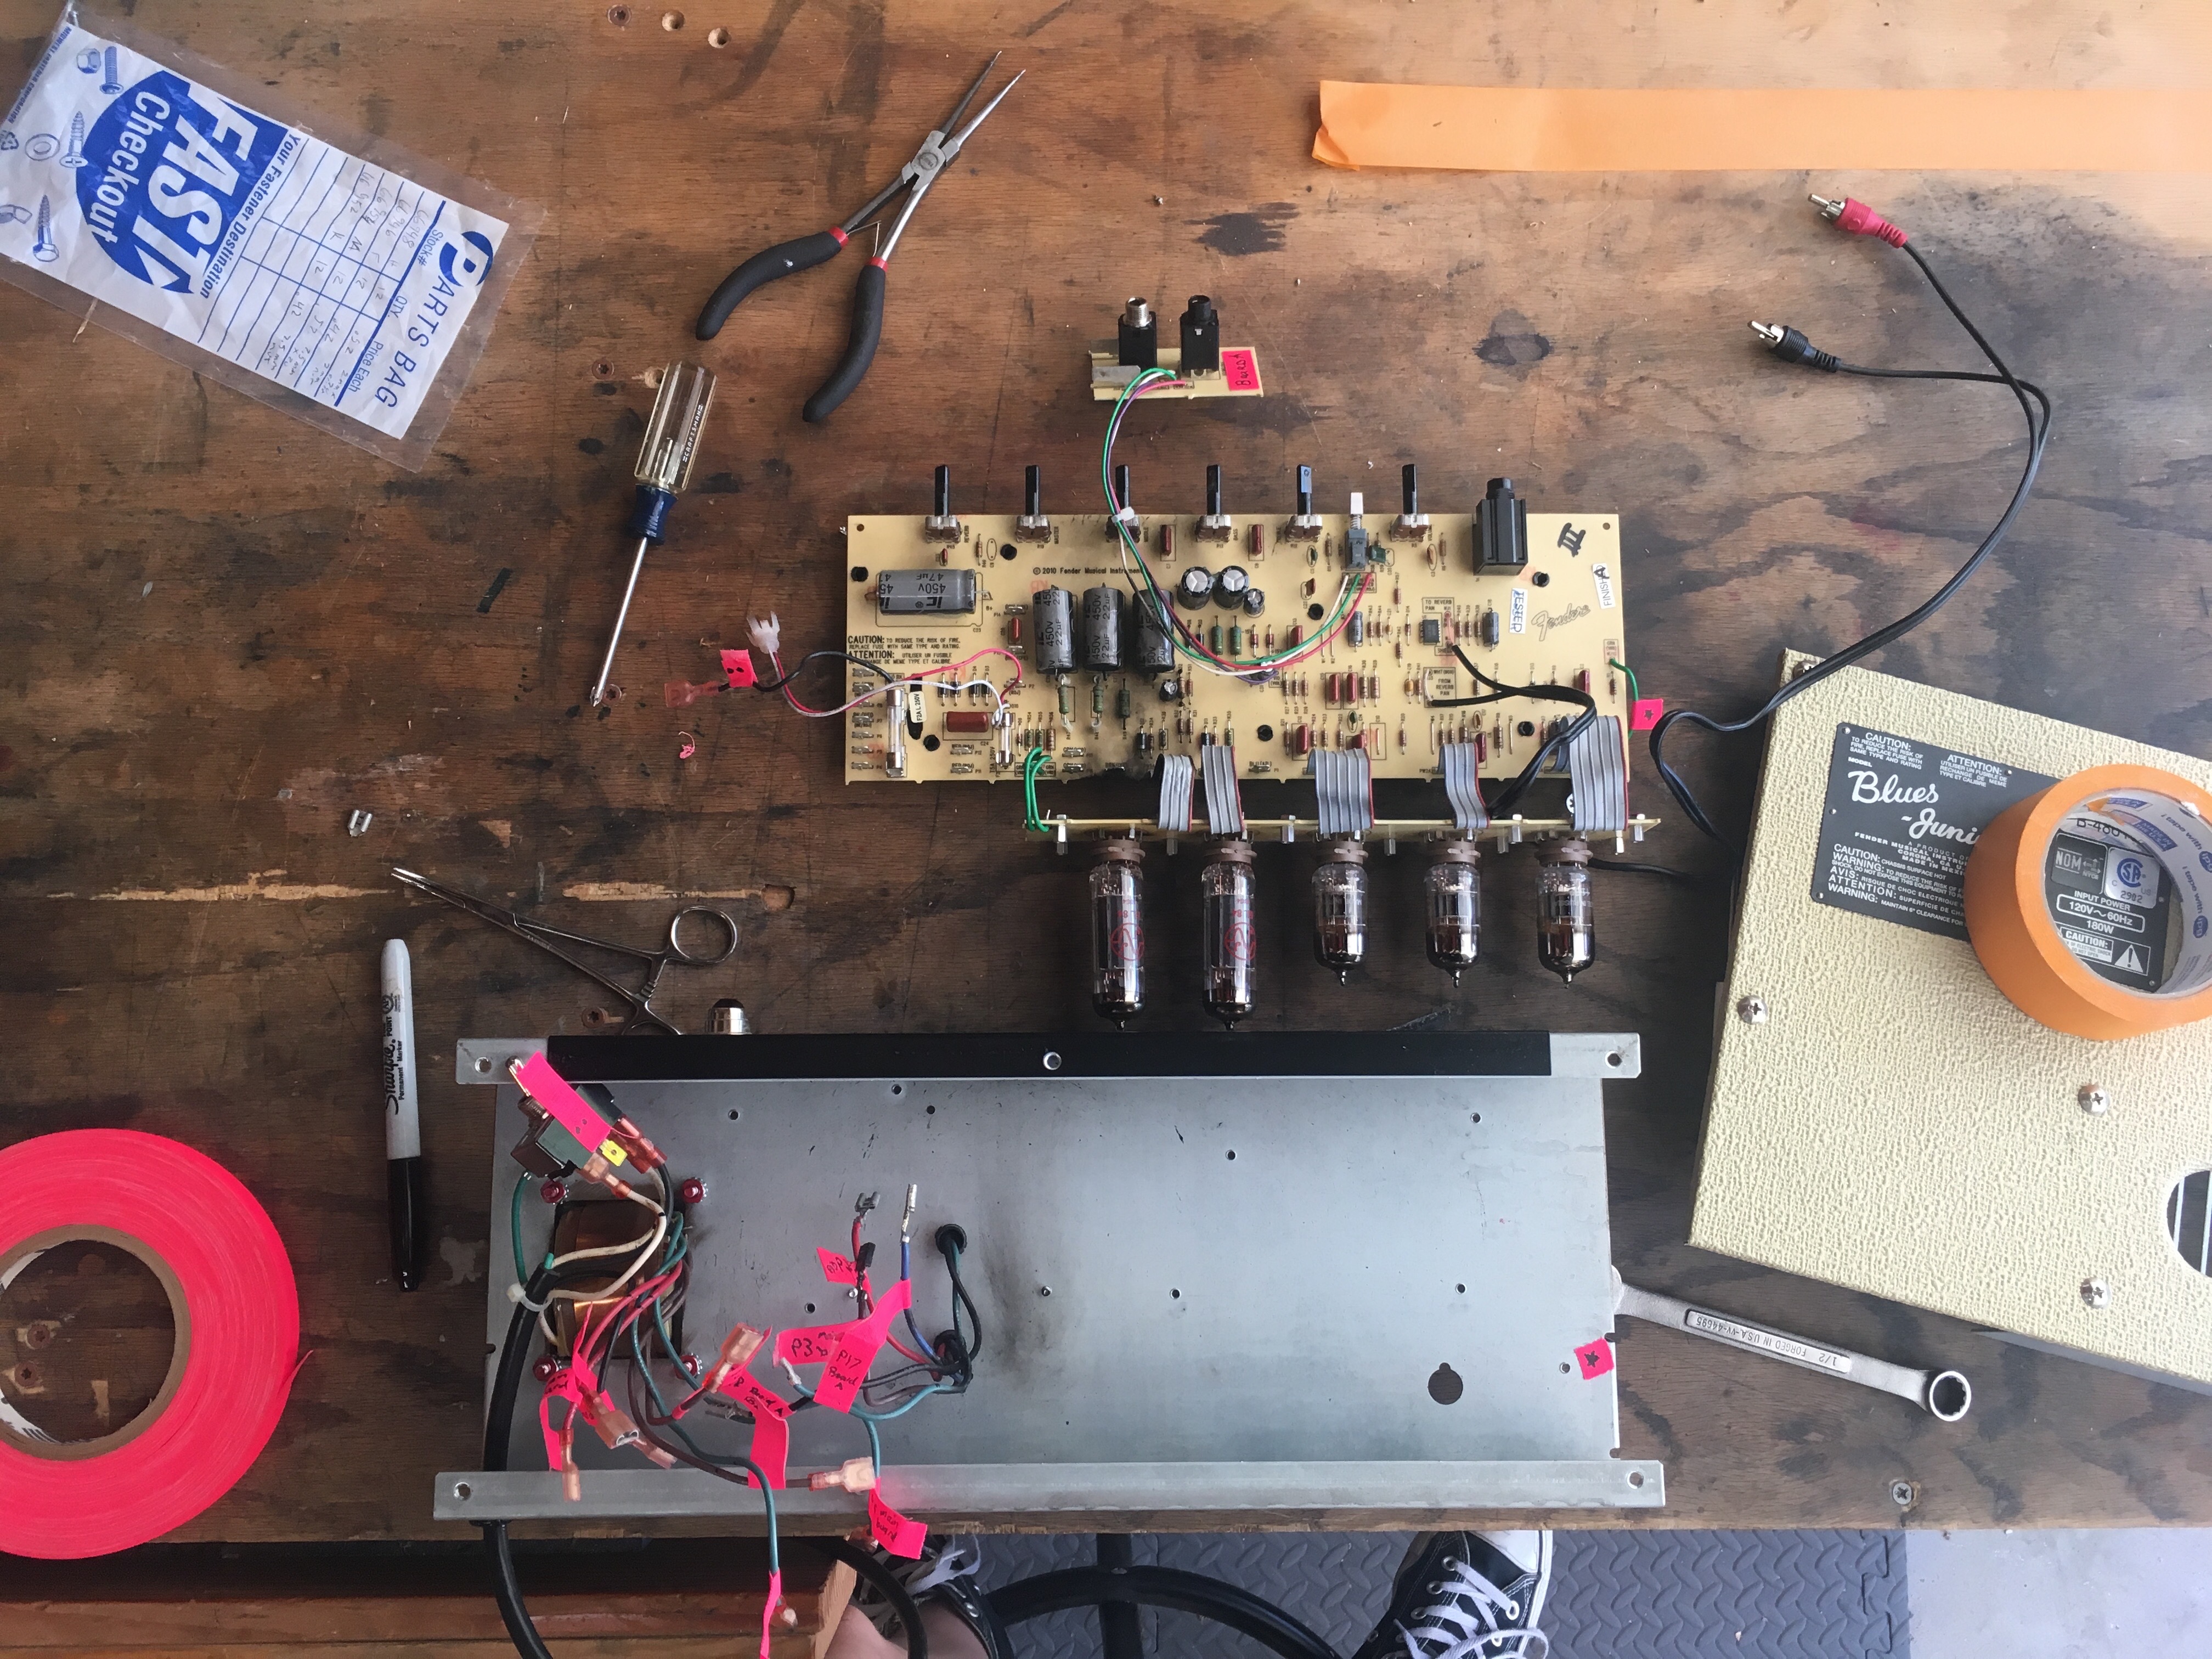
Then I removed the standoff screws to fully remove the PCB, and to keep track, placed them on the sticky side of masking tape in the order that I removed them.
To be continued!