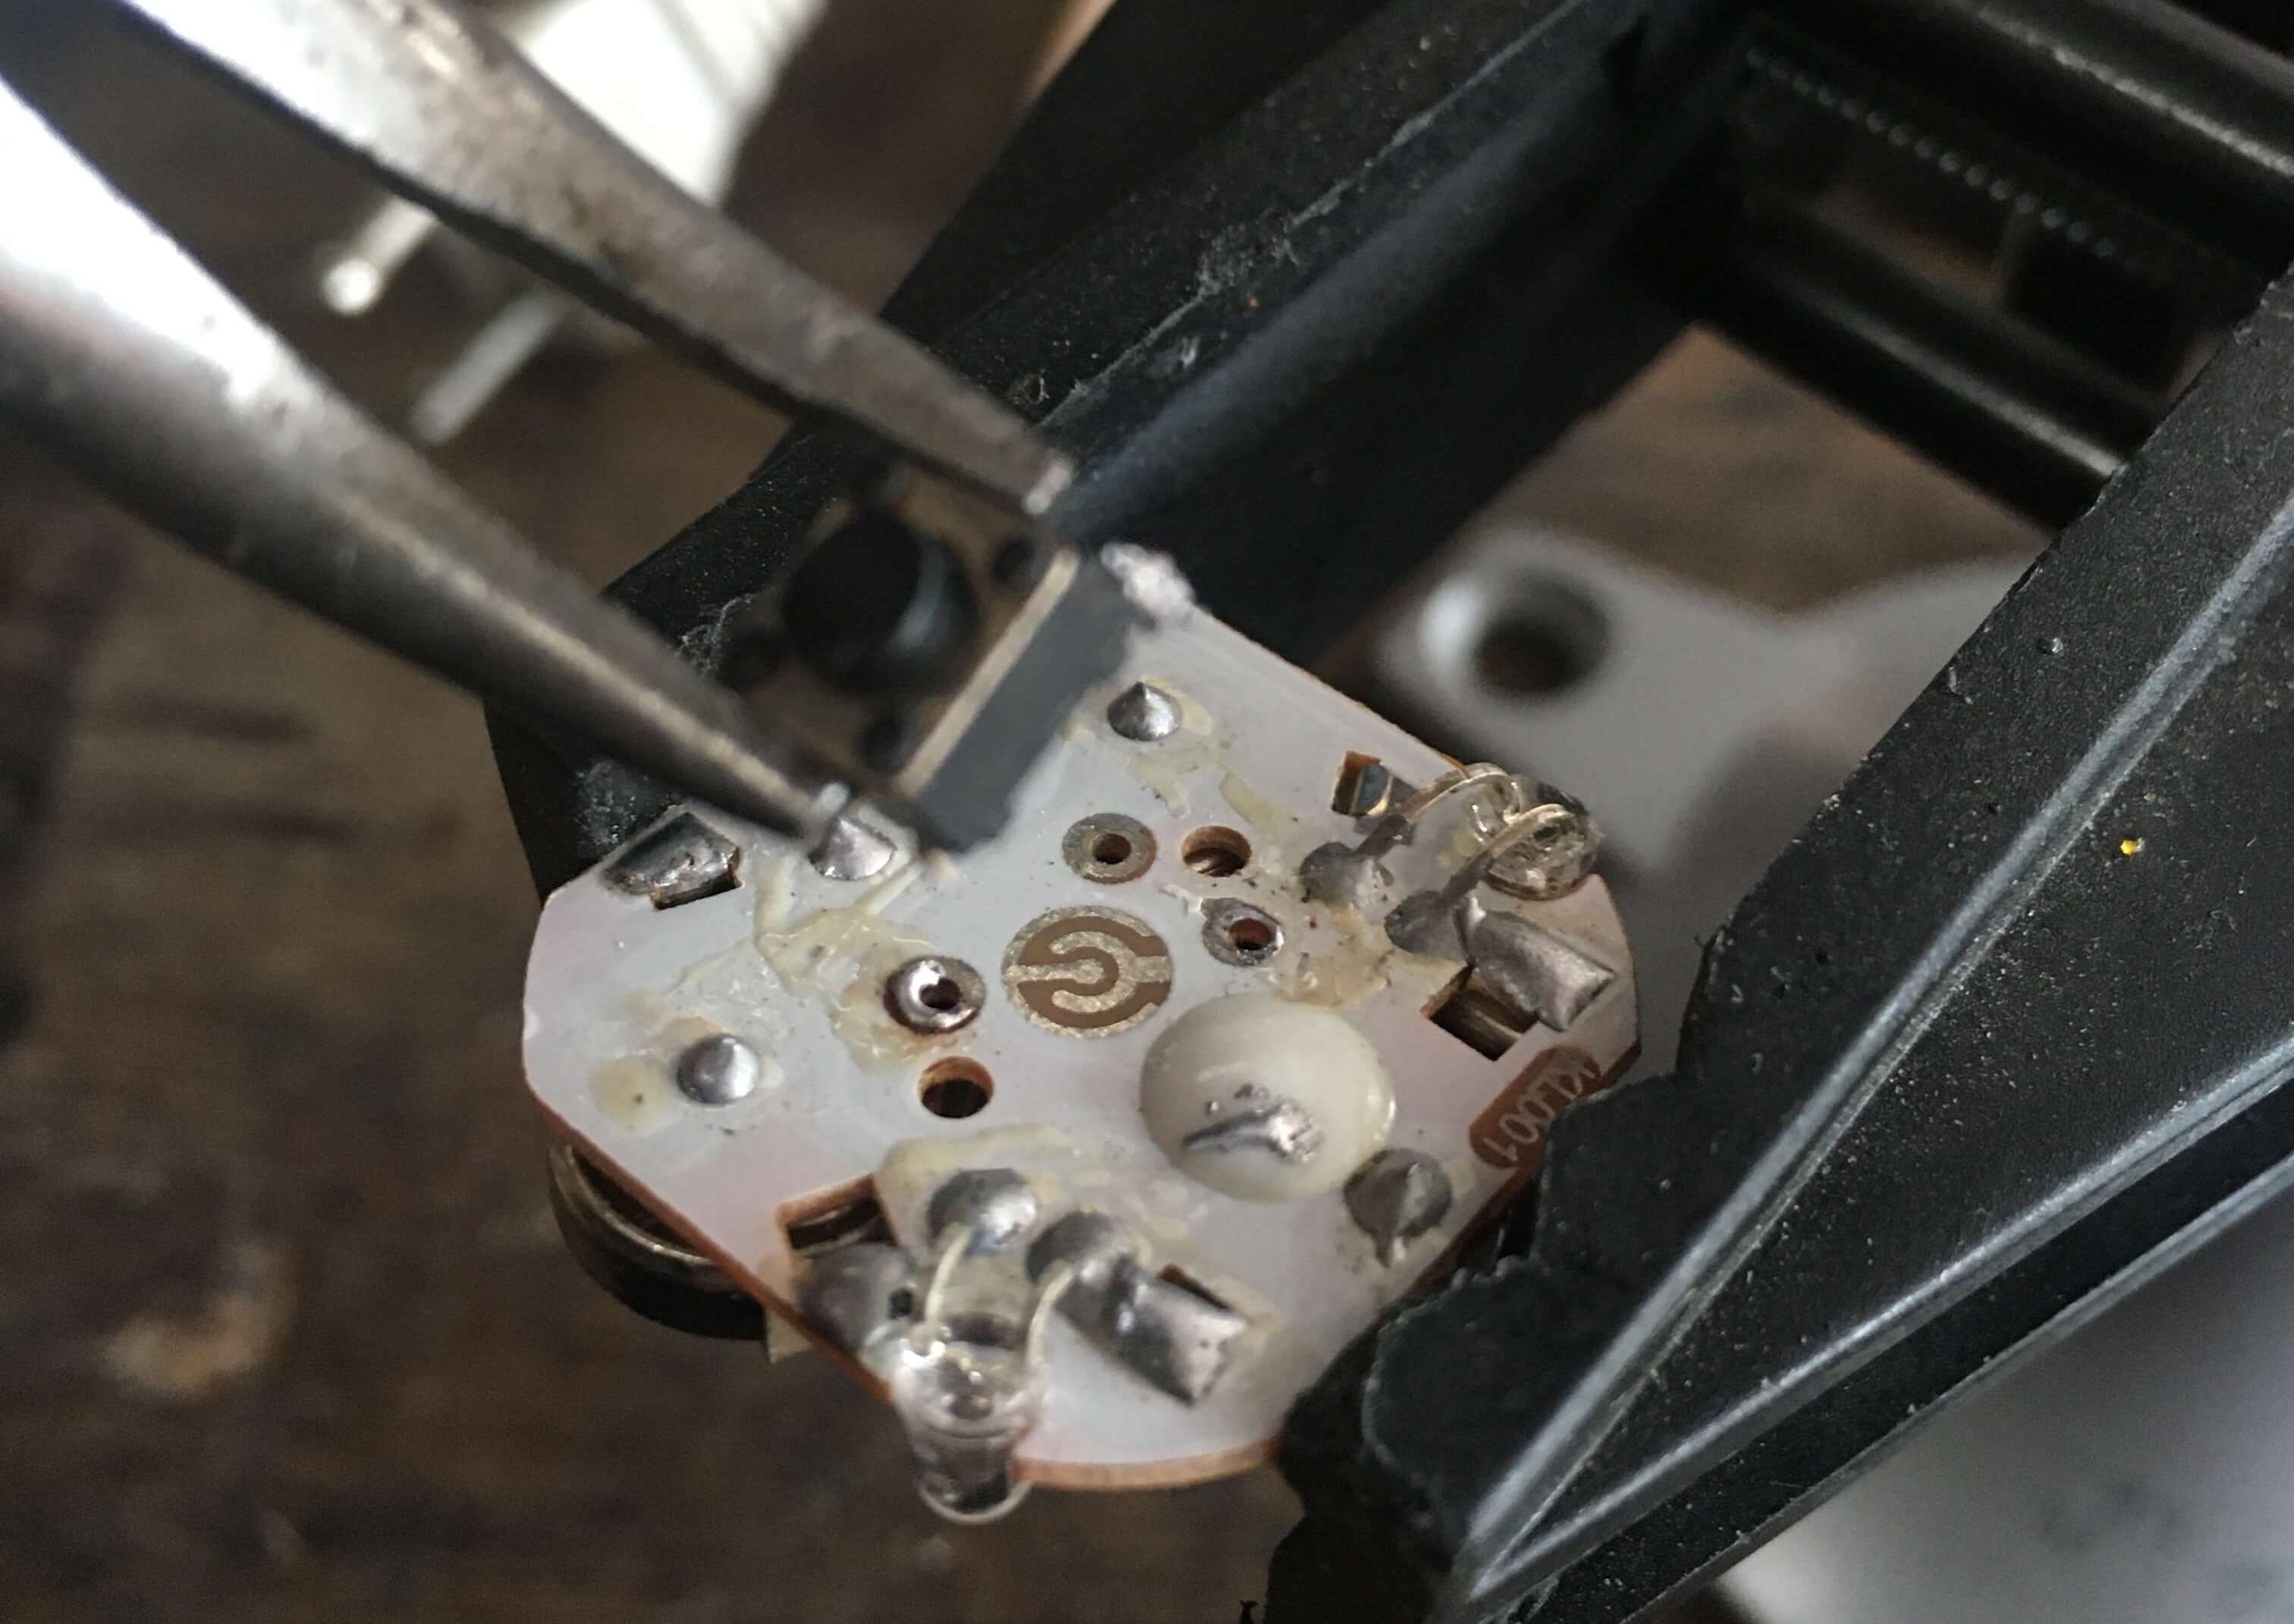
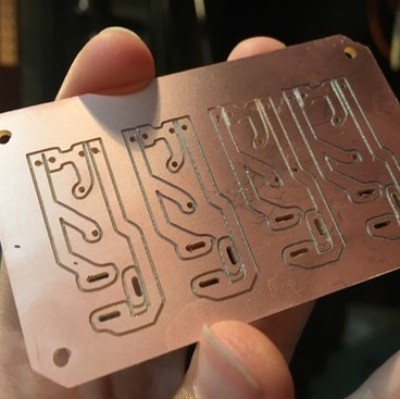
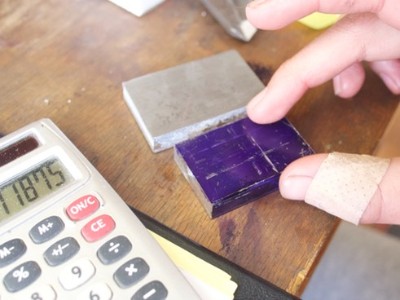
When I was removing the old battery leads and switch from one of the buttons, the trace pulled up (the copper “wire” on the circuit board), most likely because these boards were not build well/to endure disassembly.
play_circle_outlineClick here to keep reading play_circle_outlineKeep reading
play_circle_outlineClick here to visit my Youtube channel
play_circle_outlineProjects 2012-Present
Projects from 2012-Present
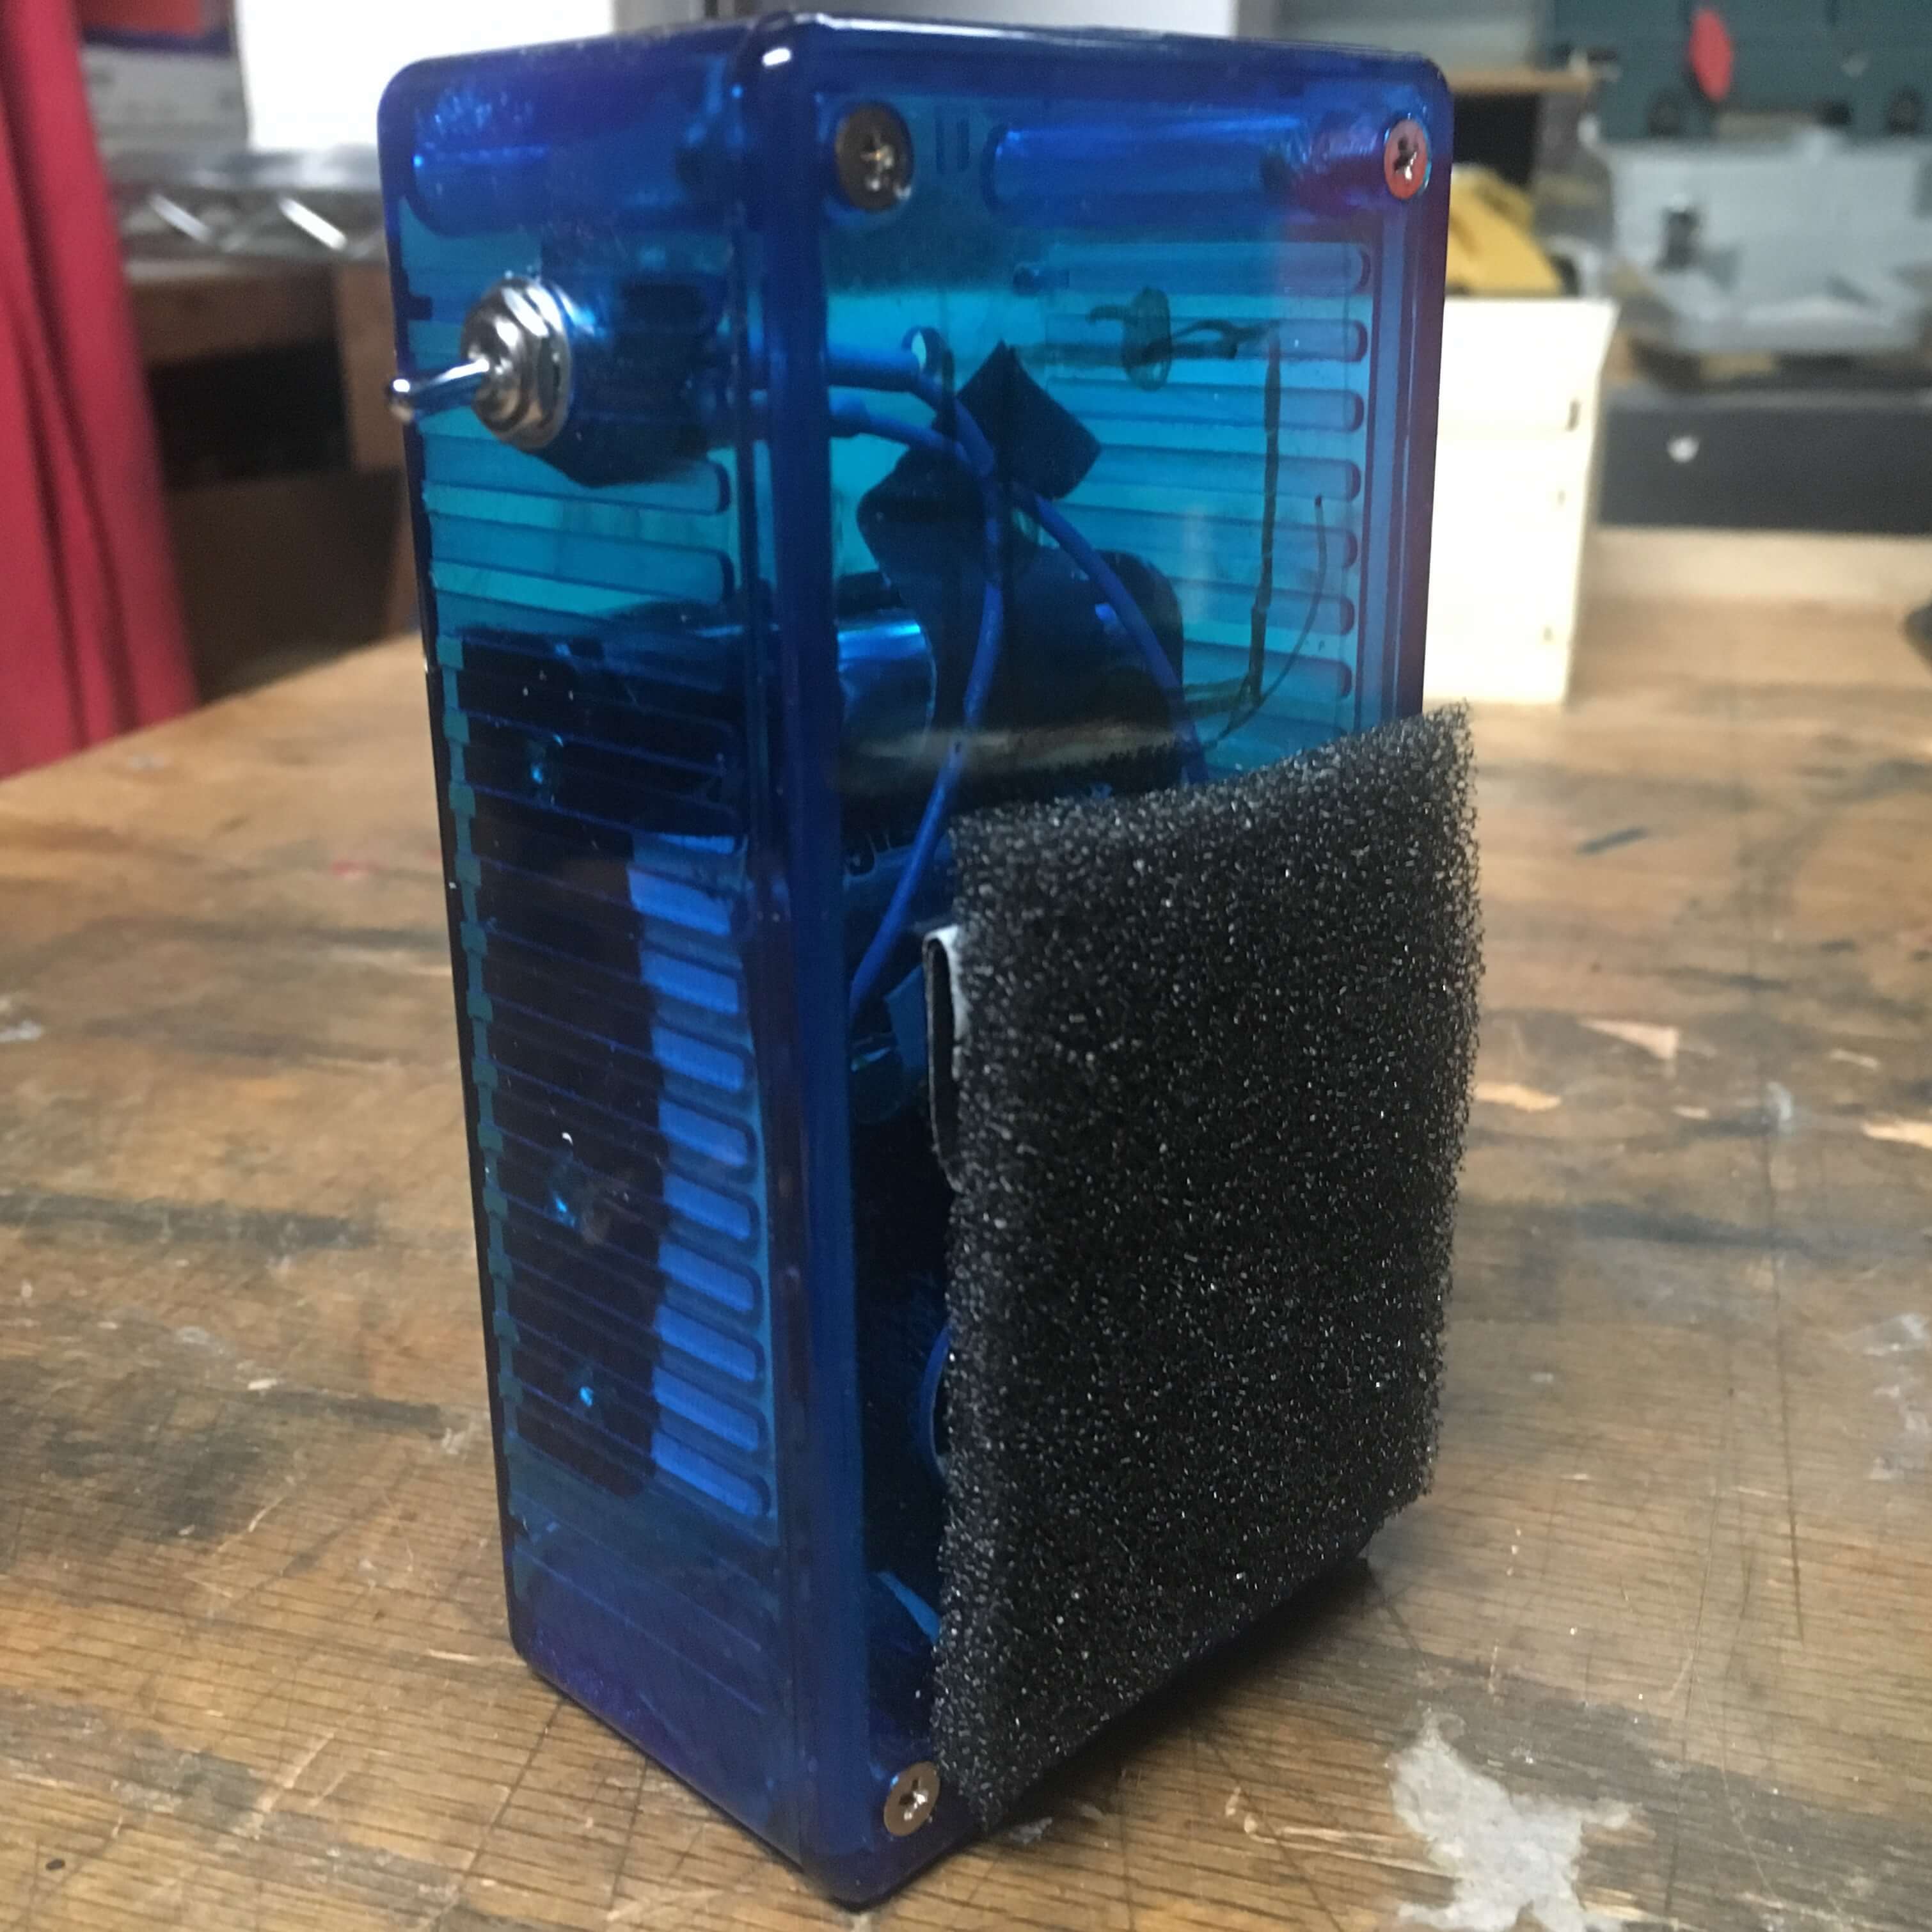
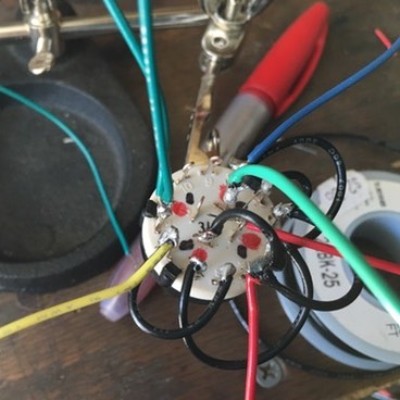
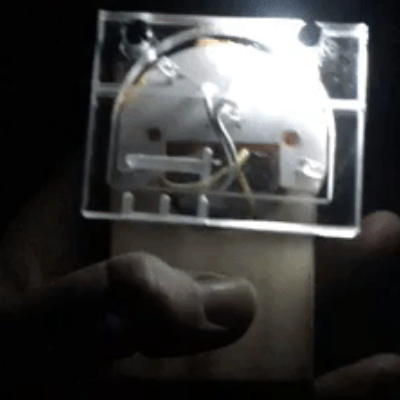 Repurposing Old Circuits January 2020
When I was removing the old battery leads and switch from one of the buttons, the trace pulled up (the copper “wire” on the circuit...
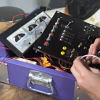
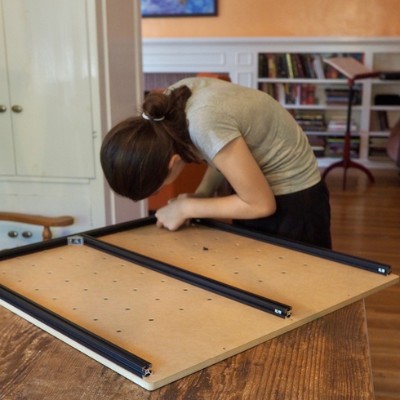
 CnCed Tool Storage December 2019
I used Easel from Inventables to design special insets for my milling bits, wrenches, collets, dust-collector arms, and z-probe....
 Buffing Metal November 2019
In order to reach a chromed-level shine on my metal pieces, I use a buffing wheel...
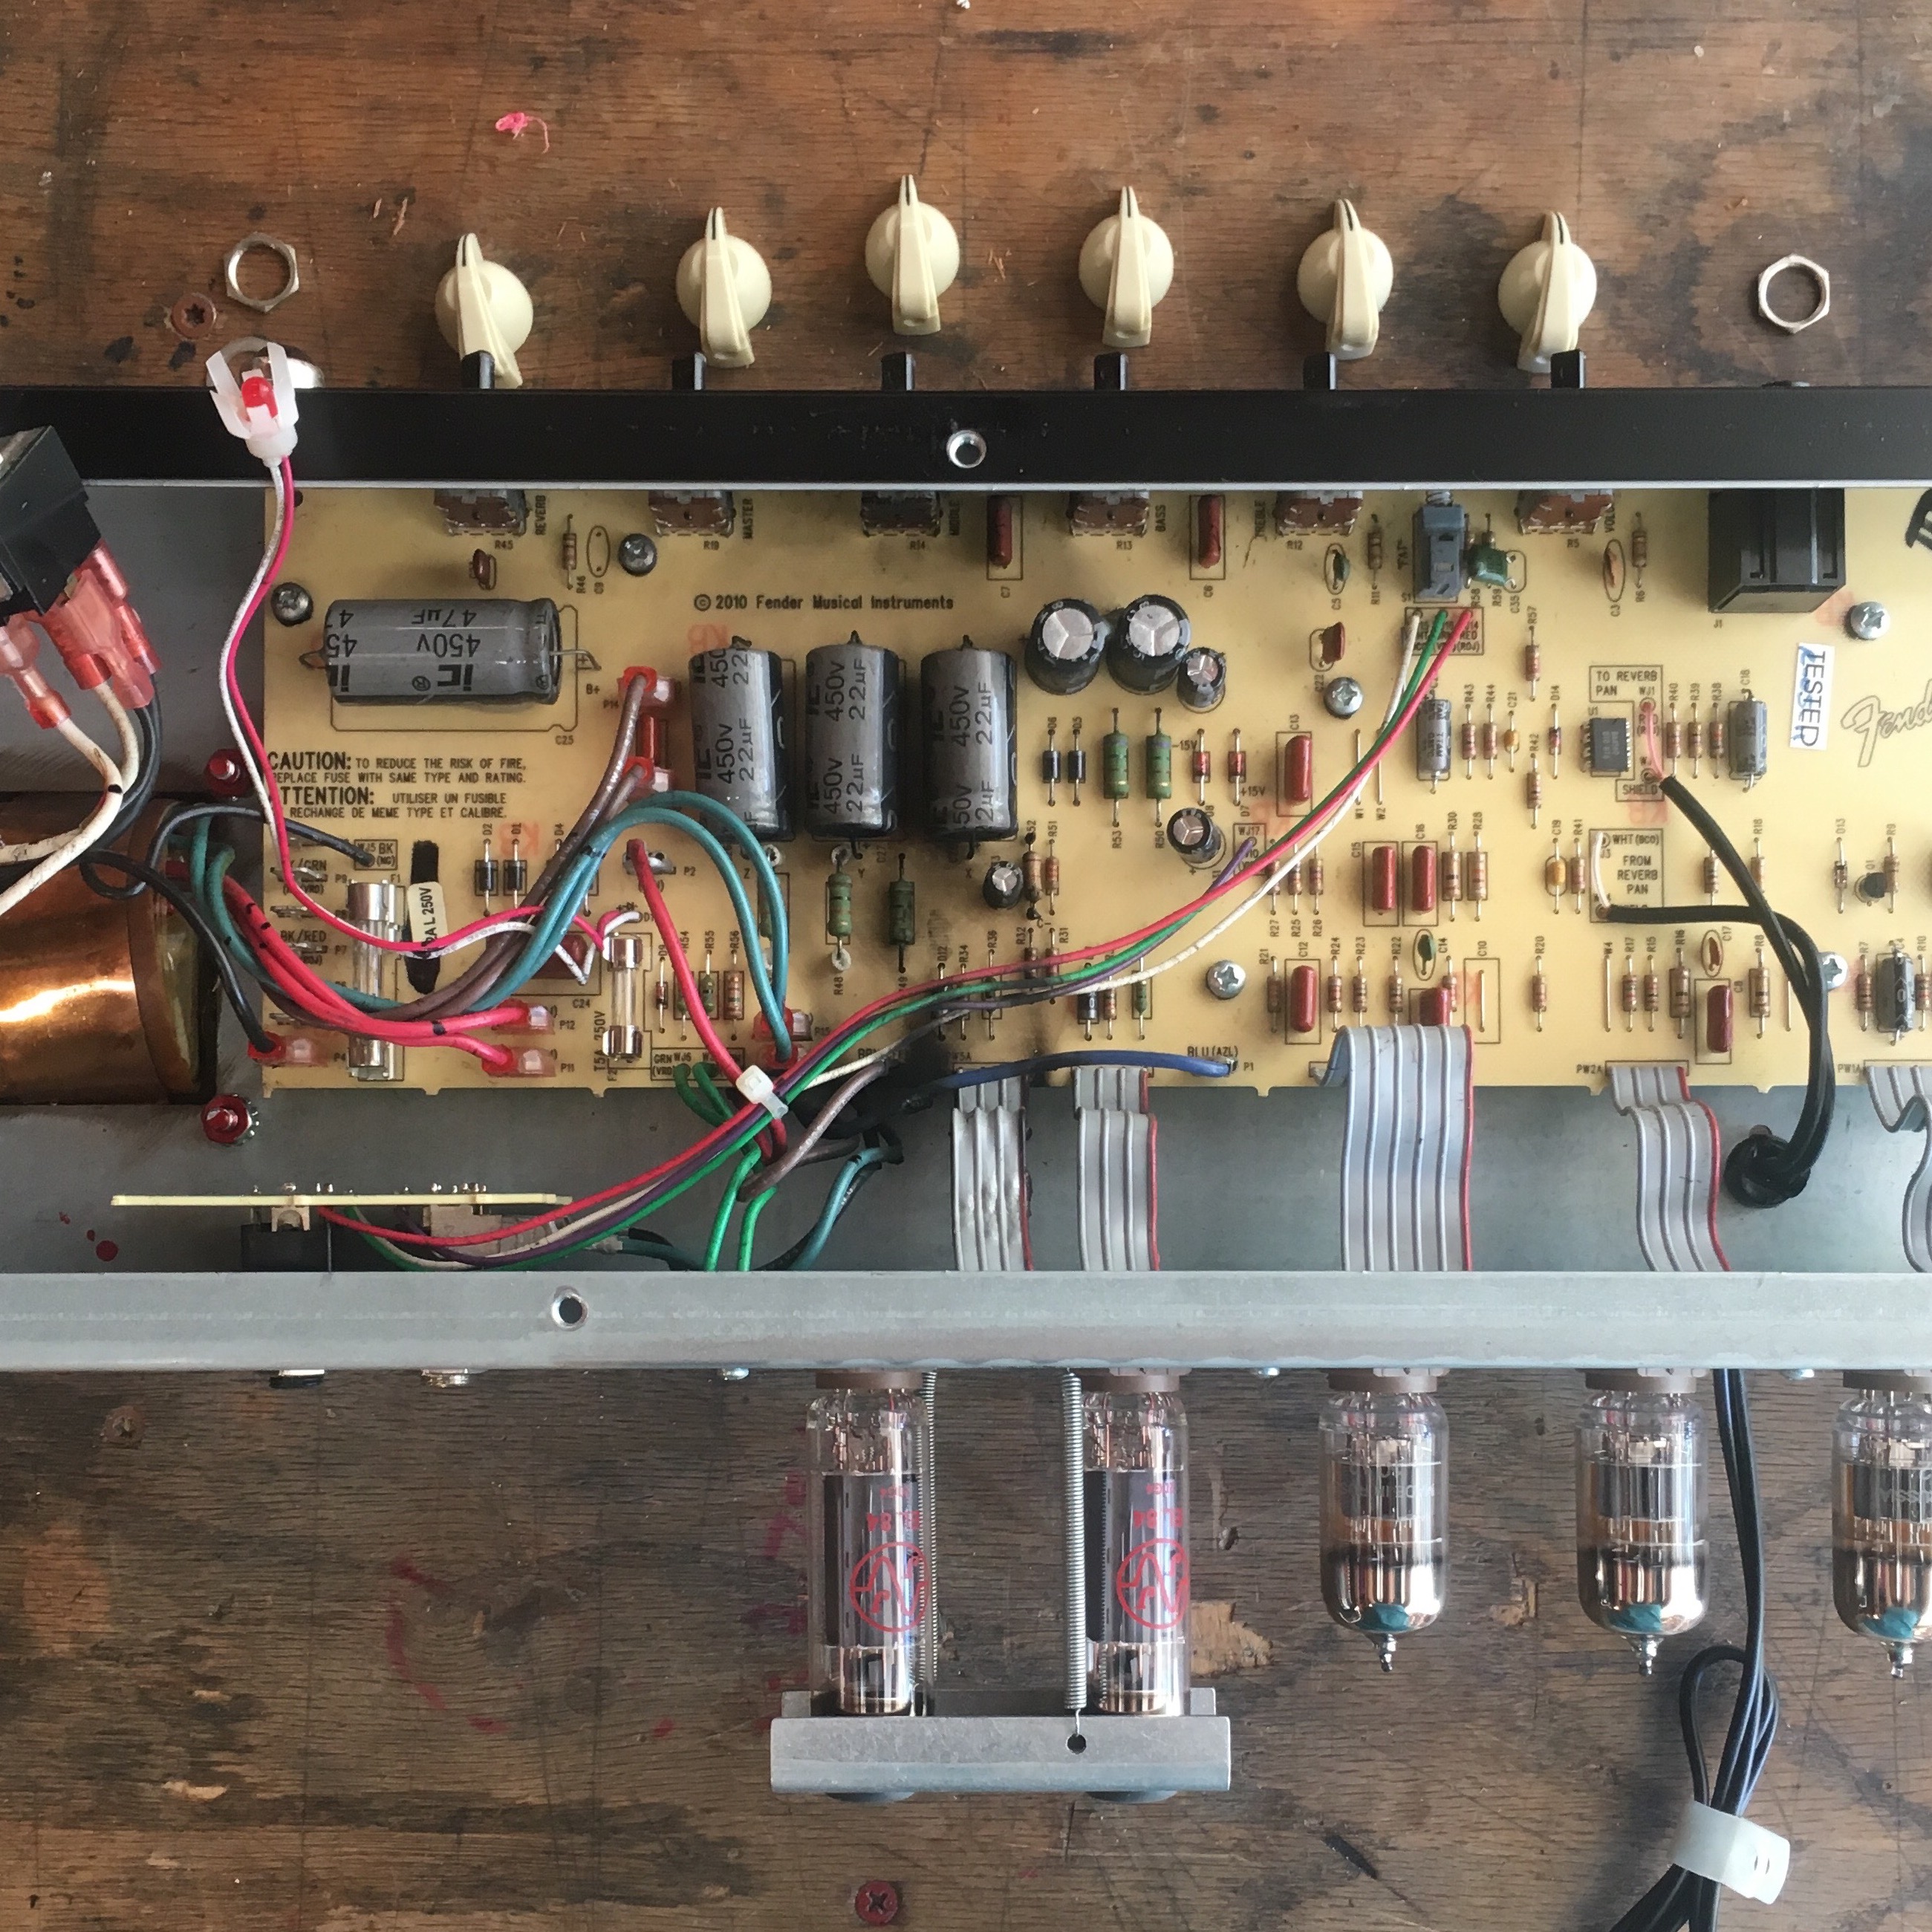 Bass Amp Fix 2 October 2019
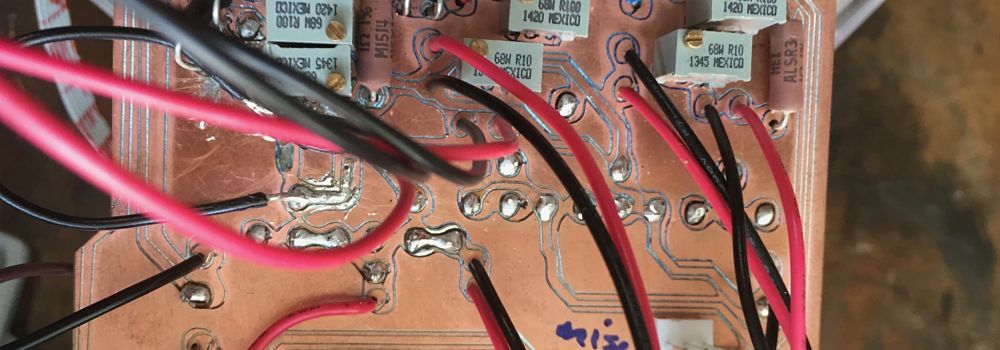
First, I grounded all the capacitors, then began the process of removing all of the wires, which were plugged into the board with crimp terminals...
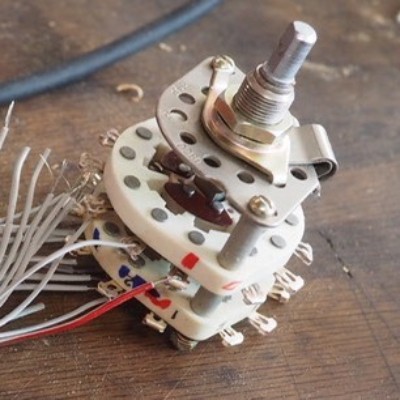
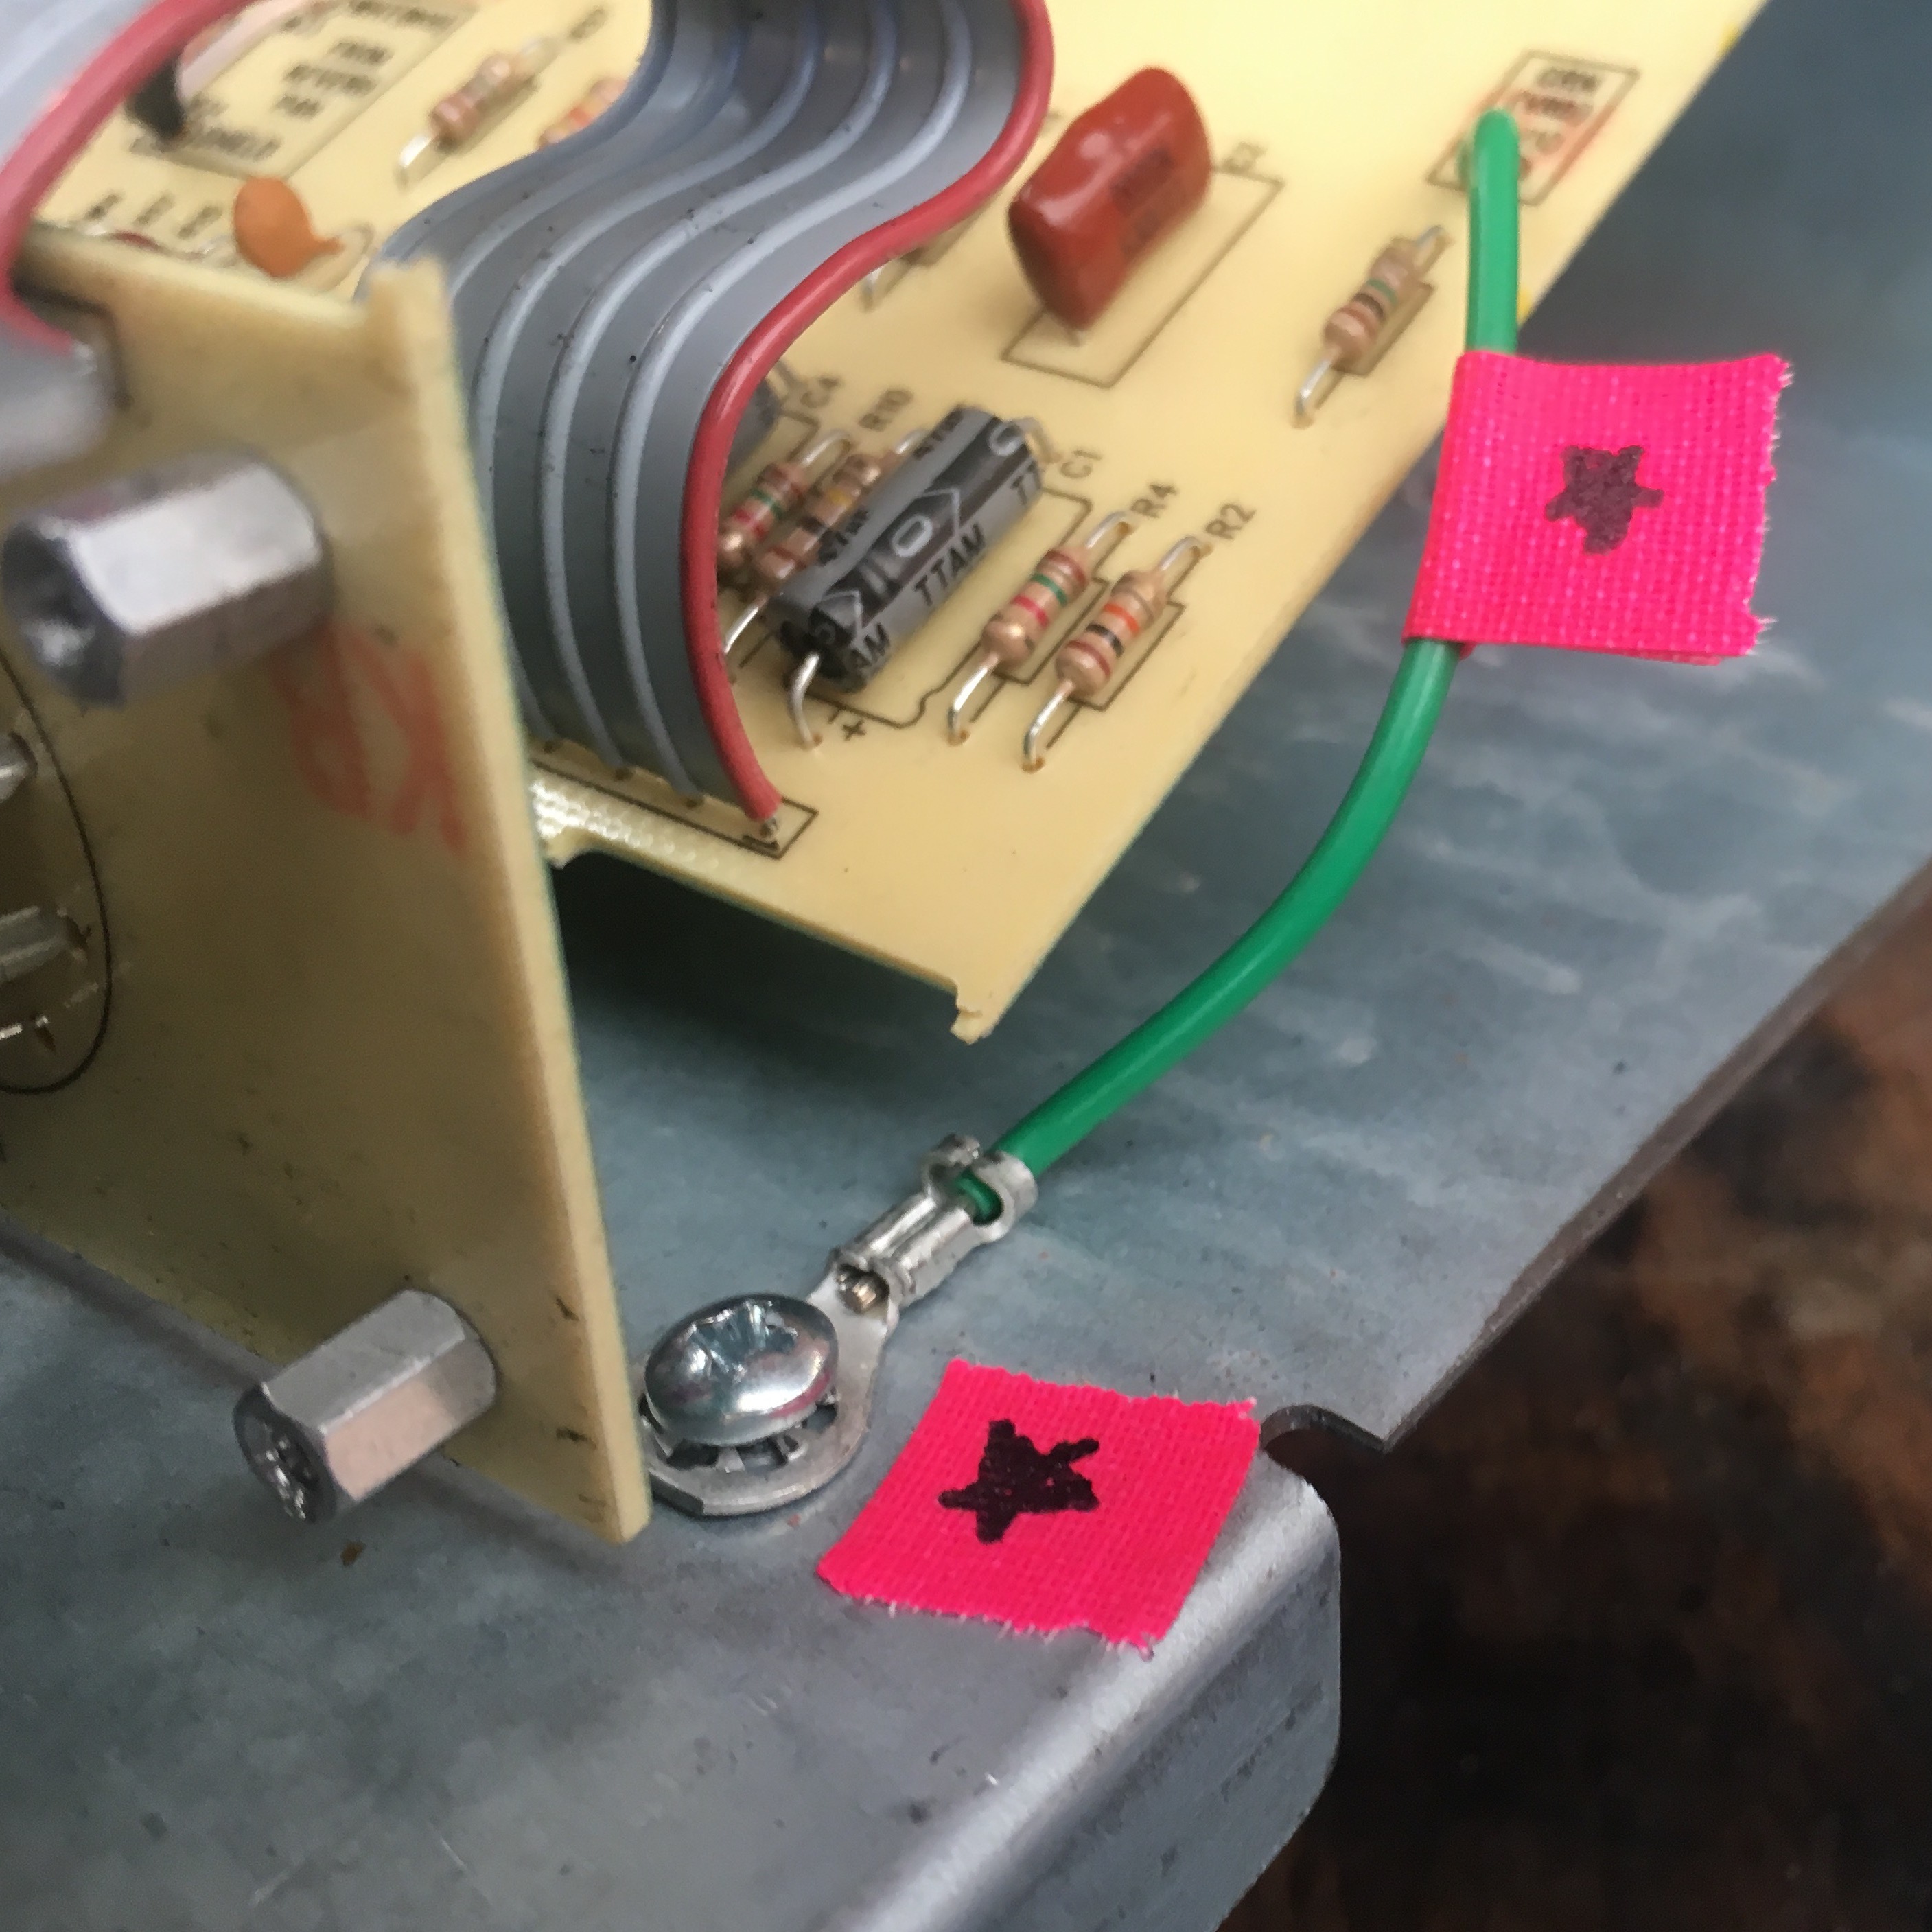 Bass Amp Fix 1 September 2019
I removed the potentiometer headers with a thin flathead and wire clamps with a screw, taking photos as I went to remember the order...
 Mobile Optimizing August 2019
After building the new VHR site from scratch, I had a new layout that I liked on computers, but it looked terrible on phones. Because I structured the new site mostly with Google’s Materialize framework...
 Alarm Clock Rebuild July 2019
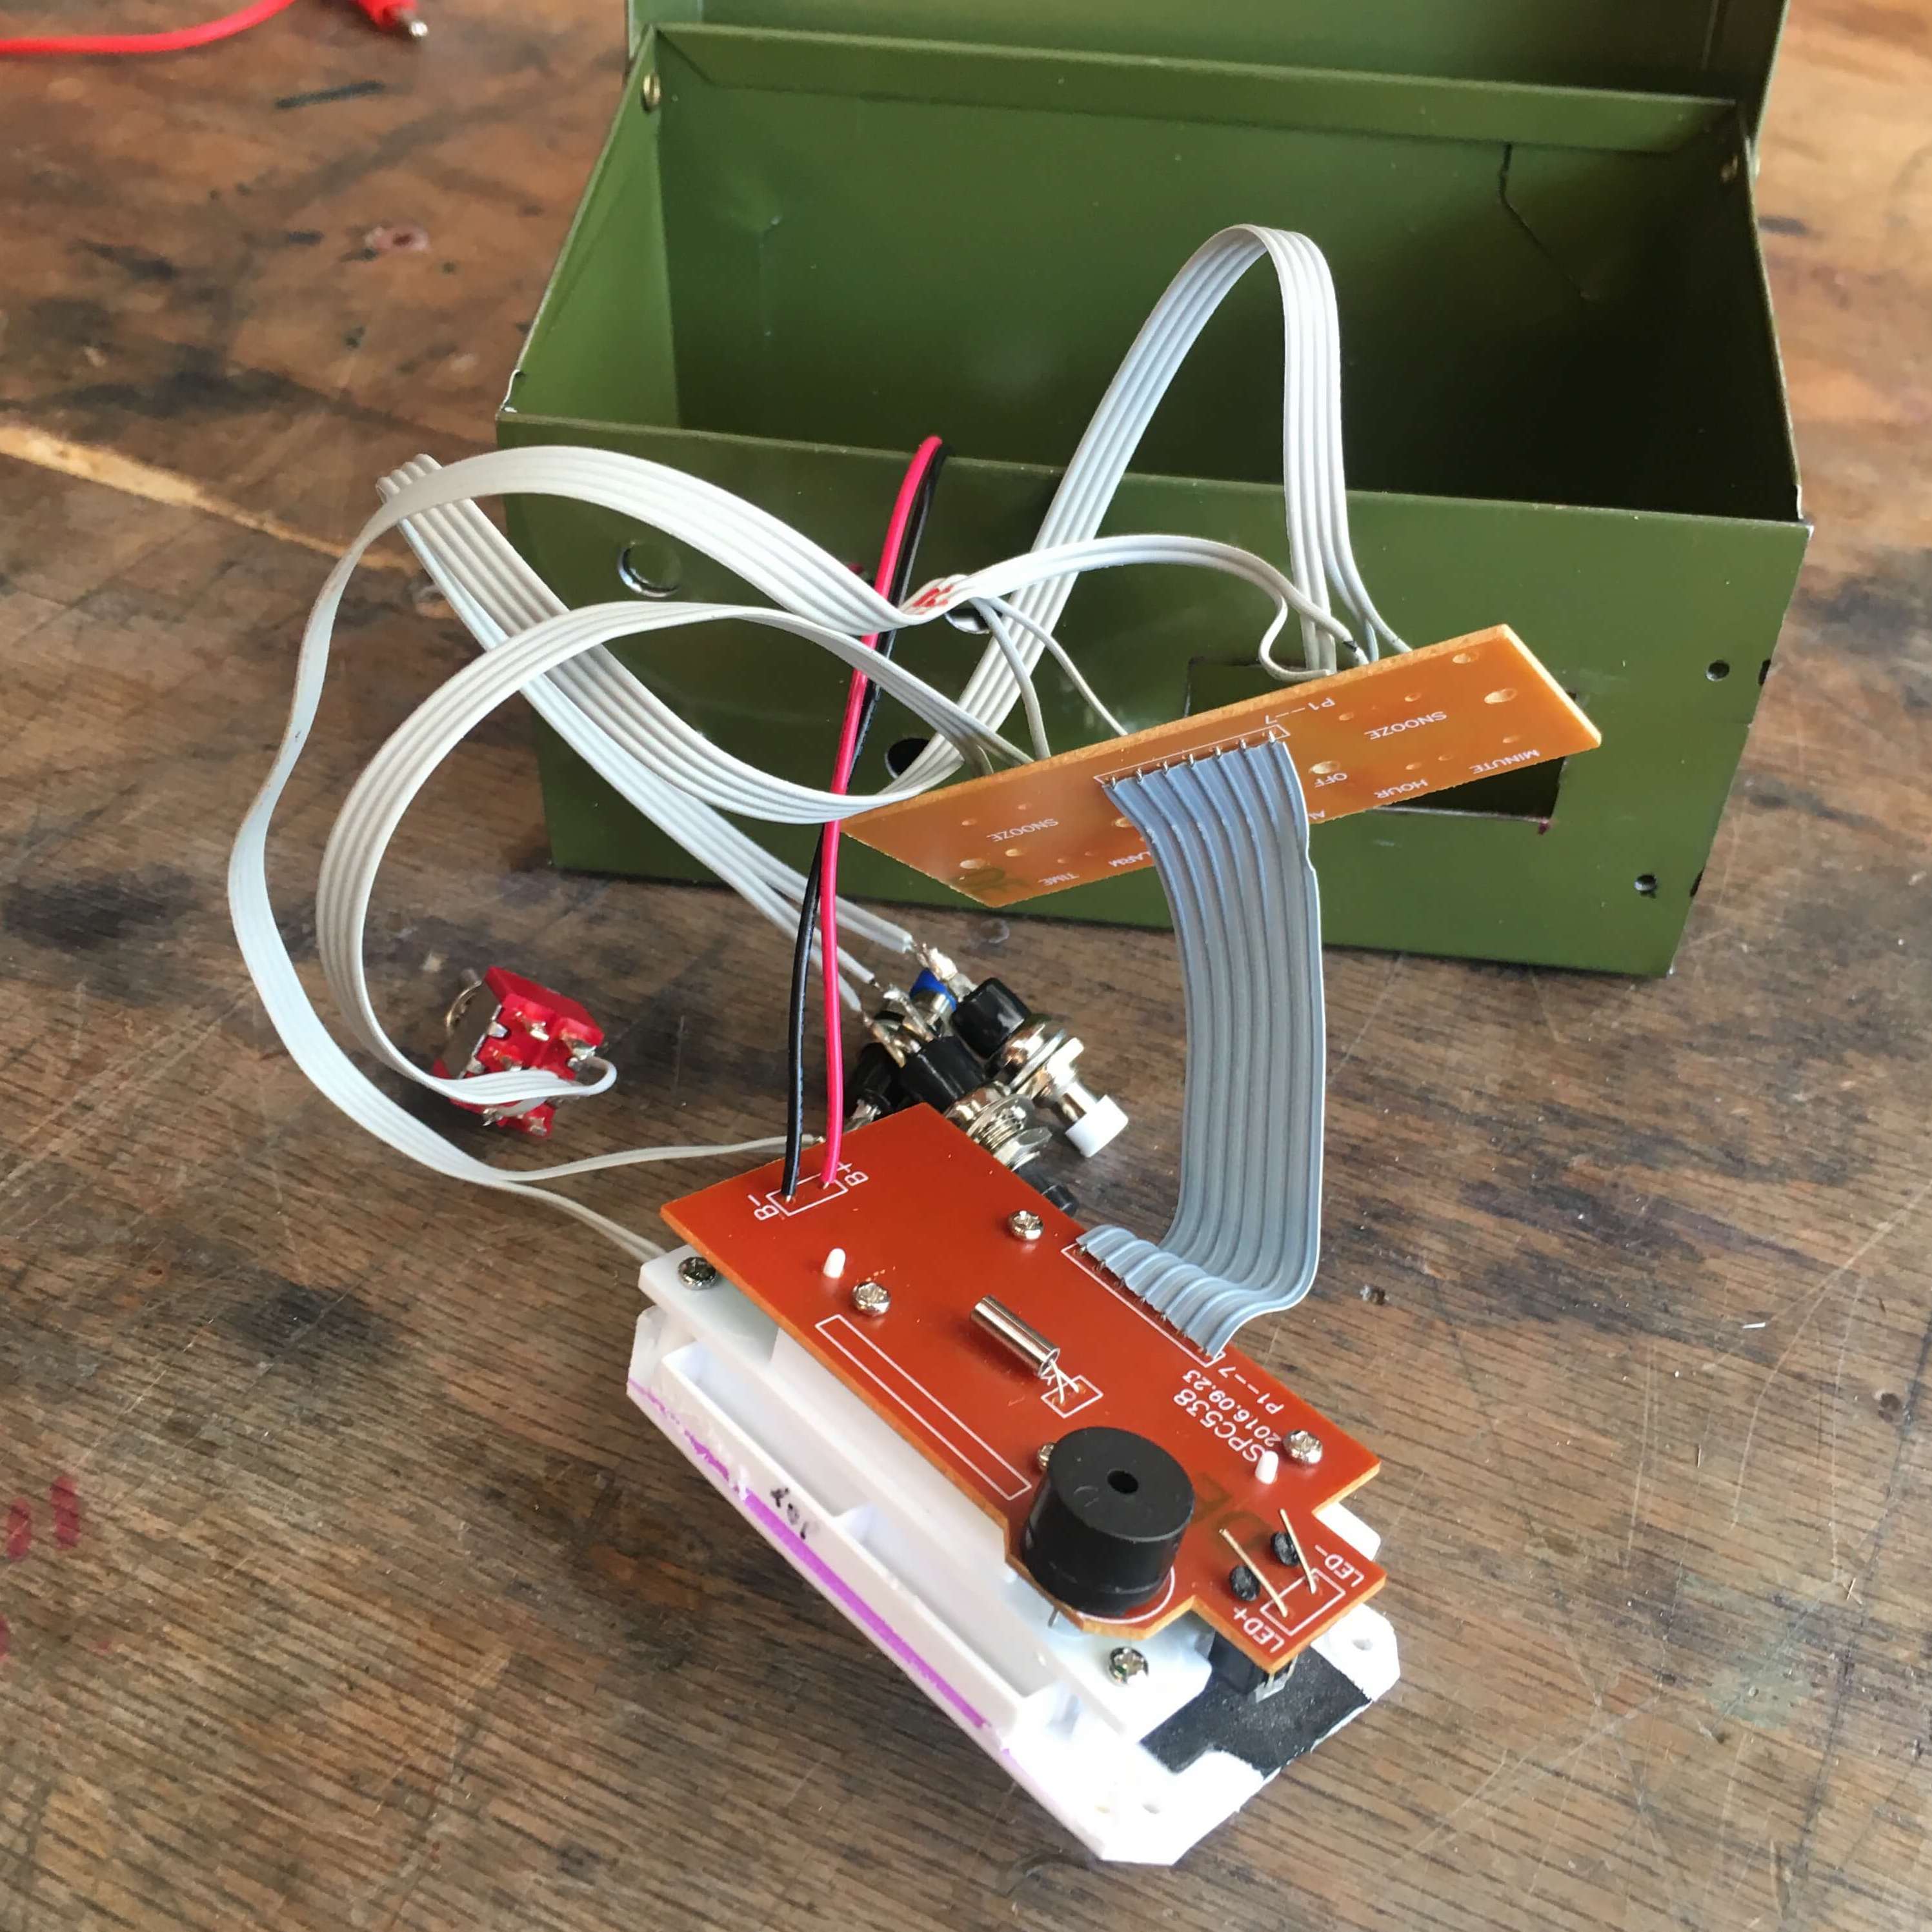
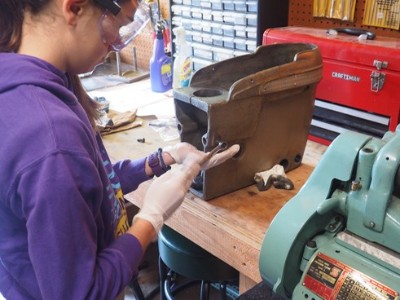
After salvaging a cool box destined for the trash, I was inspired to re-purpose it into an alarm clock! I had some spare buttons and switches and an ugly plastic alarm clock, so I decided to incorporate them, as well......
 Milling Boxes June 2019
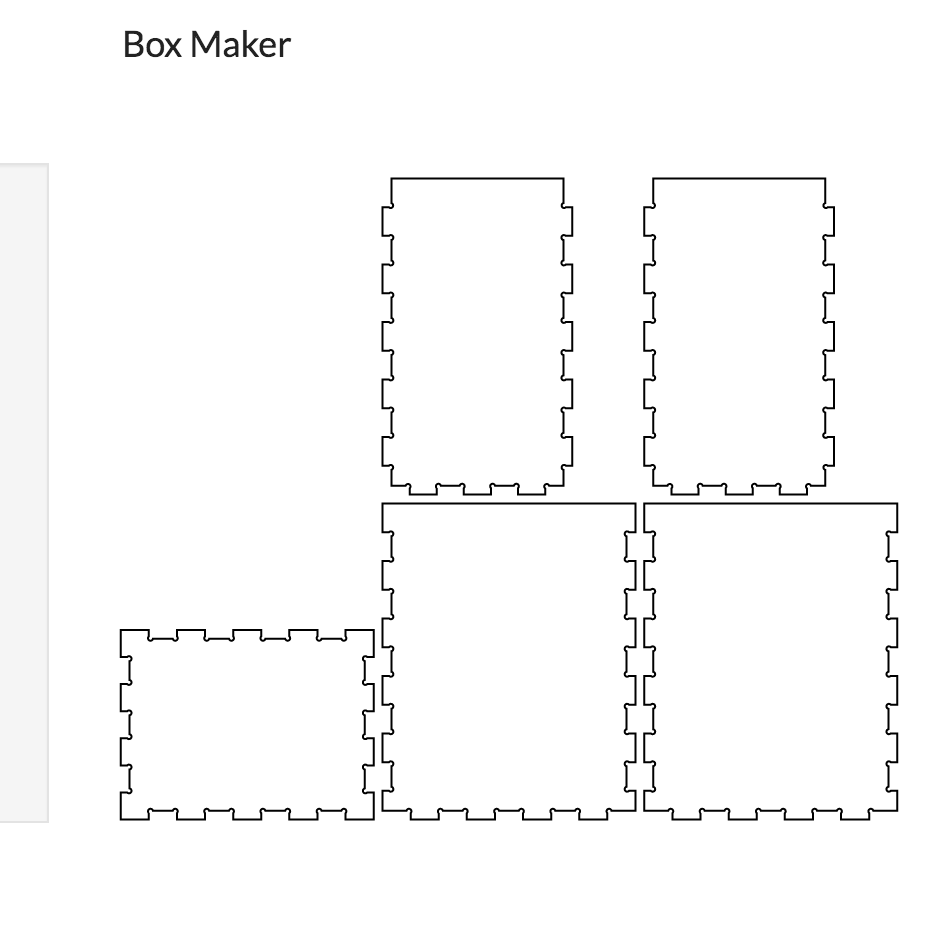
Because Easel has a built in app for designing boxes, milling them on the X-Carve is very easy and rewarding! This technique works on a broad range of materials, from light woods to metals....
 Engraving Aluminum May 2019
I set the bit width to 60° or just 0.5 mm. If you aren’t using Easel Pro and cannot use 60°, it is important to note t...
 Milling Aluminum March 2019
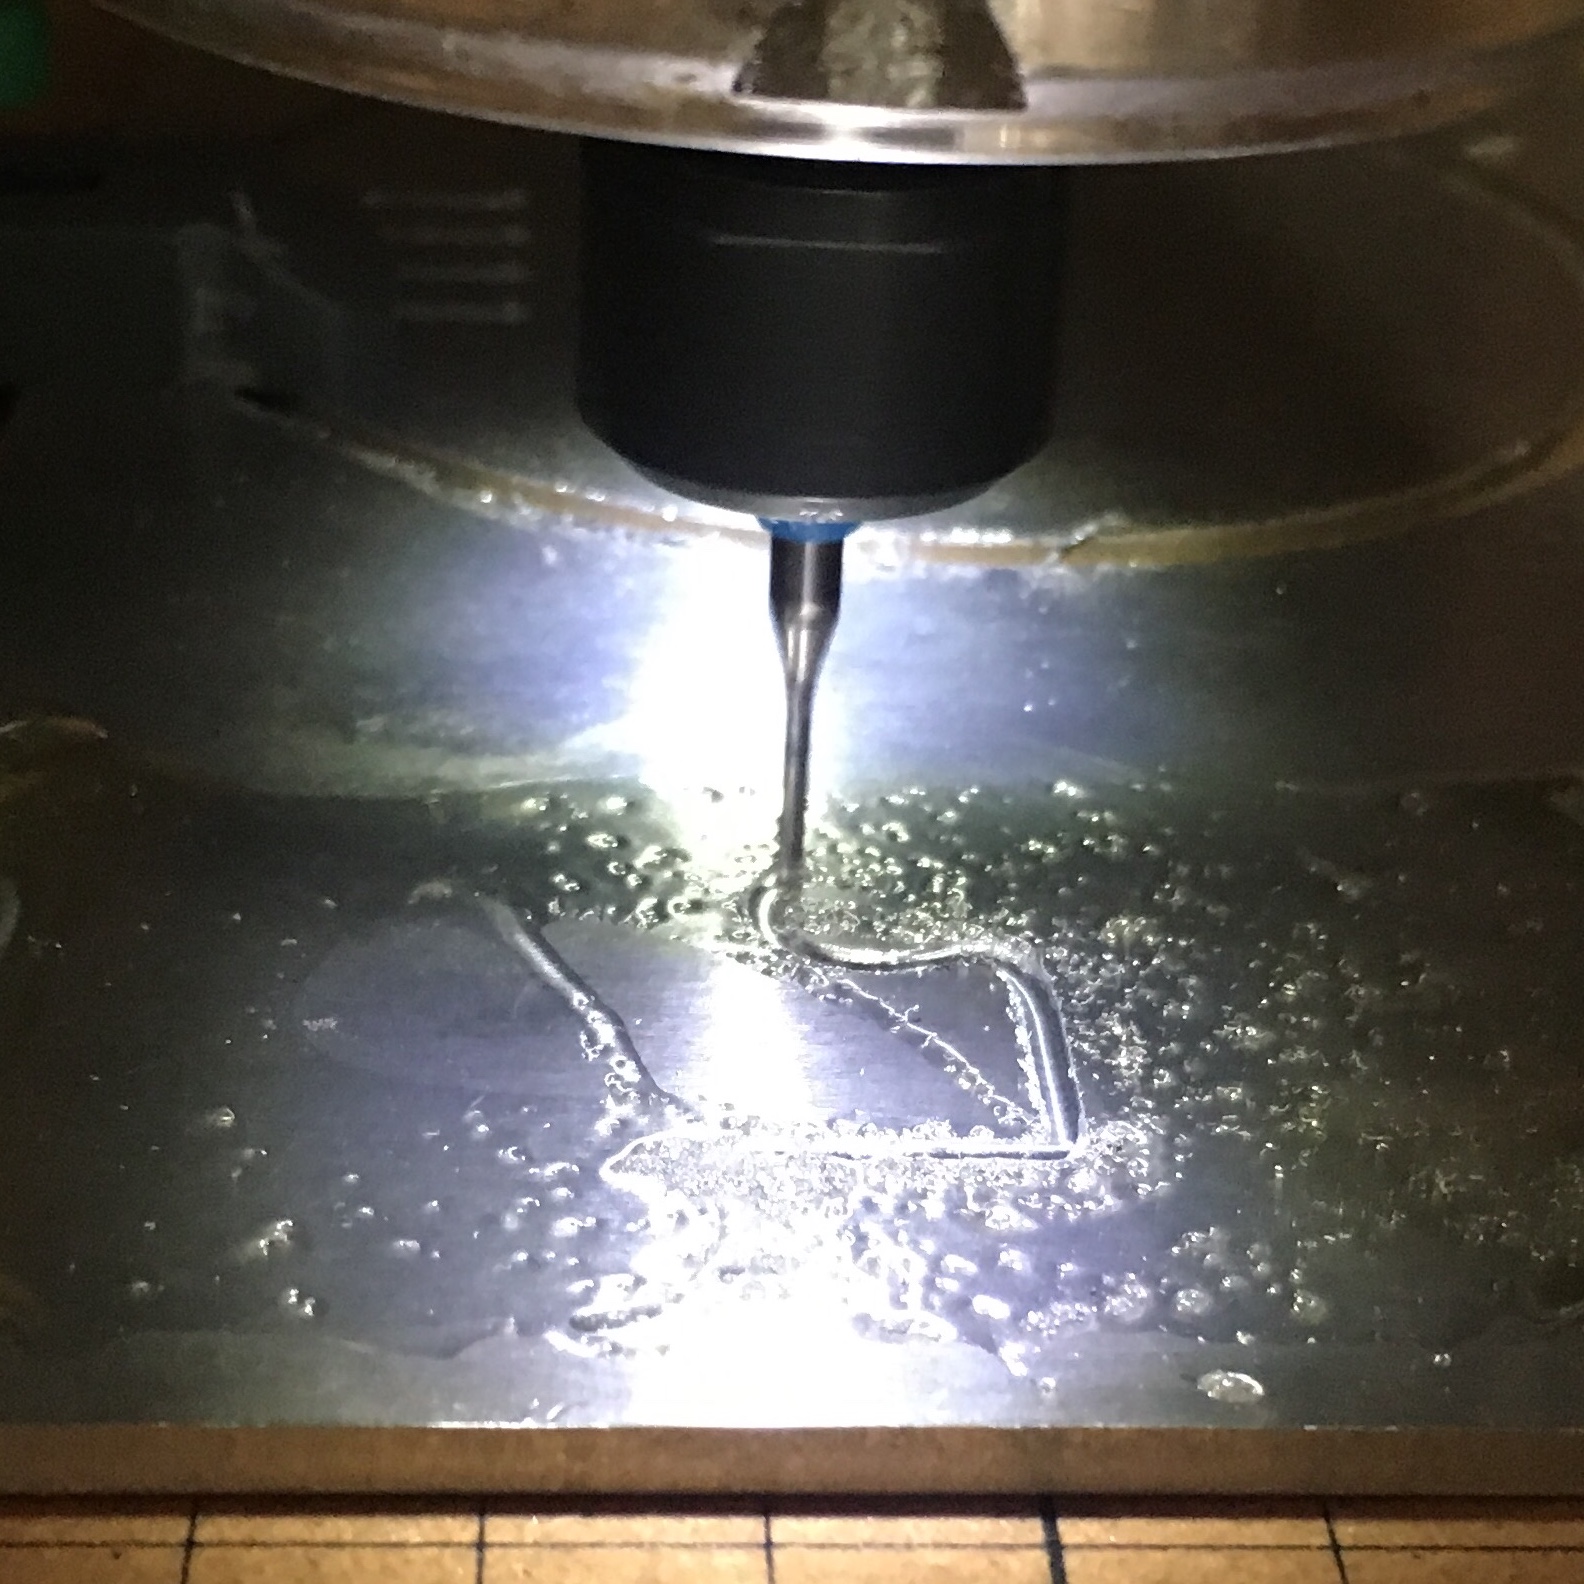
Milling and engraving metals on the Inventables X-Carve is much like milling and engraving softer materials...
 Soldering Fume Extractor December 2018
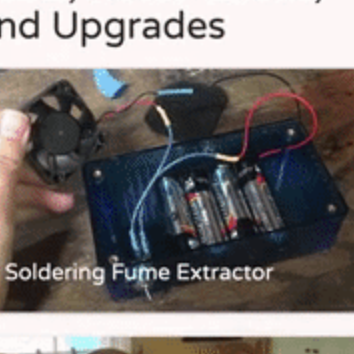
Soldering releases fumes when the solder wire melts. I decided to make myself a fume extractor using spare parts...
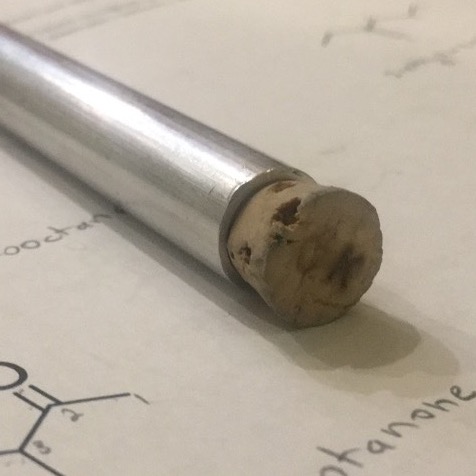 Pencil Lead Holder November 2018
I am constantly carrying a mechanical pencil and backup lead. I don’t really like the little plastic lead cases...
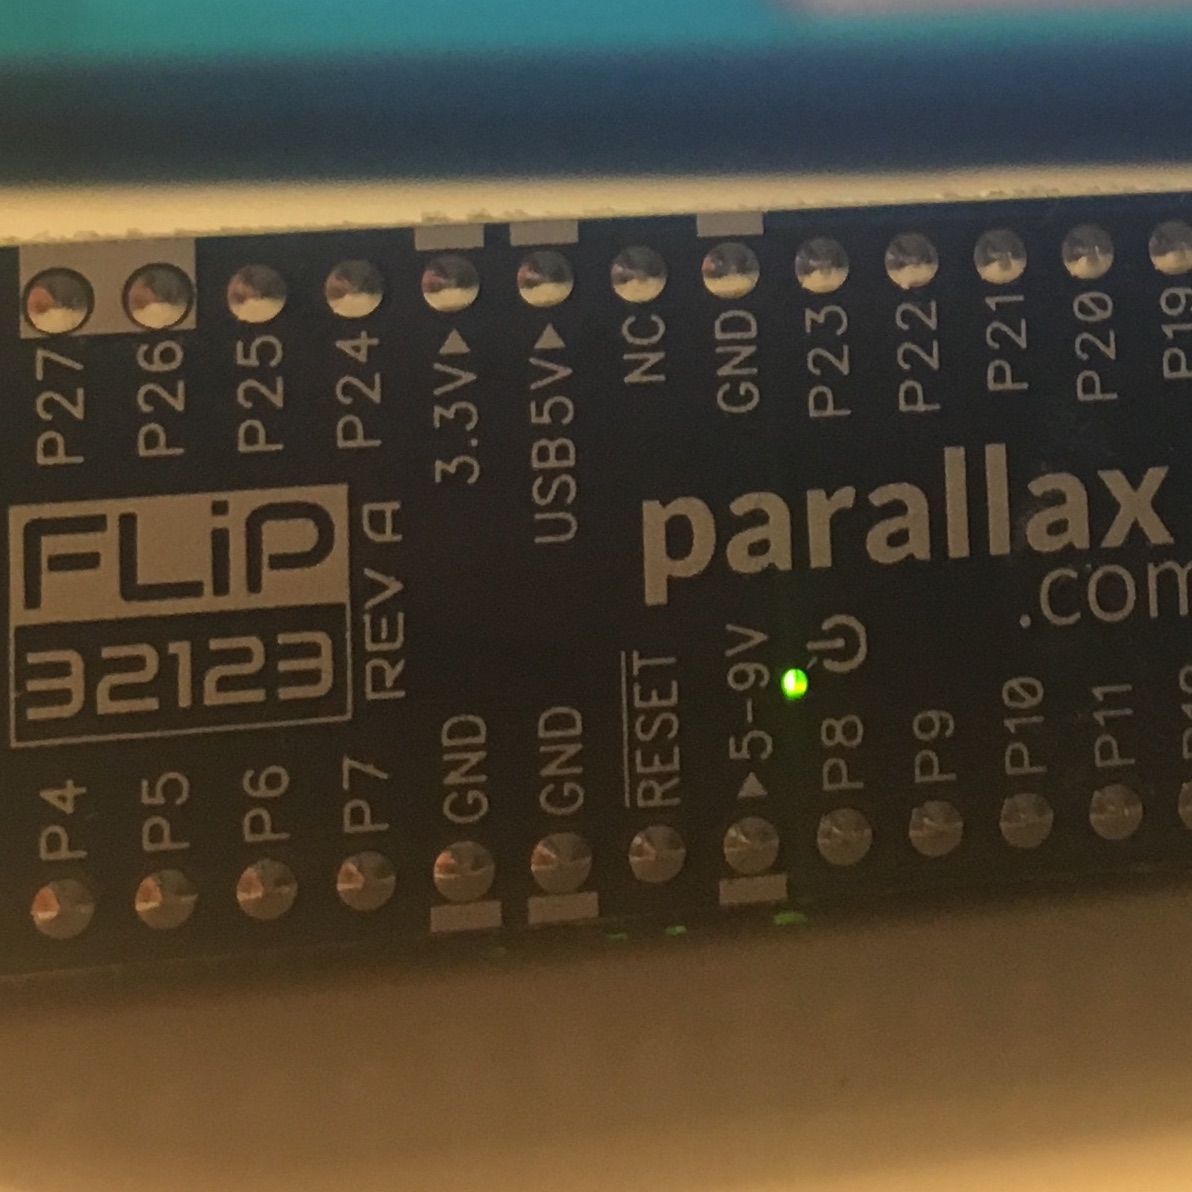 Parallax FLiP Module October 2018
The kind people at Parallax were super awesome and sent me a FLiP Module! The FliP Module is a microcontroller..
 KFETS Part 7: Finishing Up September 2018
Following general specs defined by my client, I designed a top panel in Easel, Inventables’ CnC program. I...
 Recoding veryhappyrobot.com August 2018
I started veryhappyrobot.com just after I finished the 5th grade using drag-and-drop software. I would write posts and then...
 X-Carve Build Timelapse April 2018
Here is a timelapse of my Inventables X-Carve 750x750mm build. The entire build was about 5 hours...
 KFETS Part 6: Circuit Boards 2 April 2018
Now with the X-Carve in my toolbox, I was able to prototype circuit boards much more rapidly than the last...
 KFETS Part 5: Specialty Parts March 2018
From the outset of the KFETS project, my client knew that he wanted it to be as sturdy and unbreakable as possible...
 X-Carve Build February 2018
To improve the quality of my circuit boards and the precision of the panel, I knew I’d have to go digital. We...
 KFETS Part 4: Circuit Boards 1 February 2018
The short lights in my first prototype were connected by a circuit board, as were the meter panels displaying...
 KFETS Part 3: Prototyping January 2018
The stages between research and a final product can take a long time, with many iterations and prototypes...
 Making Basic Packages in EasyEDA January 2018
While making the KFETS, I used the free EDA (Electric Design Automation) software EasyEDA in order to lay...
 KFETS Part 2: Research December 2017
Before starting this project, I researched to check if anyone had made a similar project in case I could use...
 KFETS Part 1: Introduction November 2017
For several months, I’ve been working on a system to check the quality of equipment for the sport of fencing...
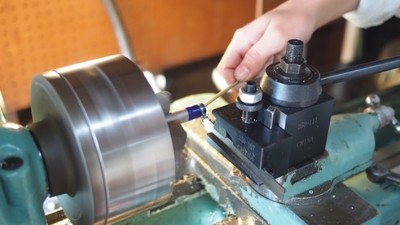
Fidget Spinner on the Lathe November 2017
I made my friend an aluminum and brass fidget spinner for her birthday. I cut the main body of the toy out of 3”...
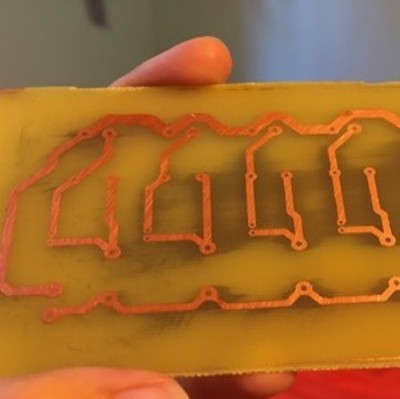
Etching Custom Circuit Boards June 2017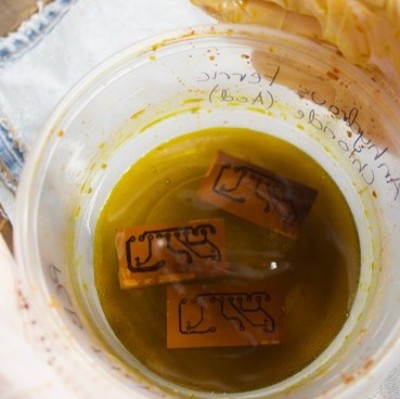
To streamline my circuitry and be more space-efficient with my designs, I etch (basic) custom circuit boards...
LTD: Troubleshooting February 2017
At first, the engine did not work. Instead of becoming discouraged, I began to troubleshoot. Senft’s book...
LTD: Assembly January 2017
Now that all the parts were completed, I began to assemble. During assembly, I had to cut additional parts...
LTD: Flywheel December 2016
The flywheel of the Stirling Engine fits around the flywheel hub and doesn’t do any mechanical work, but...
LTD: Crankshaft October 2016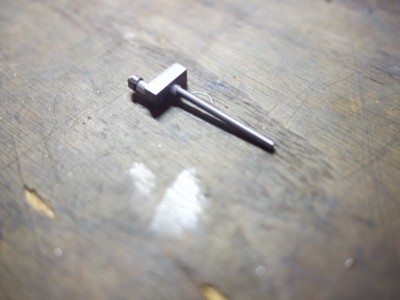
The crankshaft is the axle that connects the flywheel hub to the piston assembly. It is made of two parts: a...
LTD: Flywheel Hub October 2016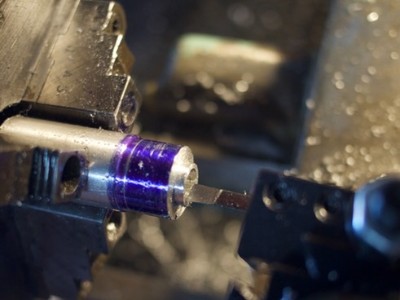
The clear flywheel is mounted on the flywheel hub, which fits around one side of the crankshaft. It is made on the...
-
LTD: Bearing Housing and Collar September 2016
The crankshaft, which attaches to the piston and displacer block, is mounted inside bearings to minimize...
Foam Cutter September 2016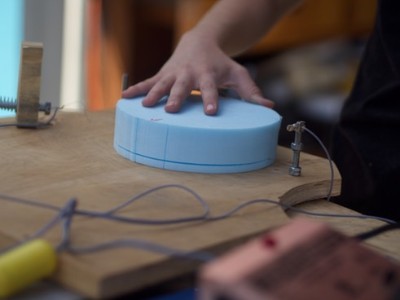
Next up on the Low Temperature Differential Stirling Engine was the displacer block, which was made of foam...
LTD: Displacer Block September 2016
First, I cut a square chunk of foam out of a larger piece. Then I cut a circle of the foam using a nail set into...
LTD: Displacer Block September 2016
First, I cut a square chunk of foam out of a larger piece. Then I cut a circle of the foam using a nail set into...
LTD: The Piston Assembly August 2016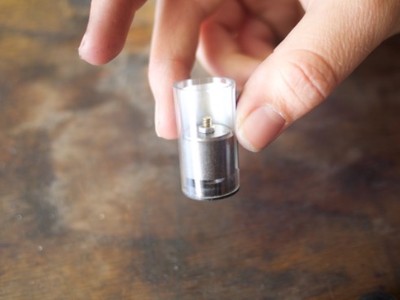
I took one of the brass bolts that I was using to attach the block to the plates and filed it down on one side. I drilled...
LTD: Displacer Chamber Ring August 2016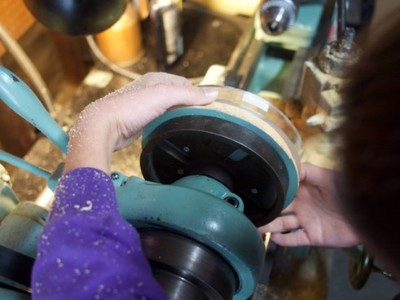
To make the ring, I started with a long tube of acrylic from which I chopped a ring on the mitre saw. Next...
LTD: the Plates July 2016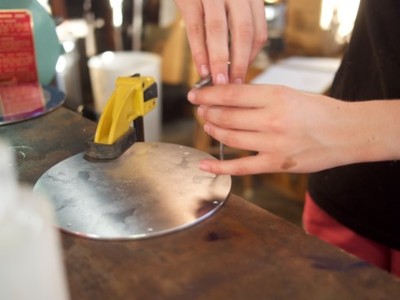
I layed out the circles on 1/4” thick aluminum square with layout fluid and a protractor, then cut them out...
LTD: Displacer Bushing June 2016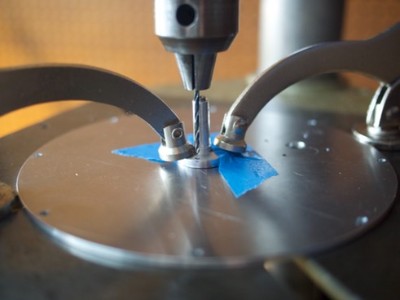
I layed out the circles on 1/4” thick aluminum square with layout fluid and a protractor, then cut them out...
-
LTD: Base Block June 2016
I put the rough block into the four-jaw chuck on the lathe to square up the sides: Now with the sized block...
LTD: Bearing Plate June 2016
First, using layout fluid and a ruler, I “layed out" the part on a flat piece of aluminum...
LTD: Introduction May 2016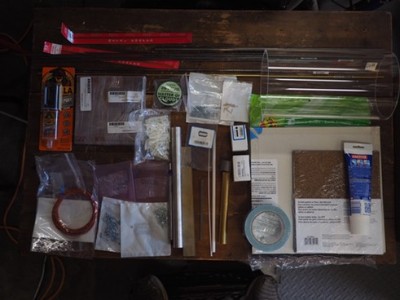
For my school science fair, I decided that to make something to help me improve my machining...
DP: Reassembly March 2016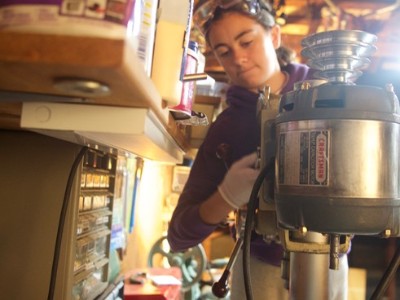
Finally, after disassembling, cleaning, sanding, cleaning some more, buffing, cleaning even more, and painting, it...
DP: Motor Repair March 2016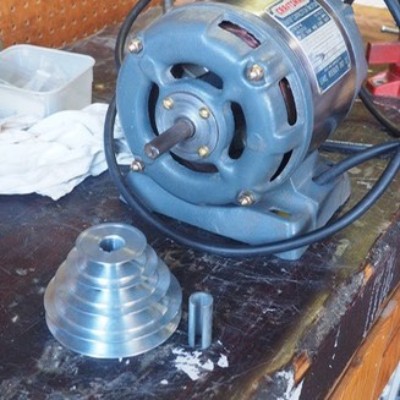
Mainly, the pulley on the motor’s shaft was secured with a set screw. Over time, this set screw just kept...
DP: Painting February 2016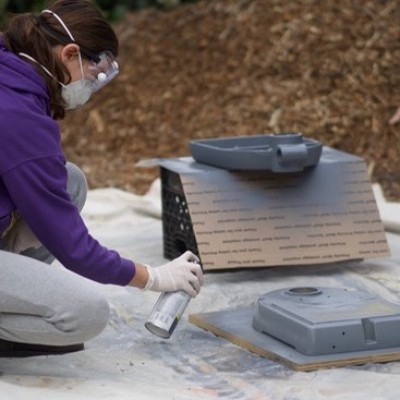
After cleaning, it was time to repaint. We bought Rust-oleum Hammered Gold spray paint/rattle cans and...
DP: Cleaning February 2016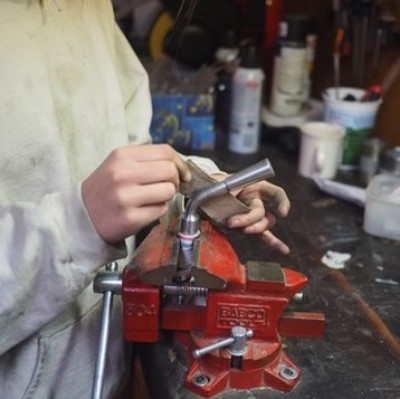
Cleaning the exterior motor cap nuts. It turns out they are actually shiny gold (when I found them, they were...
-
DP: Disassembly February 2016
The bearings are still present, one is visible on the far right of the spindle. They barely turned...
DP: Introduction January 2016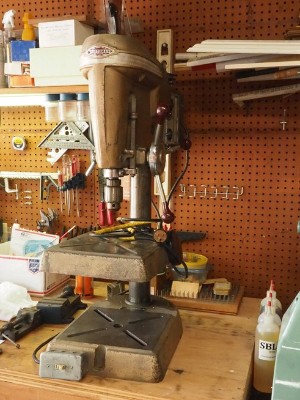
For the past few weeks, my dad and I have been restoring a 1956 Craftsman Benchtop Drill Press...
Maker Hangar Tricopter August 2015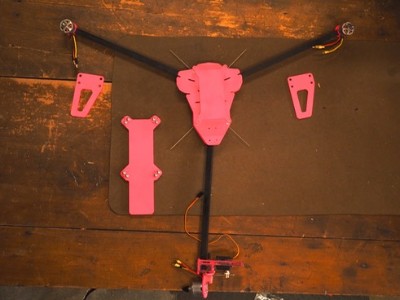
What does a 13-year-old nerd do during summer vacation? Well, I decided to build my first tricopter, after...
Octolively June 2015
I recently finished the build of my third Octolively Kit by Evil Mad Scientist. Visit the review here to see the...
LED Kit Instructions April 2015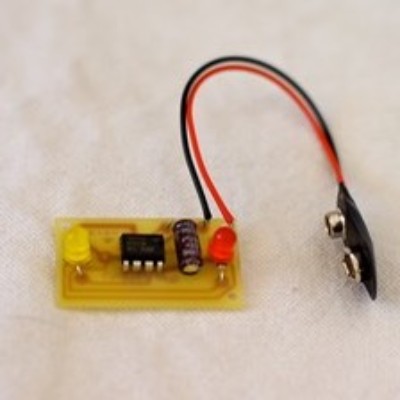
I will be teaching a soldering class using LED Blinky Kits at a school’s STEAM event soon, so I decided to enhance...
Oboe Reed Water Holder March 2015
Using Solidworks, a 3D designing software, I created this oboe reed water holder. I uploaded it to Thingiverse (a...
Color Visualizer January 2015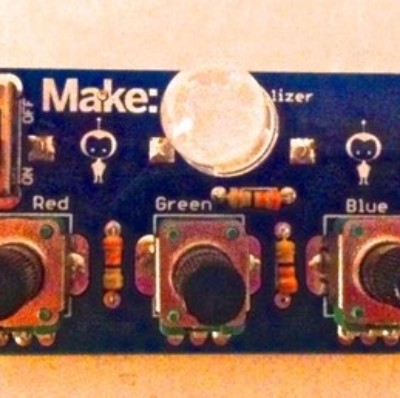
The kit works like this: a battery powers the kit. The power goes three ways - to the different colors in the LED...
-
Structure Sensor November 2014

The Scanner works by bouncing structured infrared light off of objects to determine their position, size, and...
15-Minute RAM Upgrade August 2014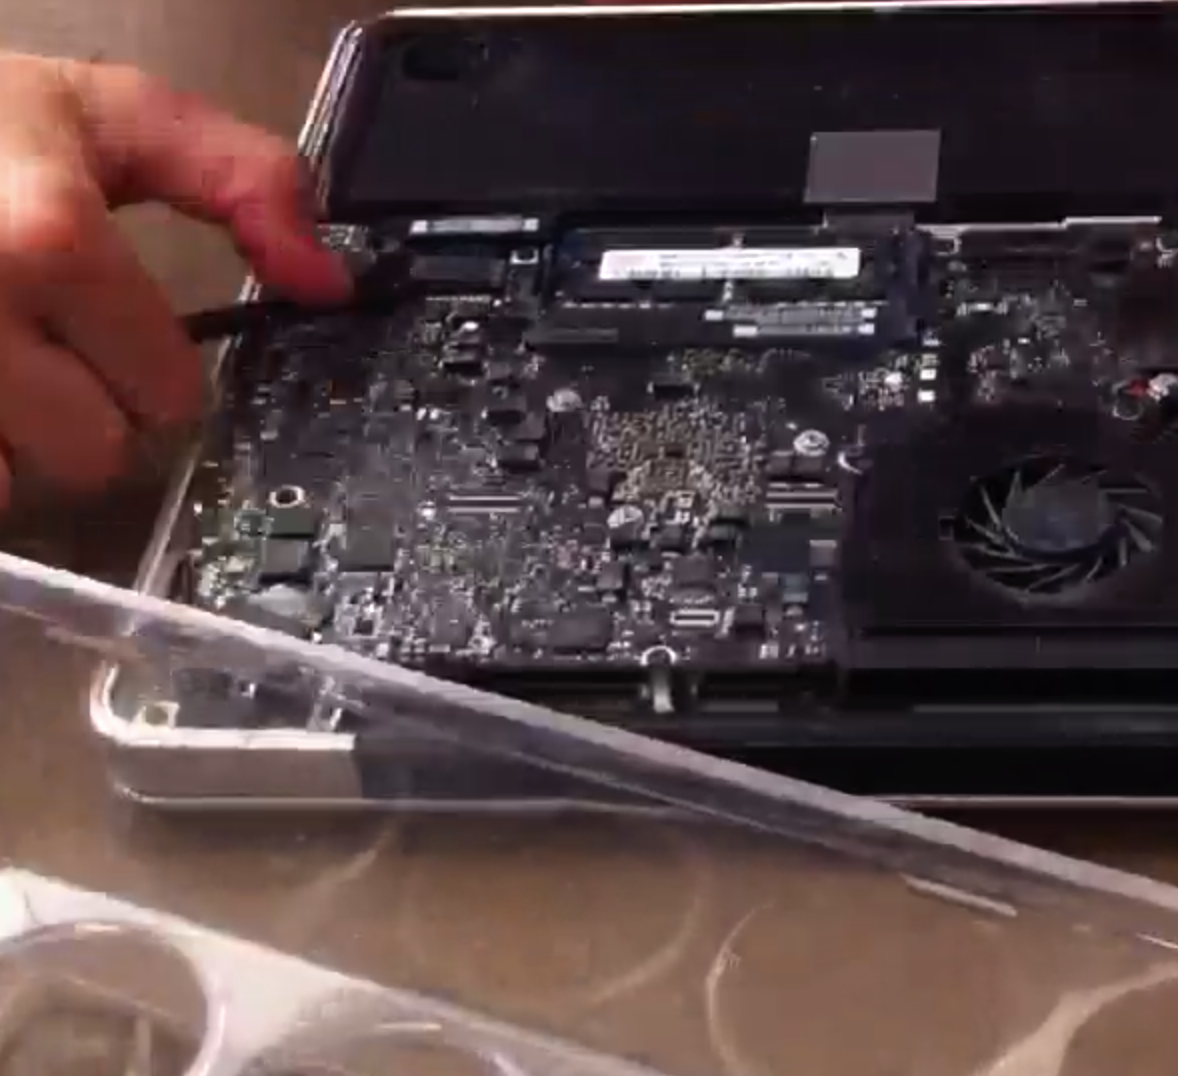
my dad decided to let me upgrade it instead of buying a new computer. Here is a time-lapse video...
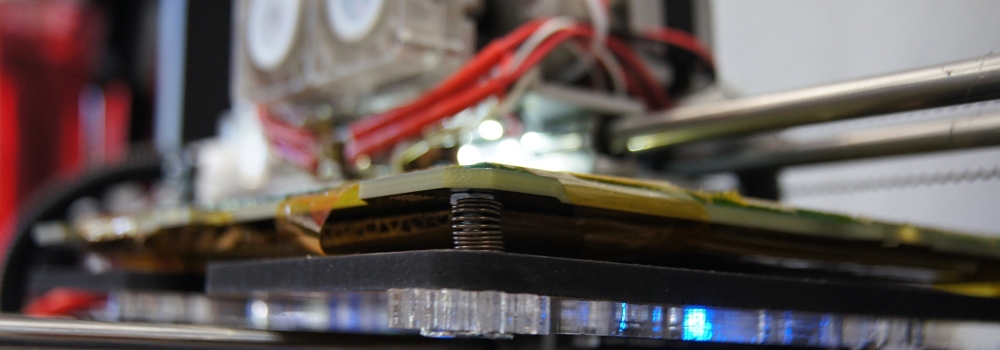
3D-printer Jam Fix August 2014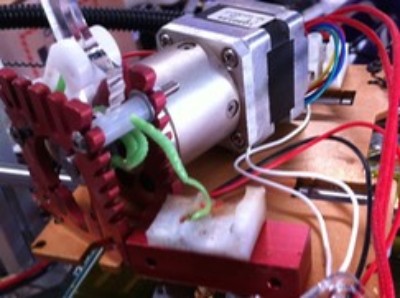
But somehow, my printer seems to break in exactly the way that nobody online has ever reported! Luckily...
F330/F450 FPV Camera Bracket/Mount August 2014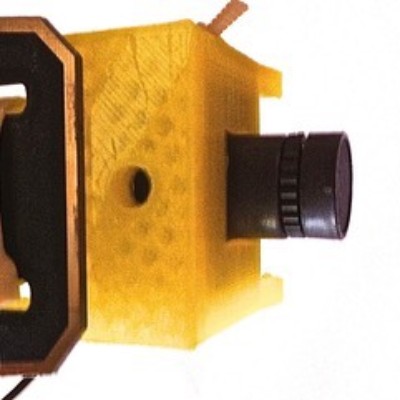
So I took it as a challenge and designed my own bracket using 3D modeling software...
Youmagine Label for Charged Batteries August 2014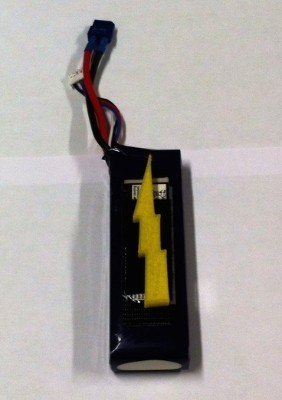
I've uploaded a design that I created for my quadcopter/drone to YouMagine, a 3D-file-sharing site...
DJI F330 July 2014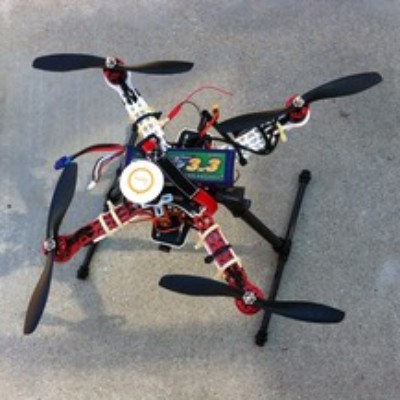
After going to a quadcopters Meetup as part of the LA Robotics Club, I got a quadcopter kit (the DJI F330...
Arduino for an A March 2014
I got an A, and I was the only one in the class whose project involved a microprocessor and high-powered...
-
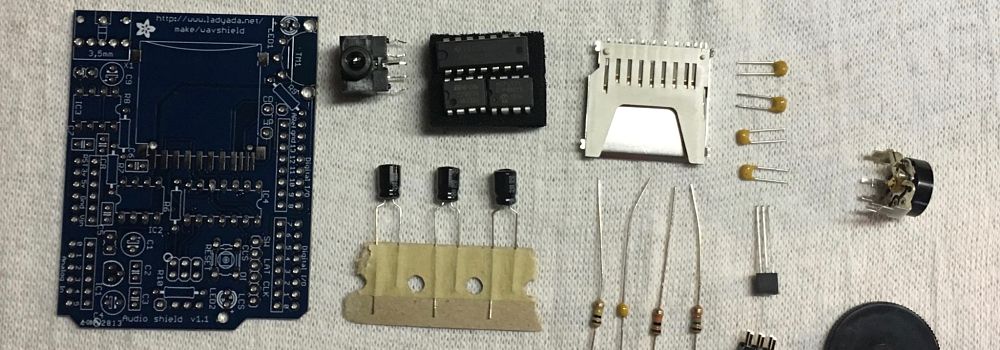
Adafruit Arduino Motor Shield January 2014
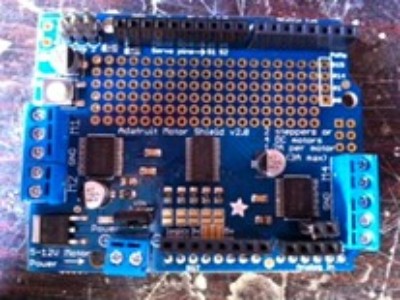
The Arduino Motor Shield is a curcuit board that stacks on top of the Arduino to allow the Arduino to control DC...
Arduino (Review) January 2014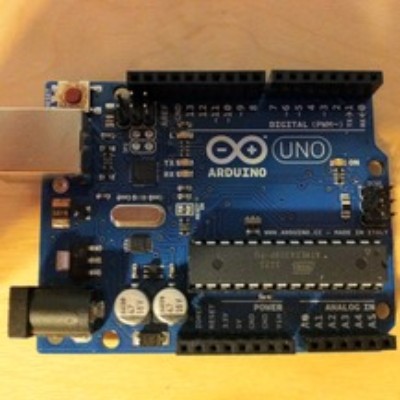
The Arduino is a microcontroller (mini computer). It can be easily programmed and reprogrammed to light up...
The Drawdio December 2013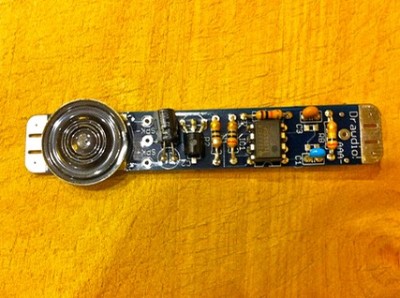
The Drawdio is a pencil that makes noise when you draw by utilizing a basic circuit! I recently soldered...
3D Printer Printing/Nautilus Gears November 2013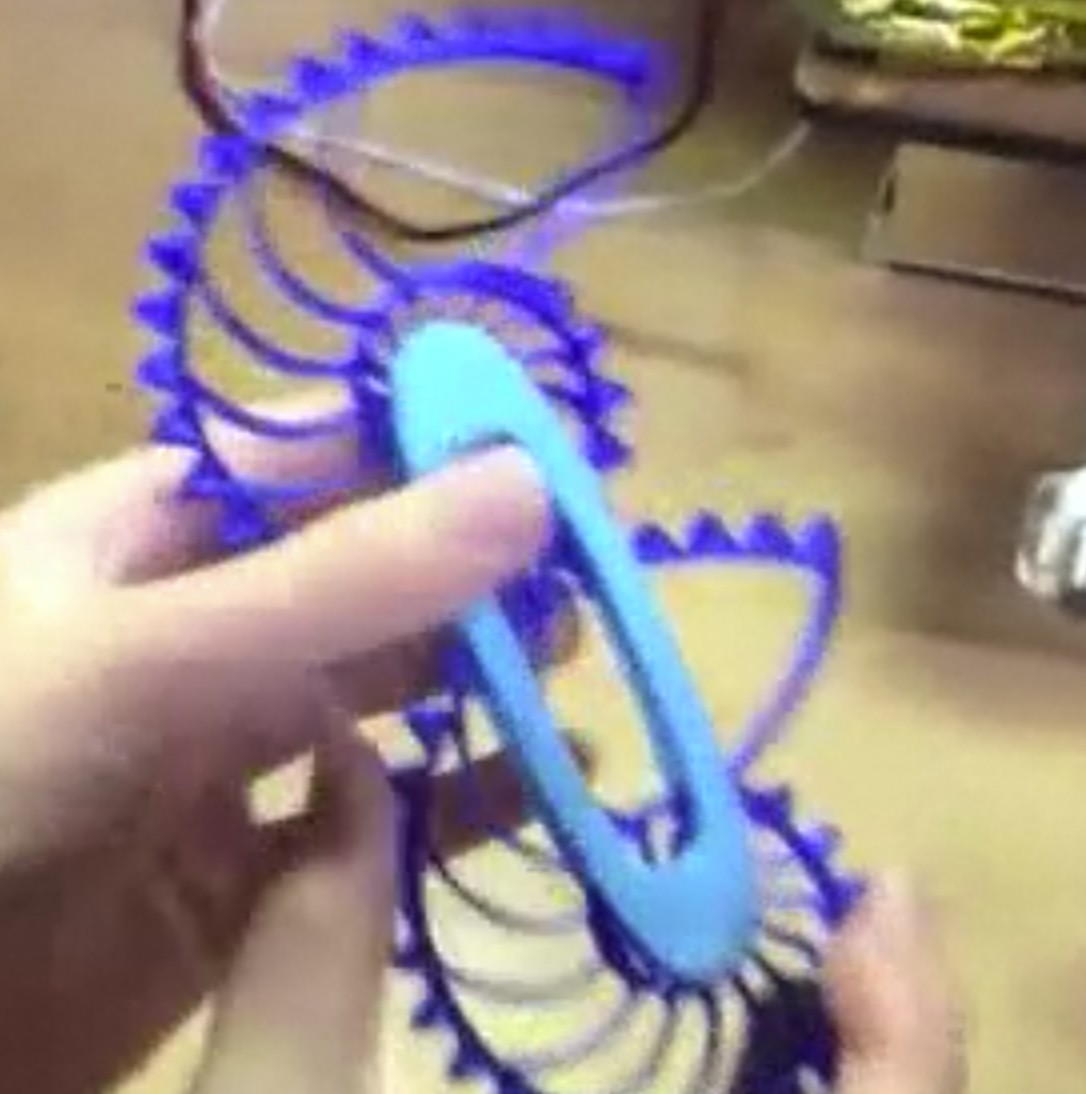
I am printing a set of nautilus gears that I downloaded from the open-source file sharing site Thingiverse...
Honey... I Fixed the Dishwasher! November 2013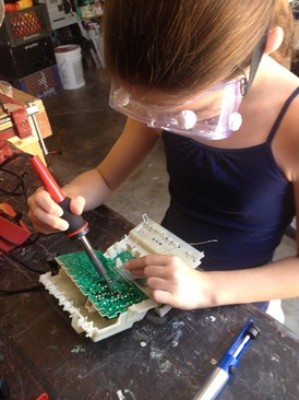
I did some research, pulled it apart, and found that a 6V relay on the control board had burnt up. We got the...
Gear Bracelet September 2013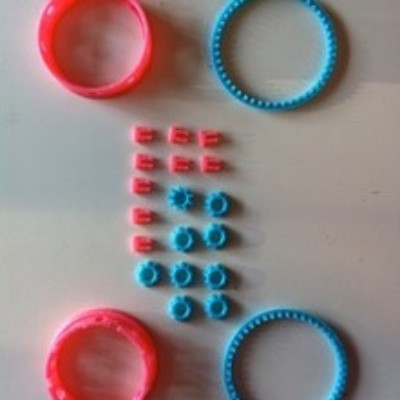
Here are some 3d printed parts that will snap together to make this awesome bracelet. Congrats to the person...
Bukobot 8 Vanilla v2 August 2013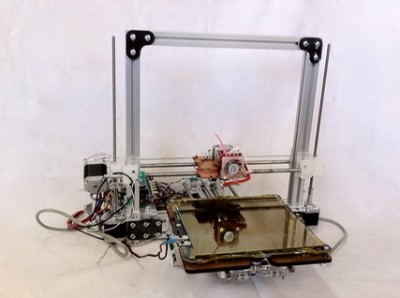
I built this kit before Deezmaker had put the directions online. The few questions I had were answered with a...