


As a part 2 to the Craftsman Benchtop Drillpress original post, here are some photos from the disassembly. My dad and I are restoring a 1956 Craftsman Benchtop Drill Press. We are taking it apart, cleaning/sanding/painting/repairing it, and putting it back together.
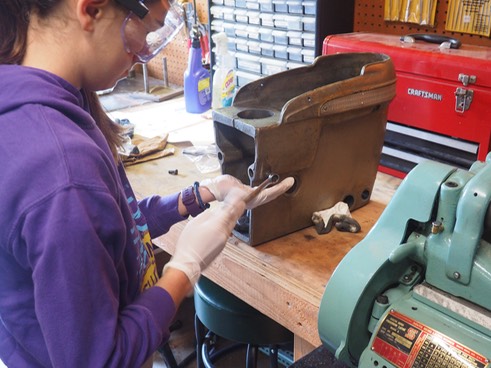
It is readily apparent how oily, grimy, and generally disgusting the drill press was on the inside.
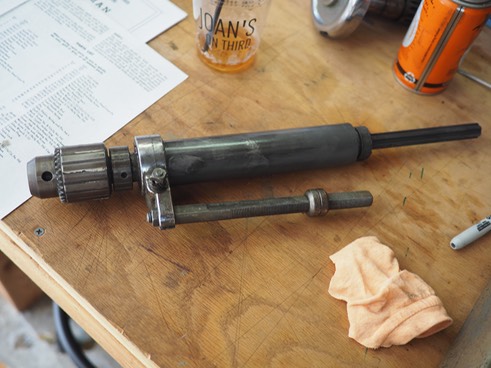
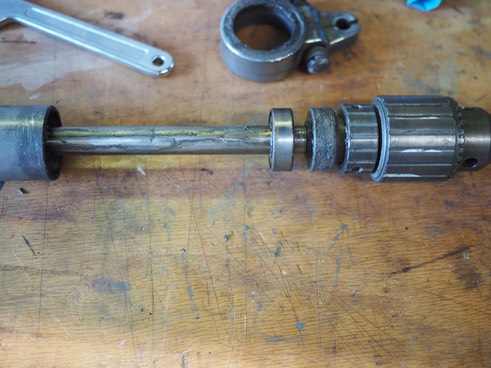
The spindle assembly after being pulled out of the drill press. The bearings are still present, one is visible on the far right of the spindle. They barely turned.
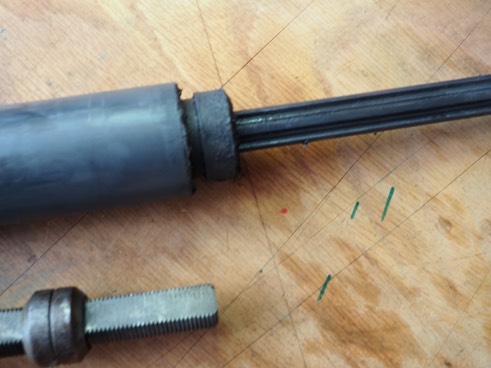
A closeup of the spindle assembly.
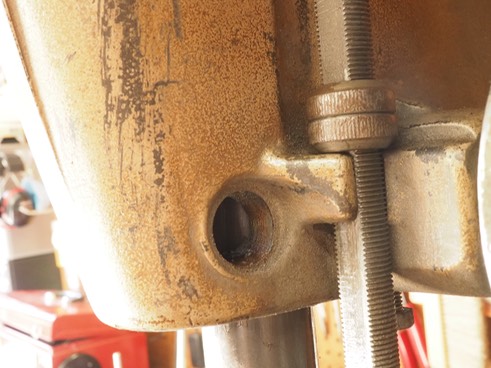
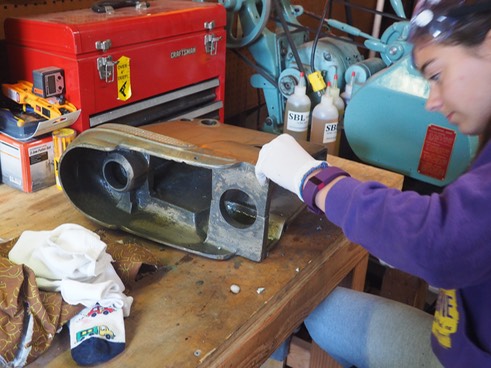
The head casting without the spindle assembly and the spindle lock.
The spindle assembly with the sleeve pushed up. You can see one of the bearings, which barely moved at this point (we are going to replace them.)
Removing screws from the head casting. These screws lock the motor bracket to the drill press.
The headstock after a considerable amount of cleaning.
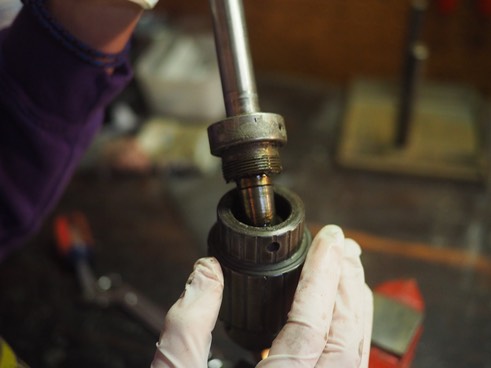
Taking the chuck off of the spindle.

Taking the lock out of the bed.
Soon I will be posting more photos of cleaning and painting the drill press. The work is almost halfway done at this point in the process!
