


My Blog
Low Temperature Differential Stirling Engine: Displacer Bushing
Continuing on my Stirling Engine, I built the displacer bushing. The shaft of the displacer is stabilized by the displacer bushing, which attaches to the top plate.
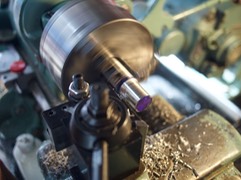
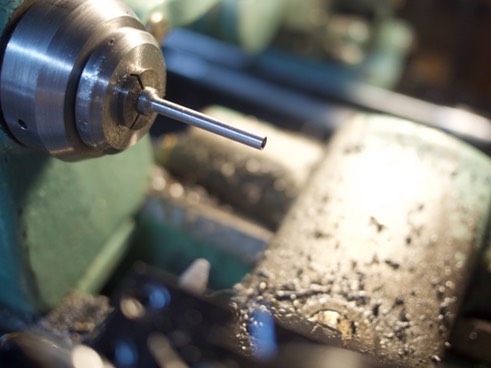
The bushing was cut from a 1” thick cylinder of aluminum and a steel insert. I put the aluminum into the three-jaw chuck on the lathe and roughed out the shape with the power-drive and cut off the part:
Next, I shaped the steel insert.
Then, I cut it off, and glued it in place. The reason for this insert is that when brass (used for the displacer shaft) rubs against aluminum, it “…
Low Temperature Differential Stirling Engine: Base Block
The next step in building the Stirling Engine was to craft the base block. It attaches the cylinder to the chamber and attaches to the bearing plate. I cut the base block from a rough block of aluminum.
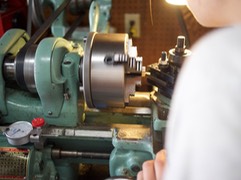
I put the rough block into the four-jaw chuck on the lathe to square up the sides:
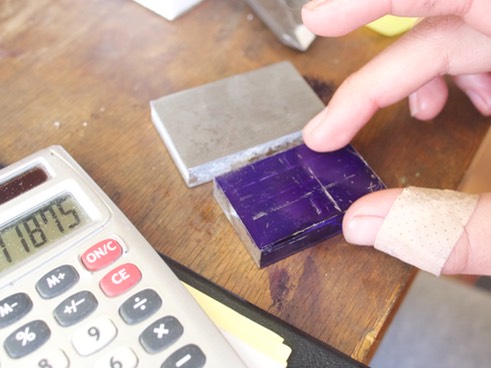
Now with the properly-sized block, I layed out the cuts with the layout fluid (here you see the properly-sized block next to the original block):
I then lined up and taped the bearing plate to the base block, centered the drill bit, then cut a blind hole into the base block. …
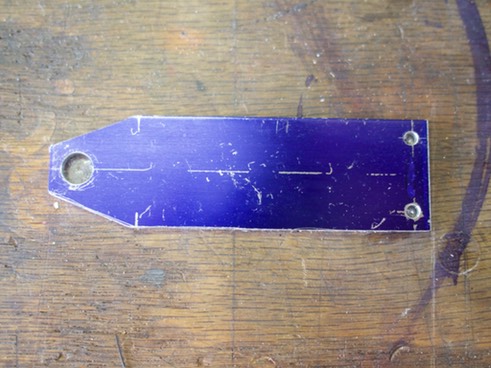
Low Temperature Differential Stirling Engine: Bearing Plate
The first part I made for my Stirling Engine was the bearing plate. It connects to the base block and holds up the bearings that attach to the crankshaft.
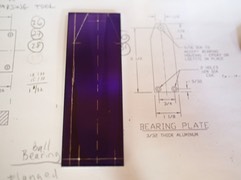
First, using layout fluid and a ruler, I “layed out" the part on a flat piece of aluminum.
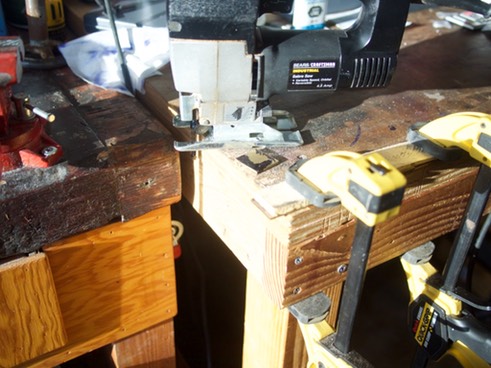
I then cut out the outline with a jigsaw and perfected the edges with sandpaper:
Finally, I drilled the holes using my drill press:
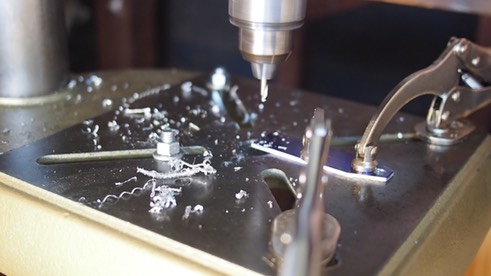
The bearing plate is finished!