


My Blog
1956 Craftsman Benchtop Drill Press Restoration Pt. 4: Painting
Leaping forward in the process... happy Leap Day everybody!
After cleaning, it was time to repaint. We bought Rust-oleum Hammered Gold spray paint/rattle cans and Rust-oleum Flat Grey Primer. The Hammered paint was the closest we could find to the original 1950’s paint.
First, we covered the machined metal surfaces with FrogTape painters tape. We plugged up the holes we couldn’t cover with cork plugs from the craft store.
Then, we put on the primer coat for the Hammered to stick to.
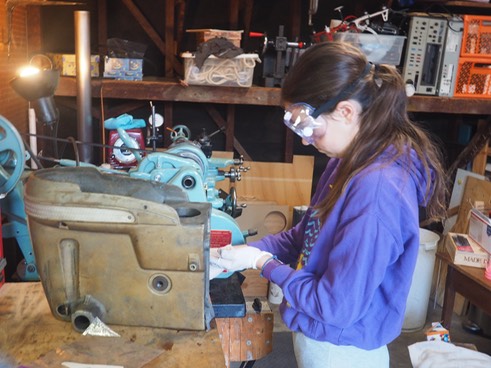
Putting primer on the head casting.
…1956 Craftsman Benchtop Drill Press Restoration Pt. 3: Cleaning
One of the main reasons my dad and I decided to rebuild the drill press is because it was kinda disgustingly dirty. 60 years of negligence and oil buildup had not done it well, and it was covered in grime. Here are some photos of cleaning, sanding, and buffing the drill press:
Cleaning the inside of the headstock.
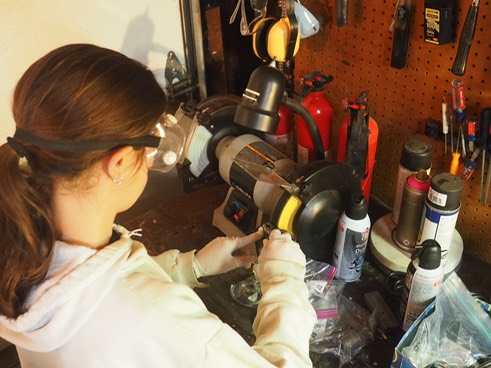
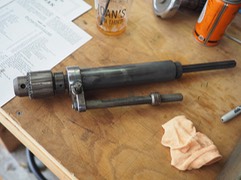
Buffing the spindle assembly base clamp.
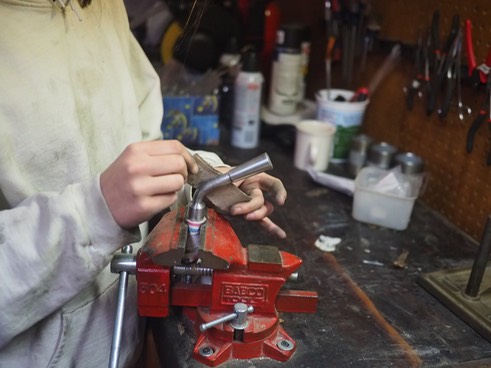
Sanding the bed lock handle.
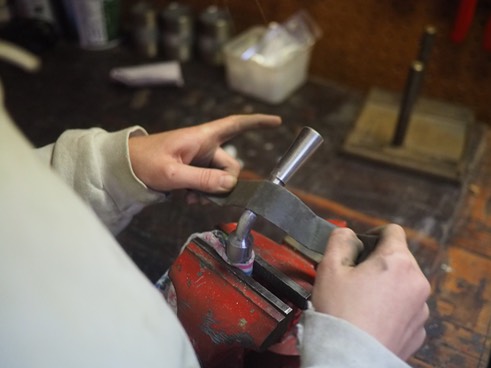
Sanding with a finer grit to get more of a polish.
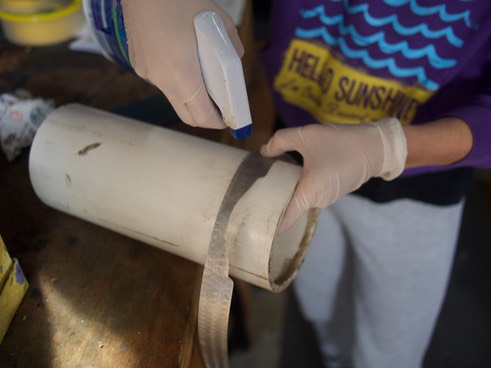
Cleaning the decorative band. I am pressing it on a wide PVC tube so I can get a good grip while not messing up the bend.
…1956 Craftman Benchtop Drill Press Restoration Pt. 2: Disassembly
As a part 2 to the Craftsman Benchtop Drillpress original post, here are some photos from the disassembly. My dad and I are restoring a 1956 Craftsman Benchtop Drill Press. We are taking it apart, cleaning/sanding/painting/repairing it, and putting it back together.
It is readily apparent how oily, grimy, and generally disgusting the drill press was on the inside.
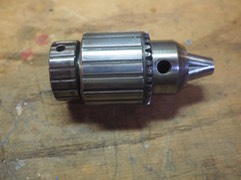
The spindle assembly after being pulled out of the drill press. The bearings are still present, one is visible on the far right of the spindle. …
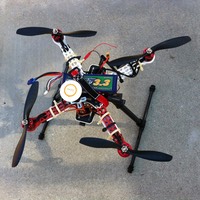
Drone Registration Follow-Up

As reported in the Los Angeles Times and the Guardian, nearly 300,000 civilian drones registered in a month!!
See you in the sky!
