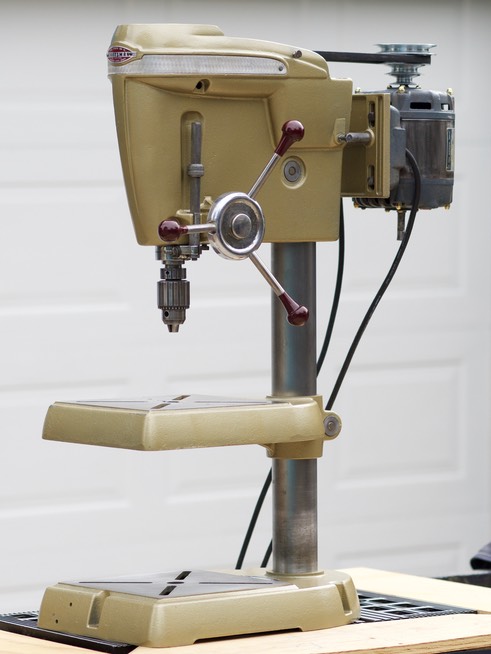


Finally, after disassembling, cleaning, sanding, cleaning some more, buffing, cleaning even more, and painting, it was finally time to reassemble the drill press.
First, we did some of the minor reassemblies.
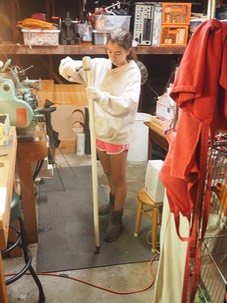
Spindle Assembly -- Specifically, I am knocking a bearing down onto the spindle with a PVC pipe to apply equal pressure around the whole bearing.
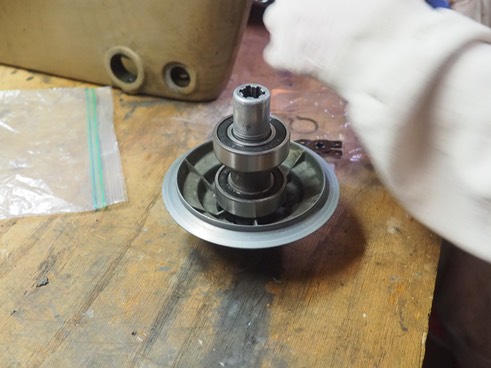
Next, I seated the bearings on the top pulley, which drives the spindle assembly.
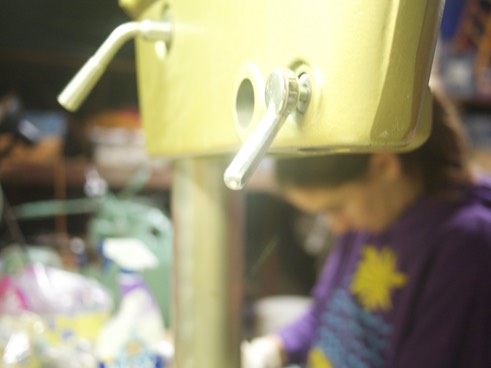
Then, I put the spindle lock, the motor lock, and the bed lock (not pictured) in place.
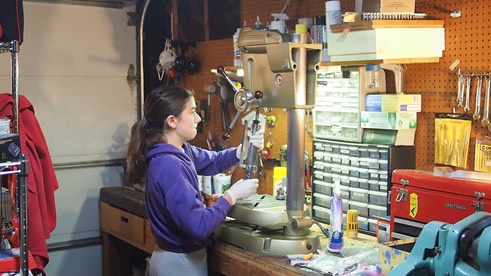
I attached the spindle handles and then I inserted the spindle assembly.
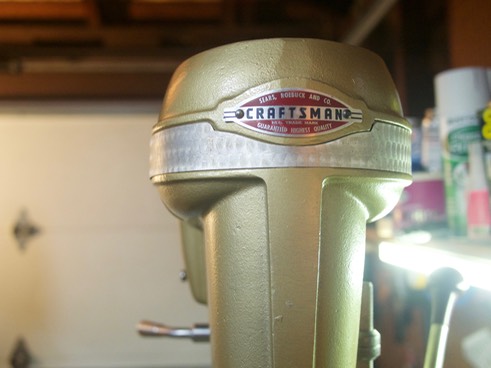
I attached the decorations (the logo and the ornamental band)...
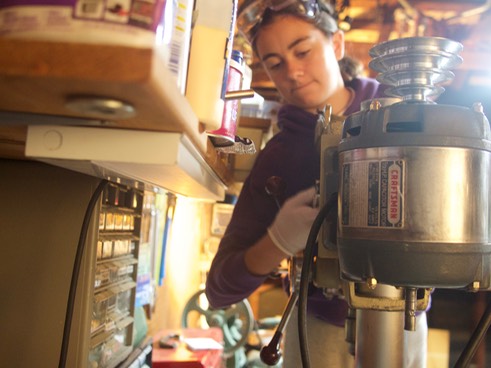
and I attached the motor to the motor plate and slid it into the head casting. The drill press is now complete and ready for the next project!